“SUPERPRALINARIUM”
Welcome to our new course on praline design by Andrey Dubovik. This course is aimed at professionals and experienced amateurs who would like to improve their skills in the design of chocolates.
Module 1
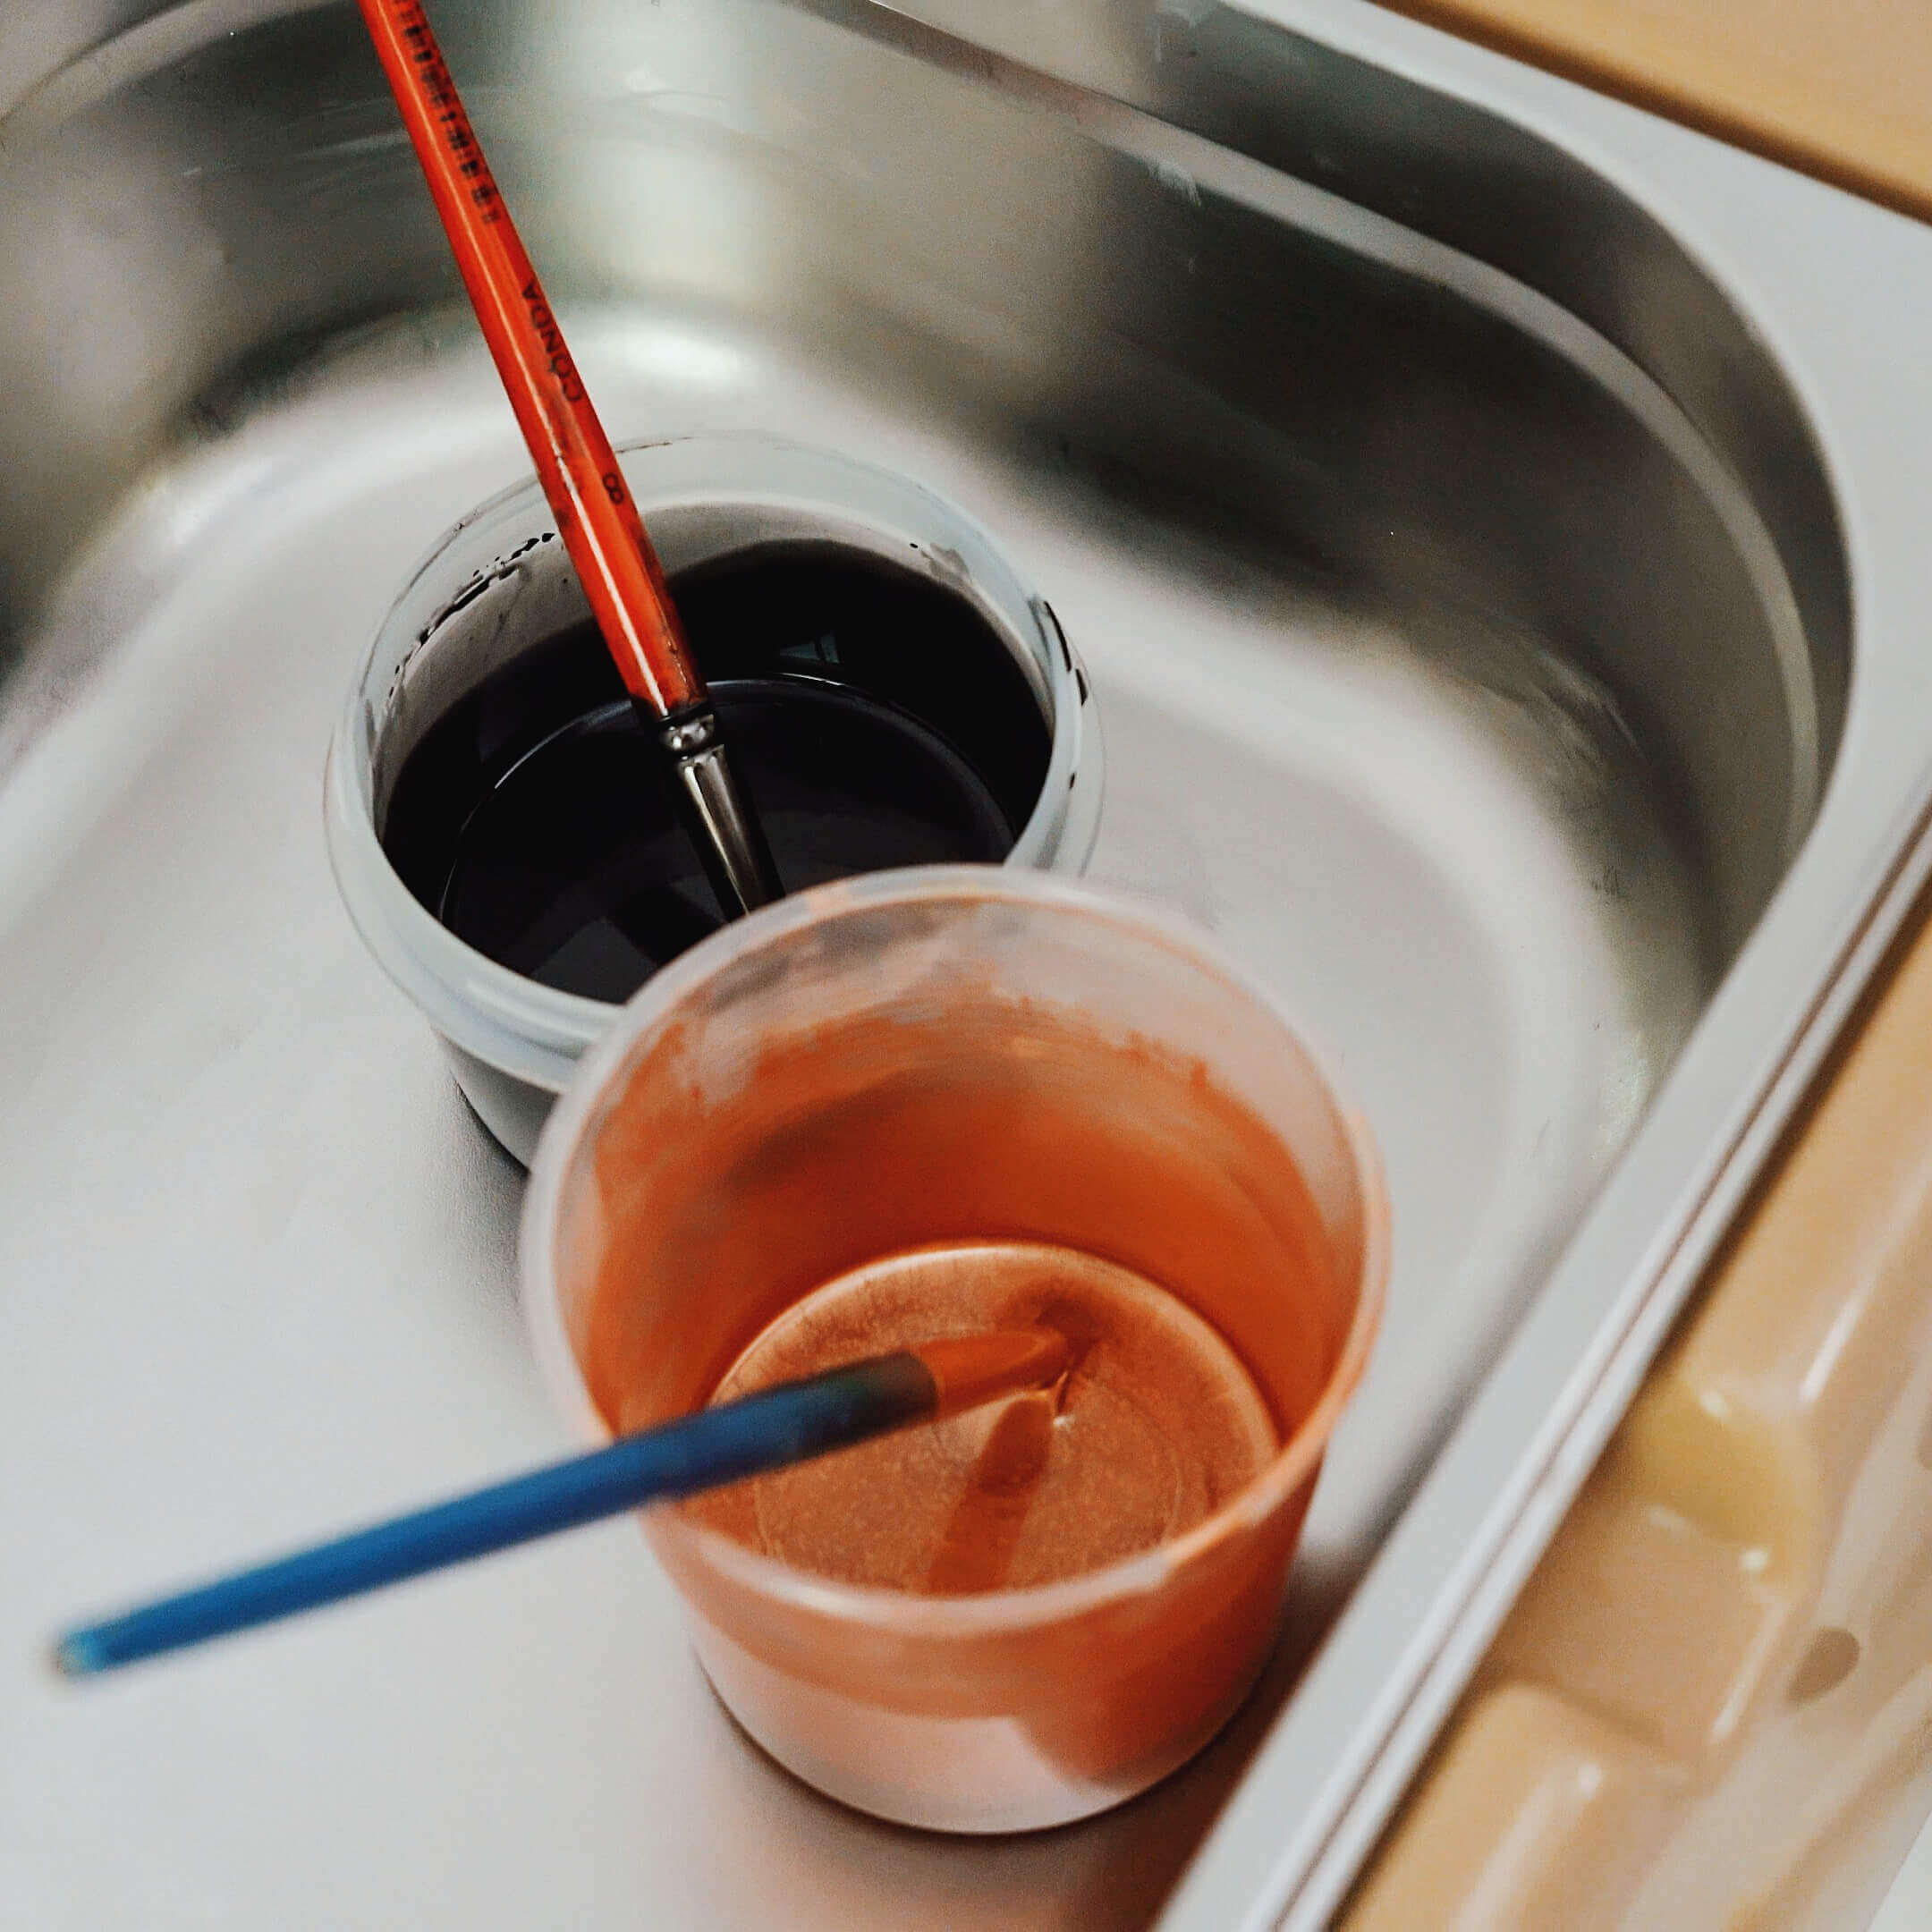
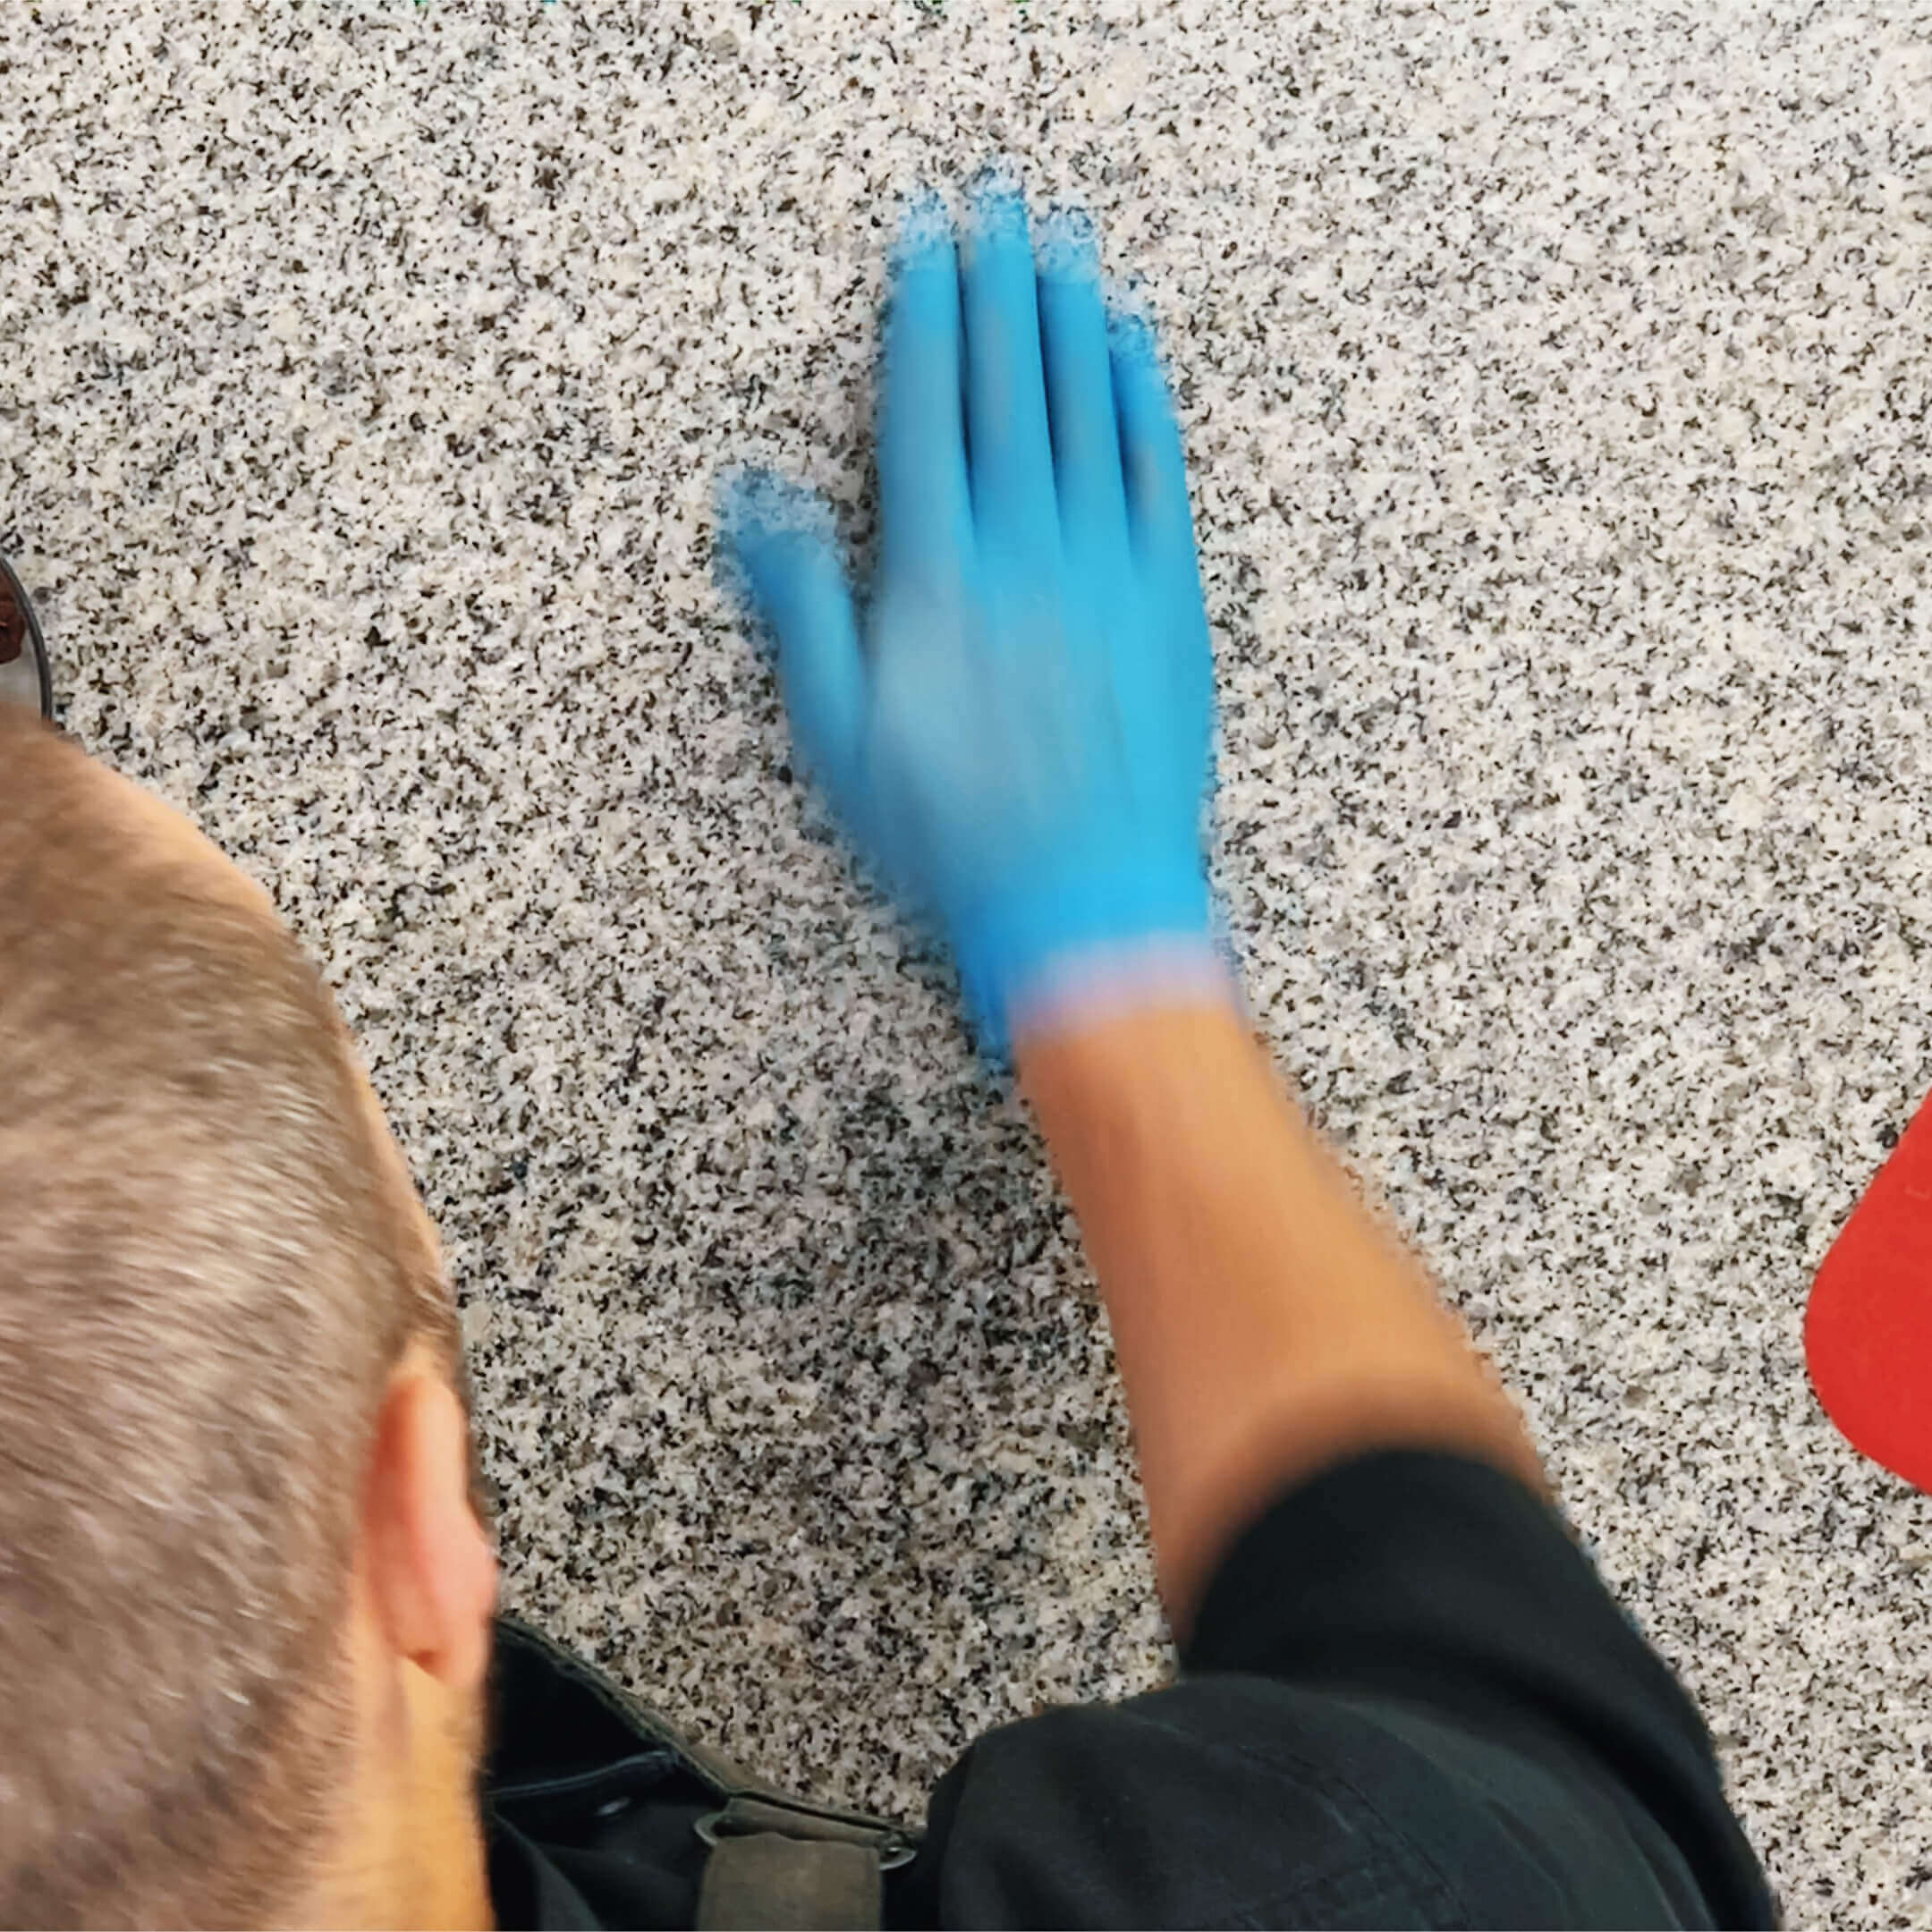
“Equipment, Basics”
#CONTENTS
01► 34:42 “EQUIPMENT” VIDEO-TUTORIAL
02“EQUIPMENT” STEP-BY-STEP GUIDE
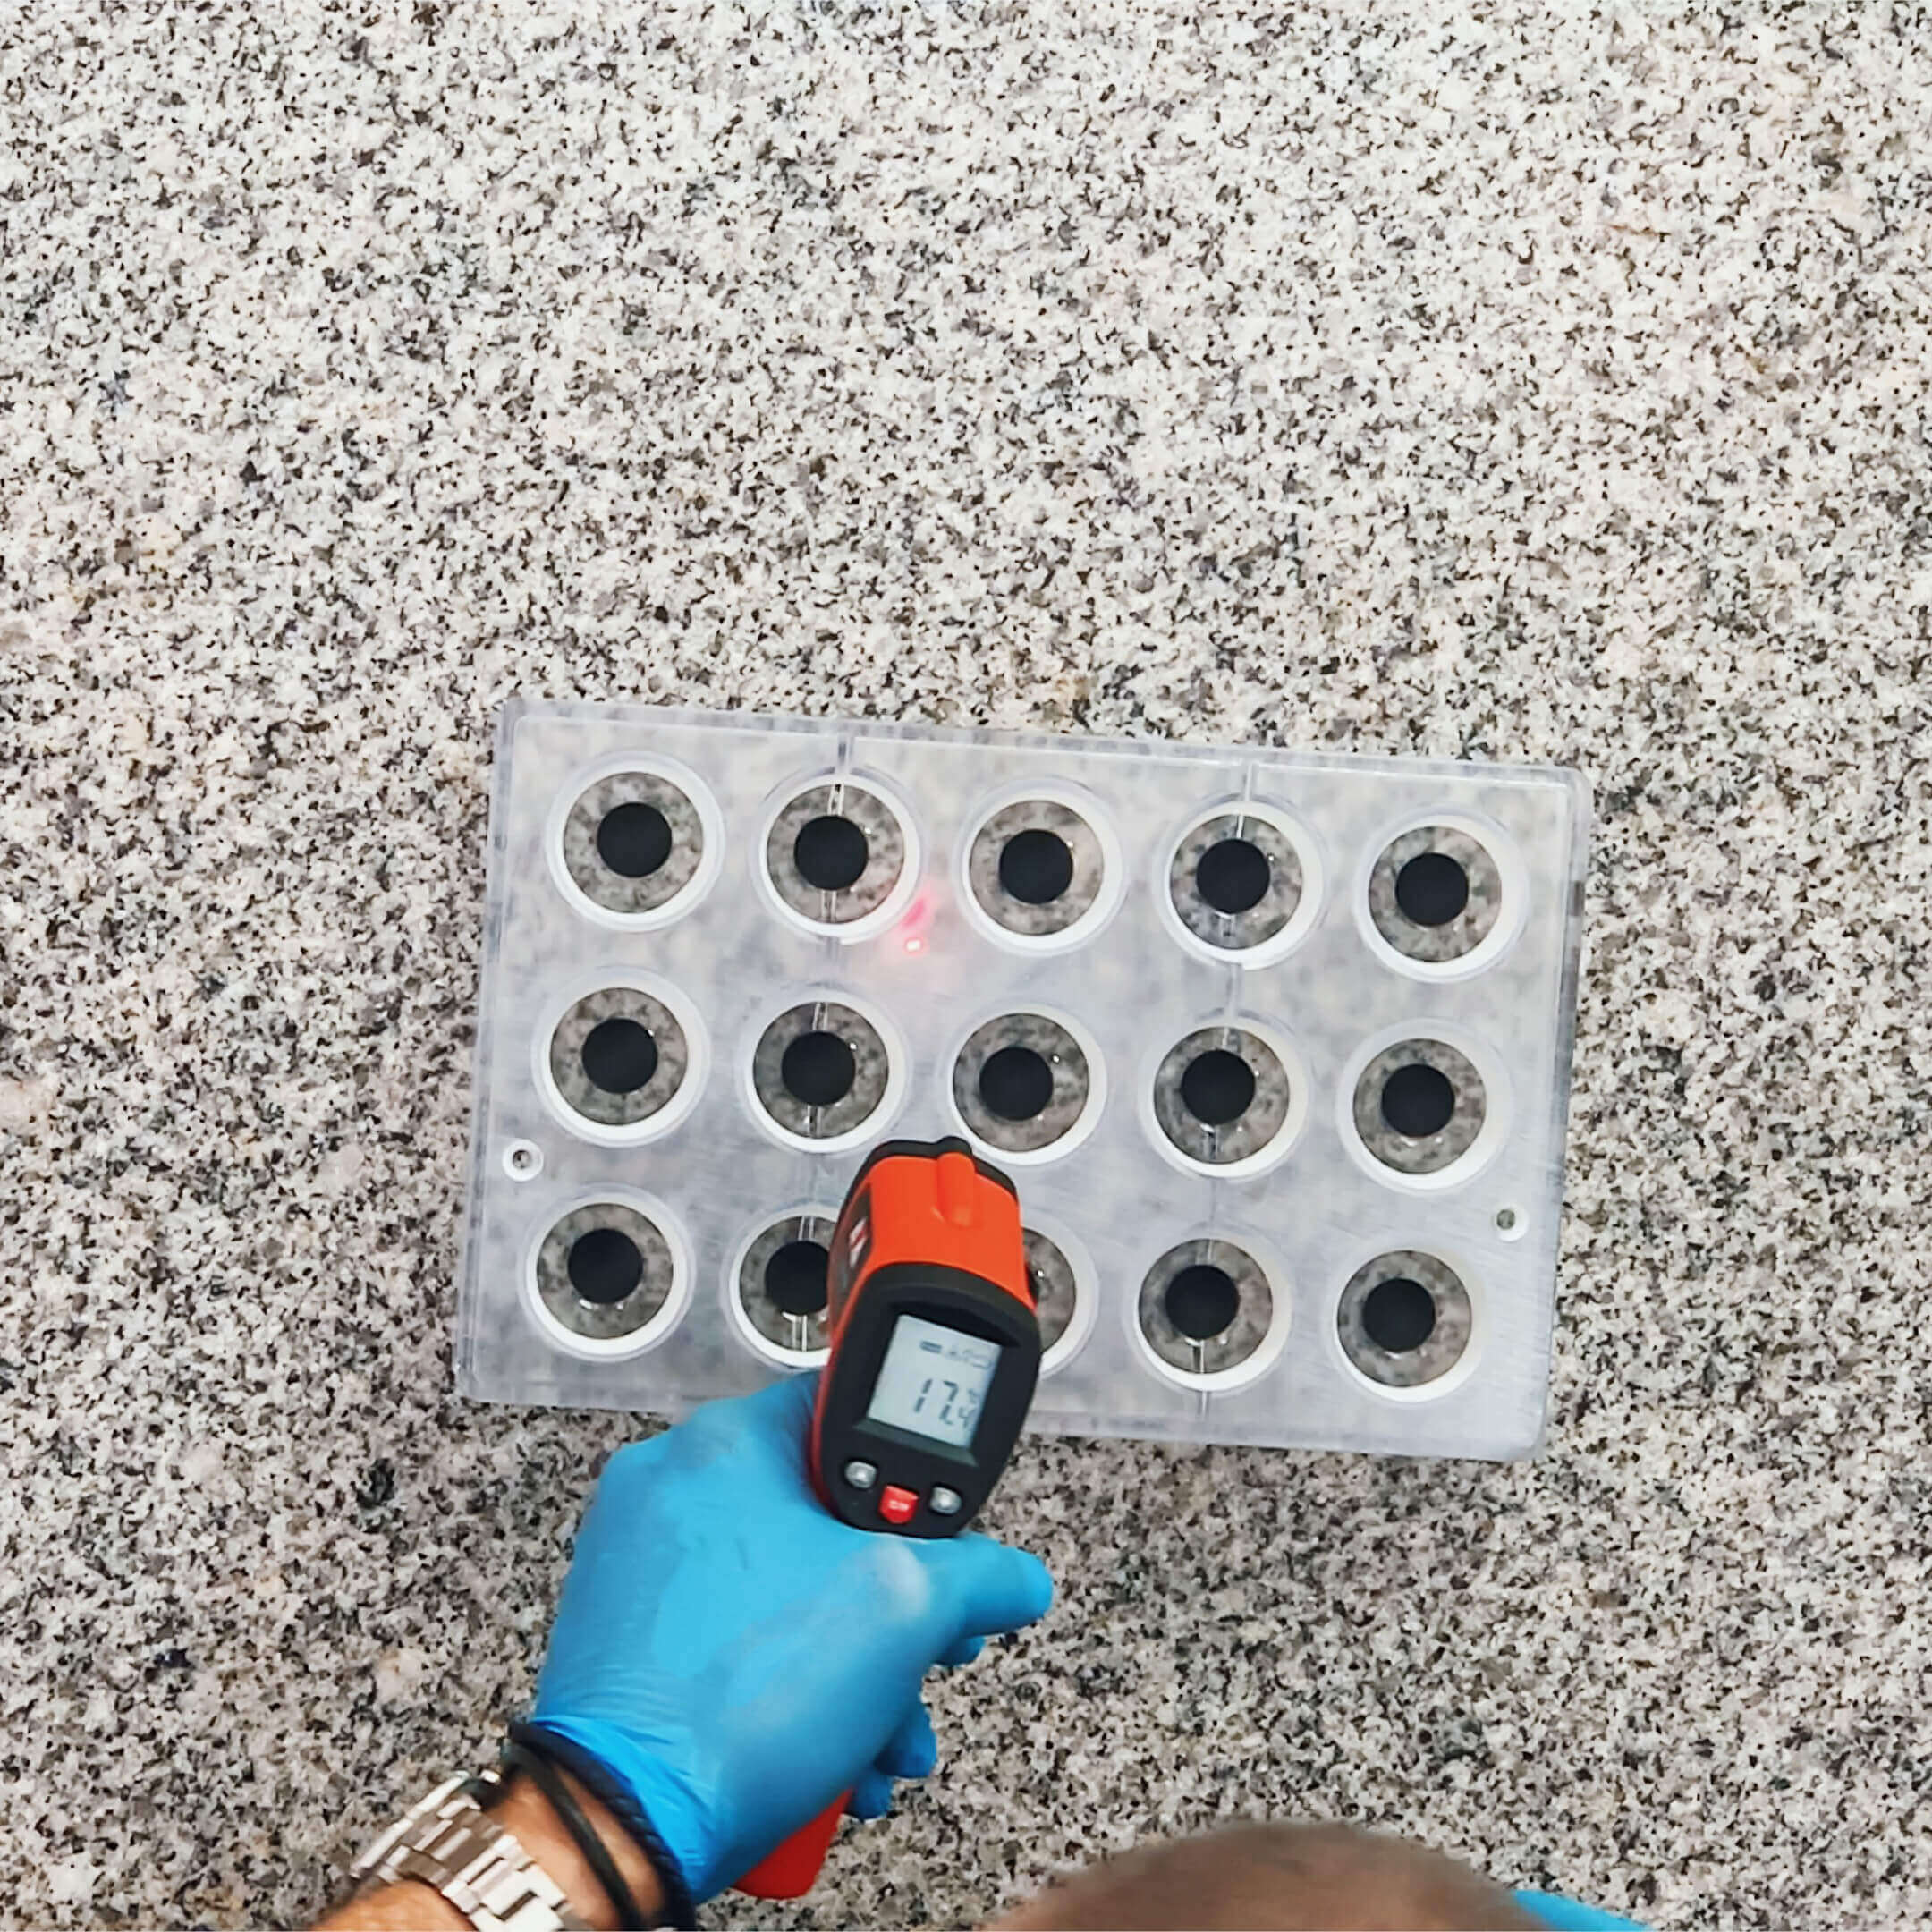
03“EQUIPMENT” FAQs
01► 28:25 “BASICS” VIDEO-TUTORIAL
02“BASICS” STEP-BY-STEP GUIDE
03ASSIGNMENT
Module 2
“Design”
#Contents
01► 15:02 “BORDERS” VIDEO-TUTORIAL
02“BORDERS” STEP-BY-STEP GUIDE
03ASSIGNMENT
01► 17:47 “TREE BRACHES” VIDEO-TUTORIAL
02“TREE BRACHES” STEP-BY-STEP GUIDE
03ASSIGNMENT
01► 09:11 “RINGS” VIDEO-TUTORIAL
02“RINGS” STEP-BY-STEP GUIDE
03ASSIGNMENT
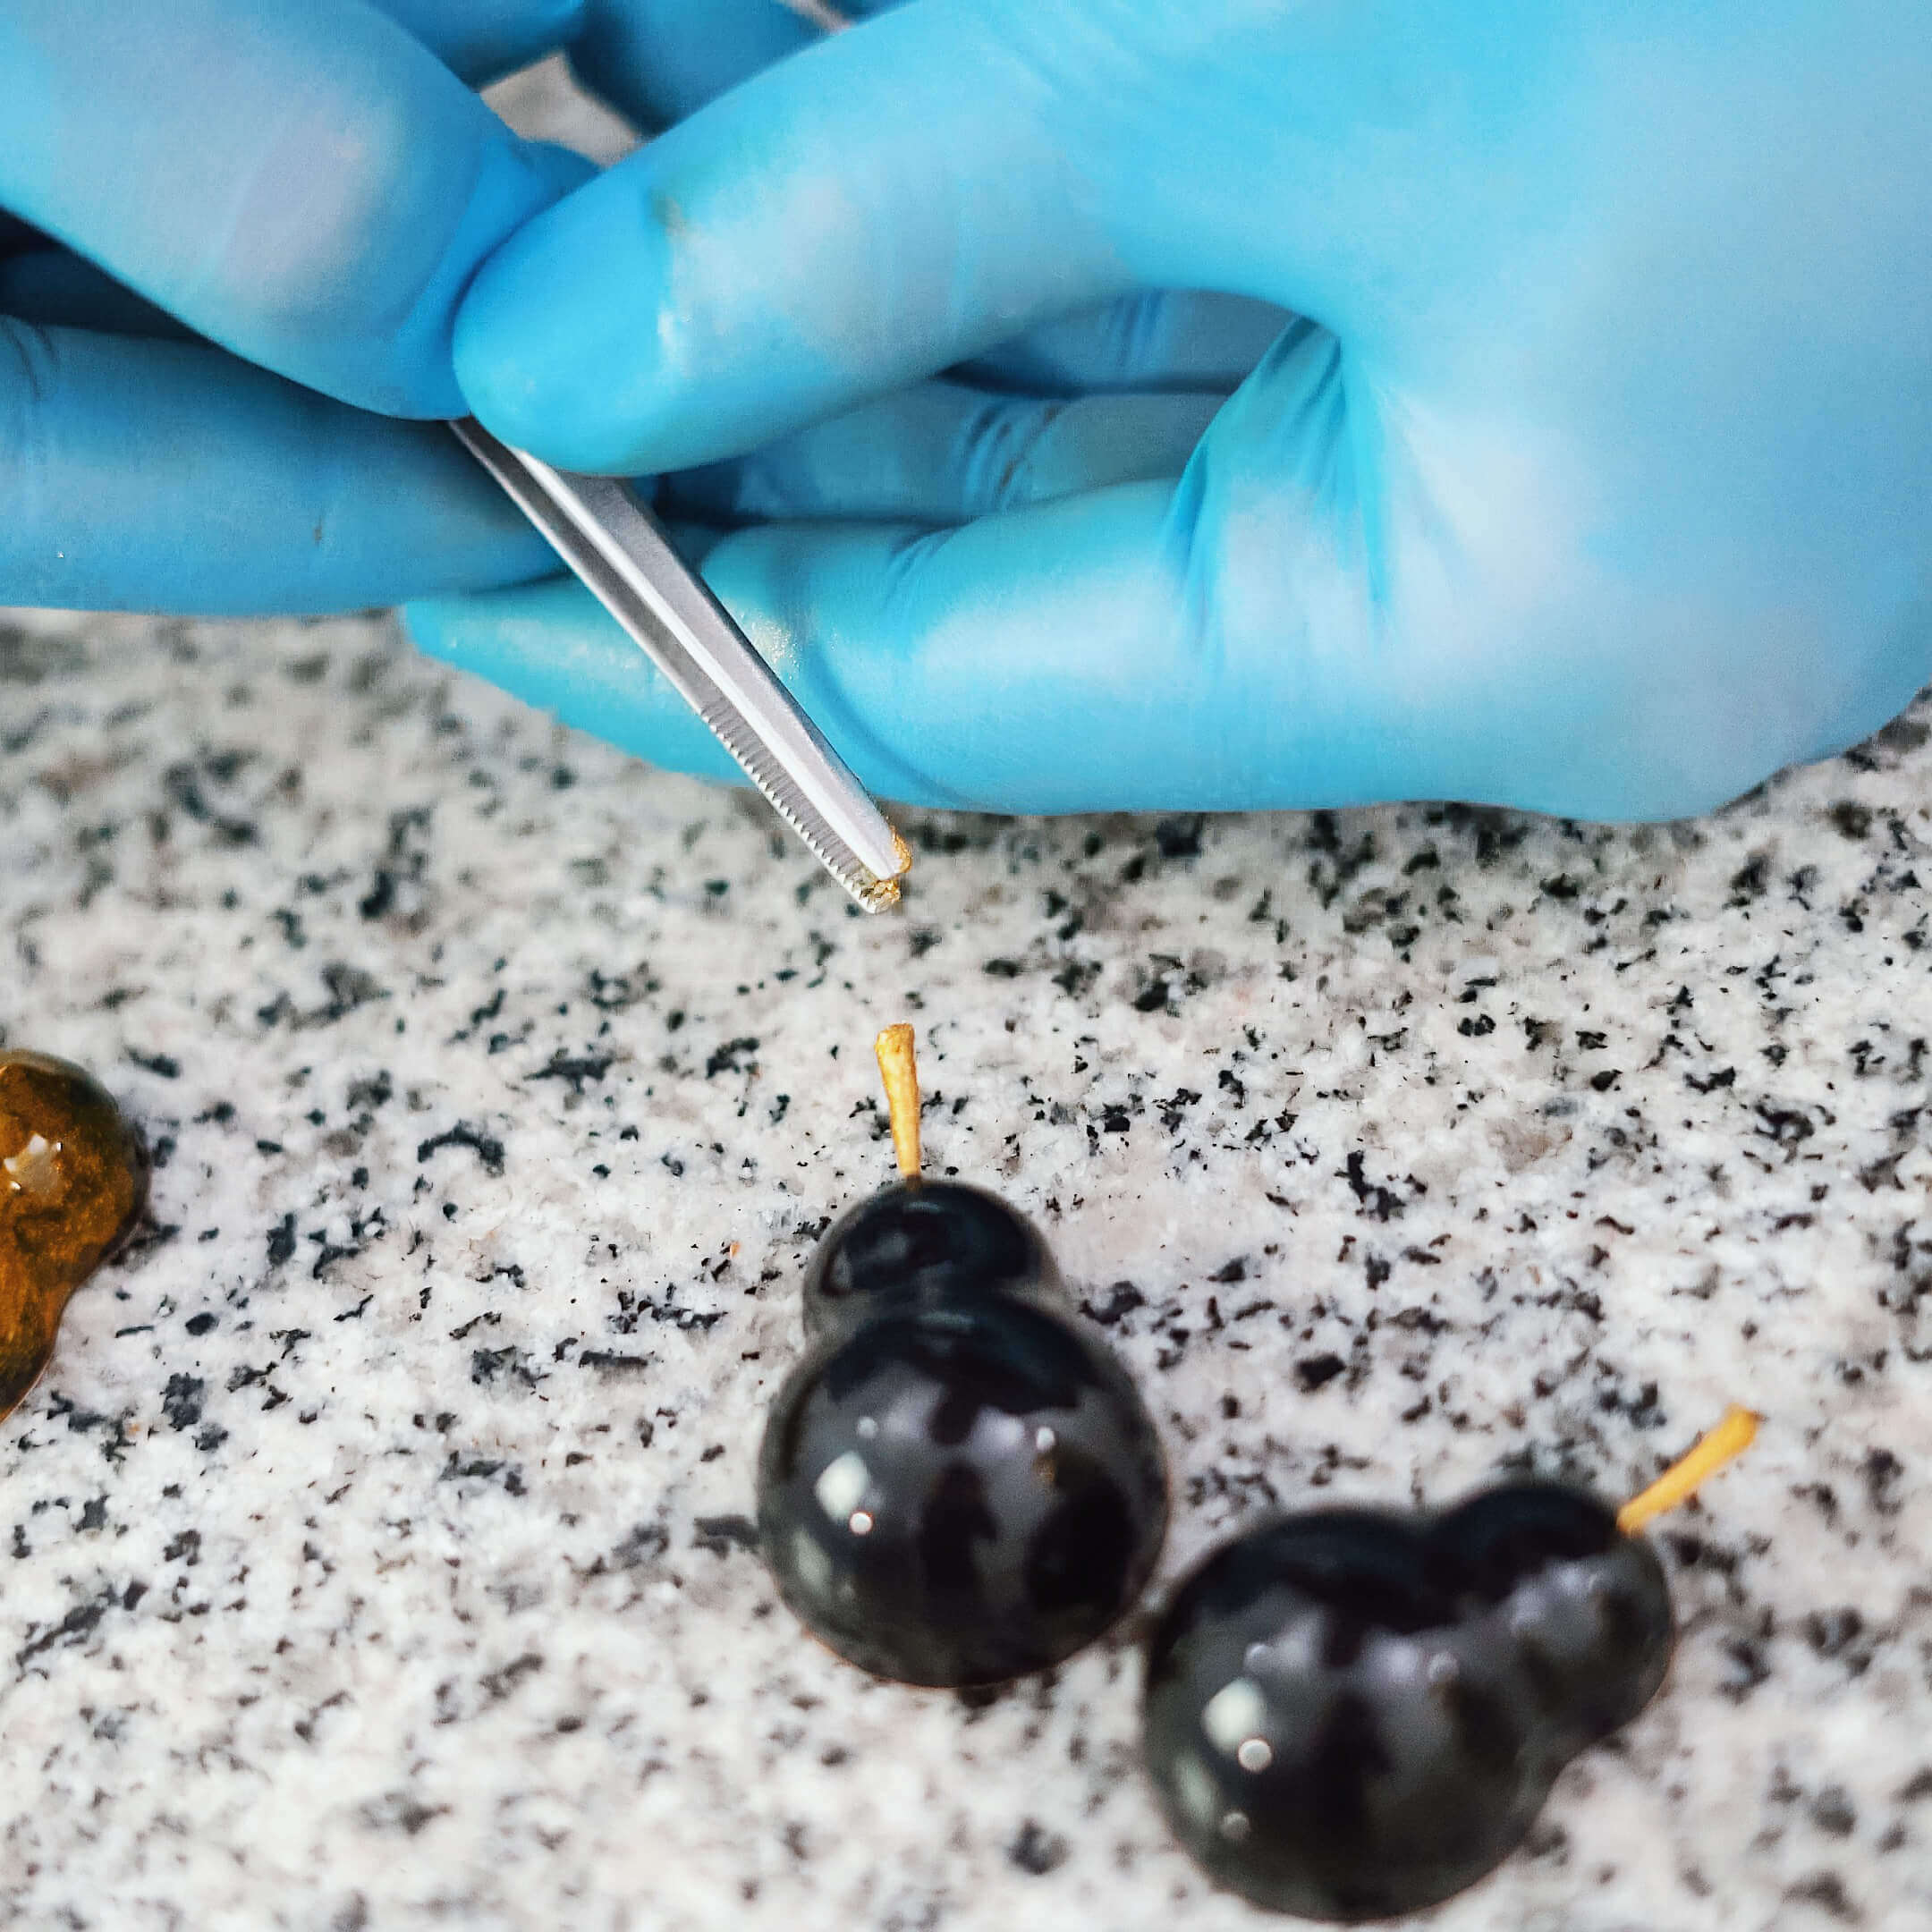
Module 3
“Fillings and Additional Recipes”
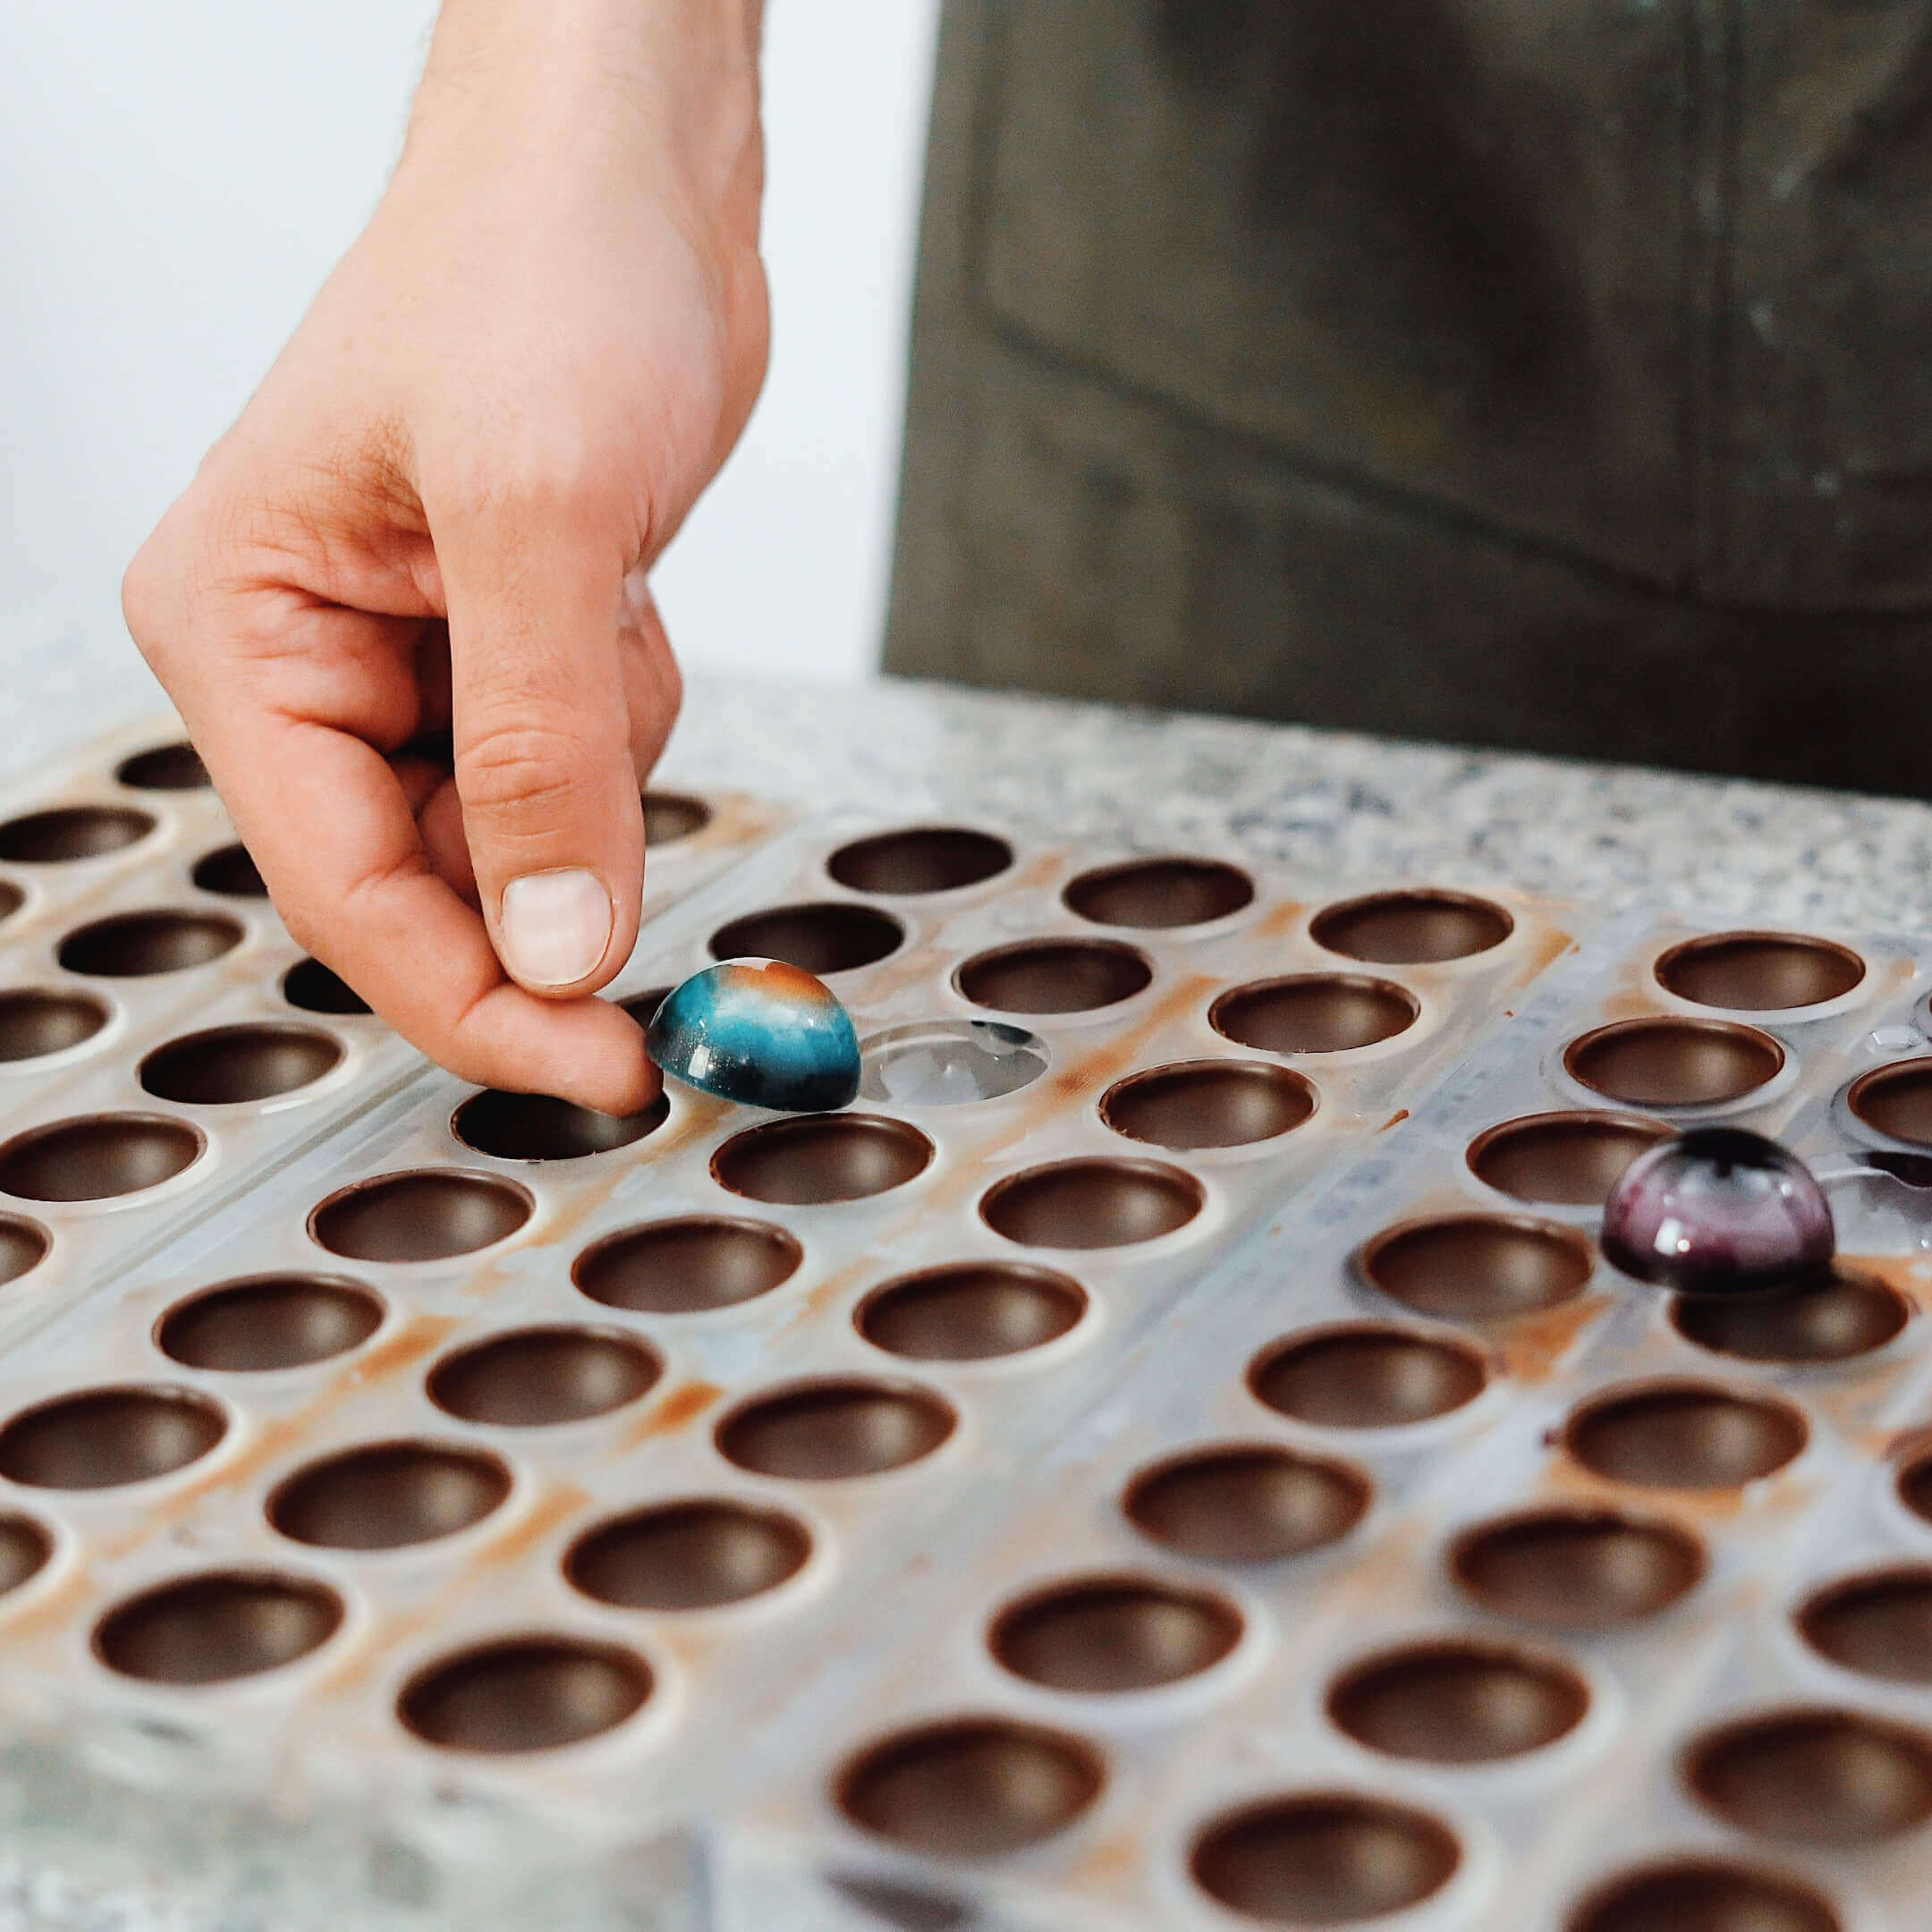
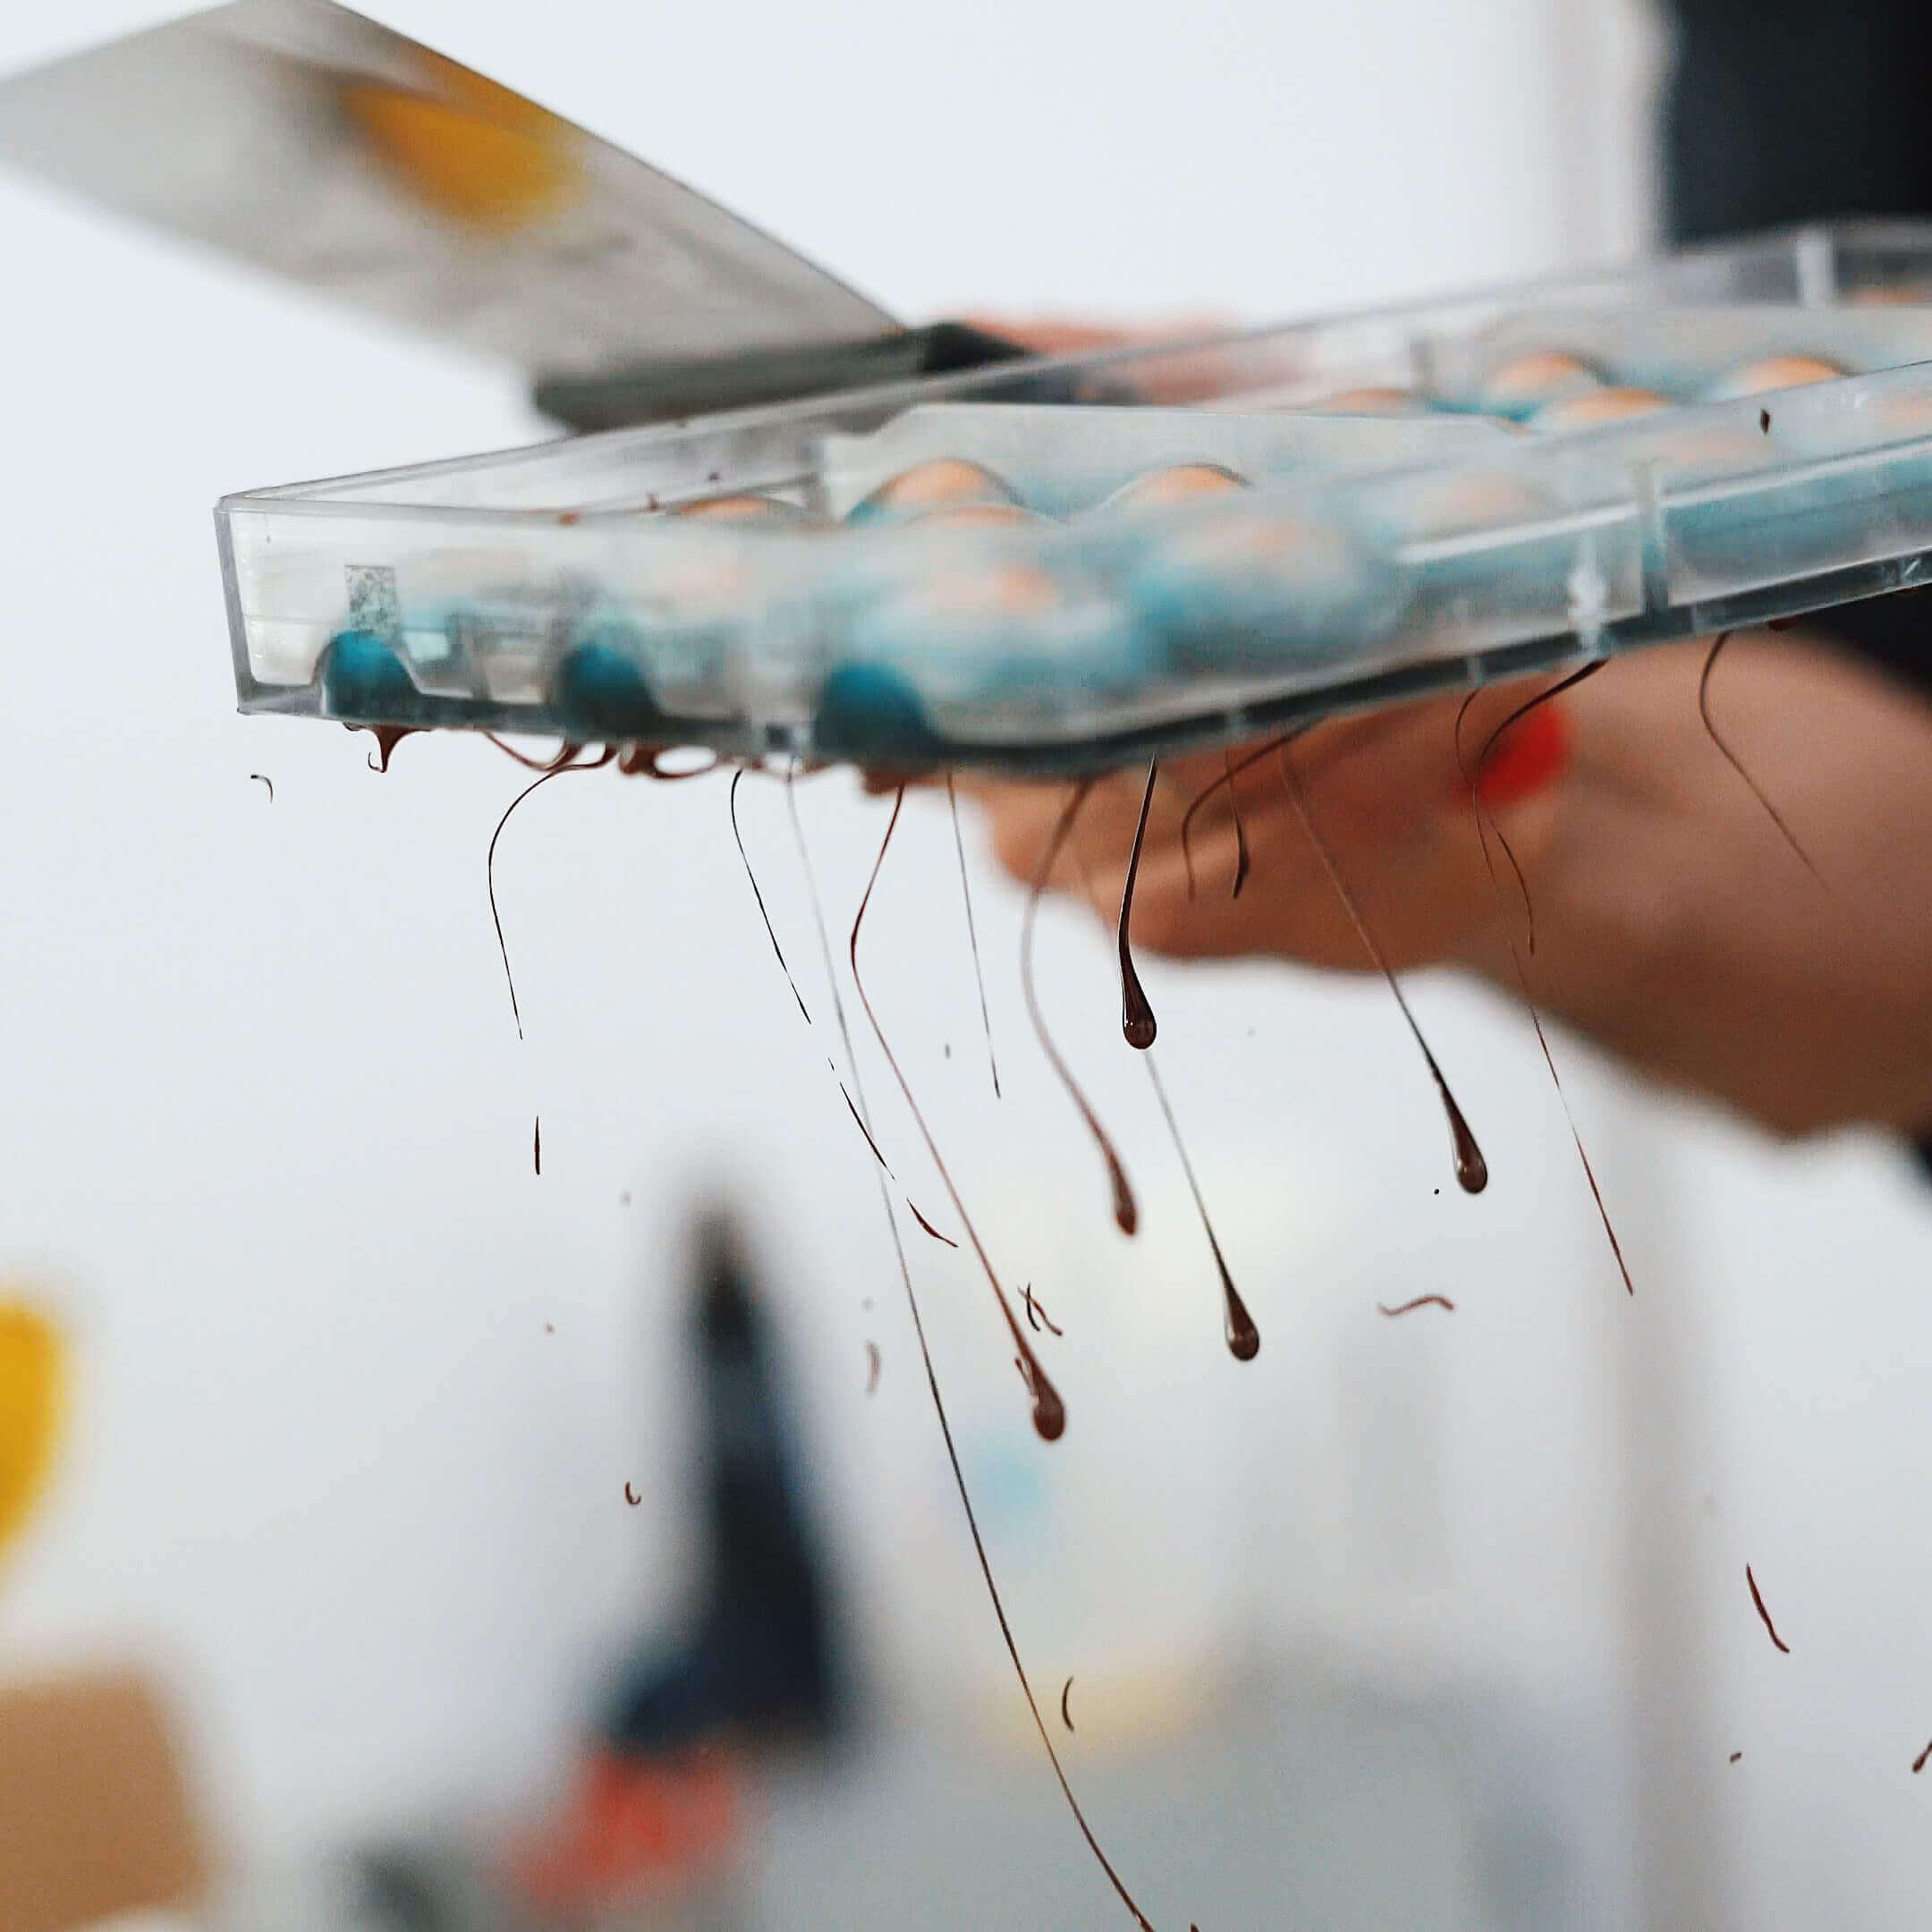
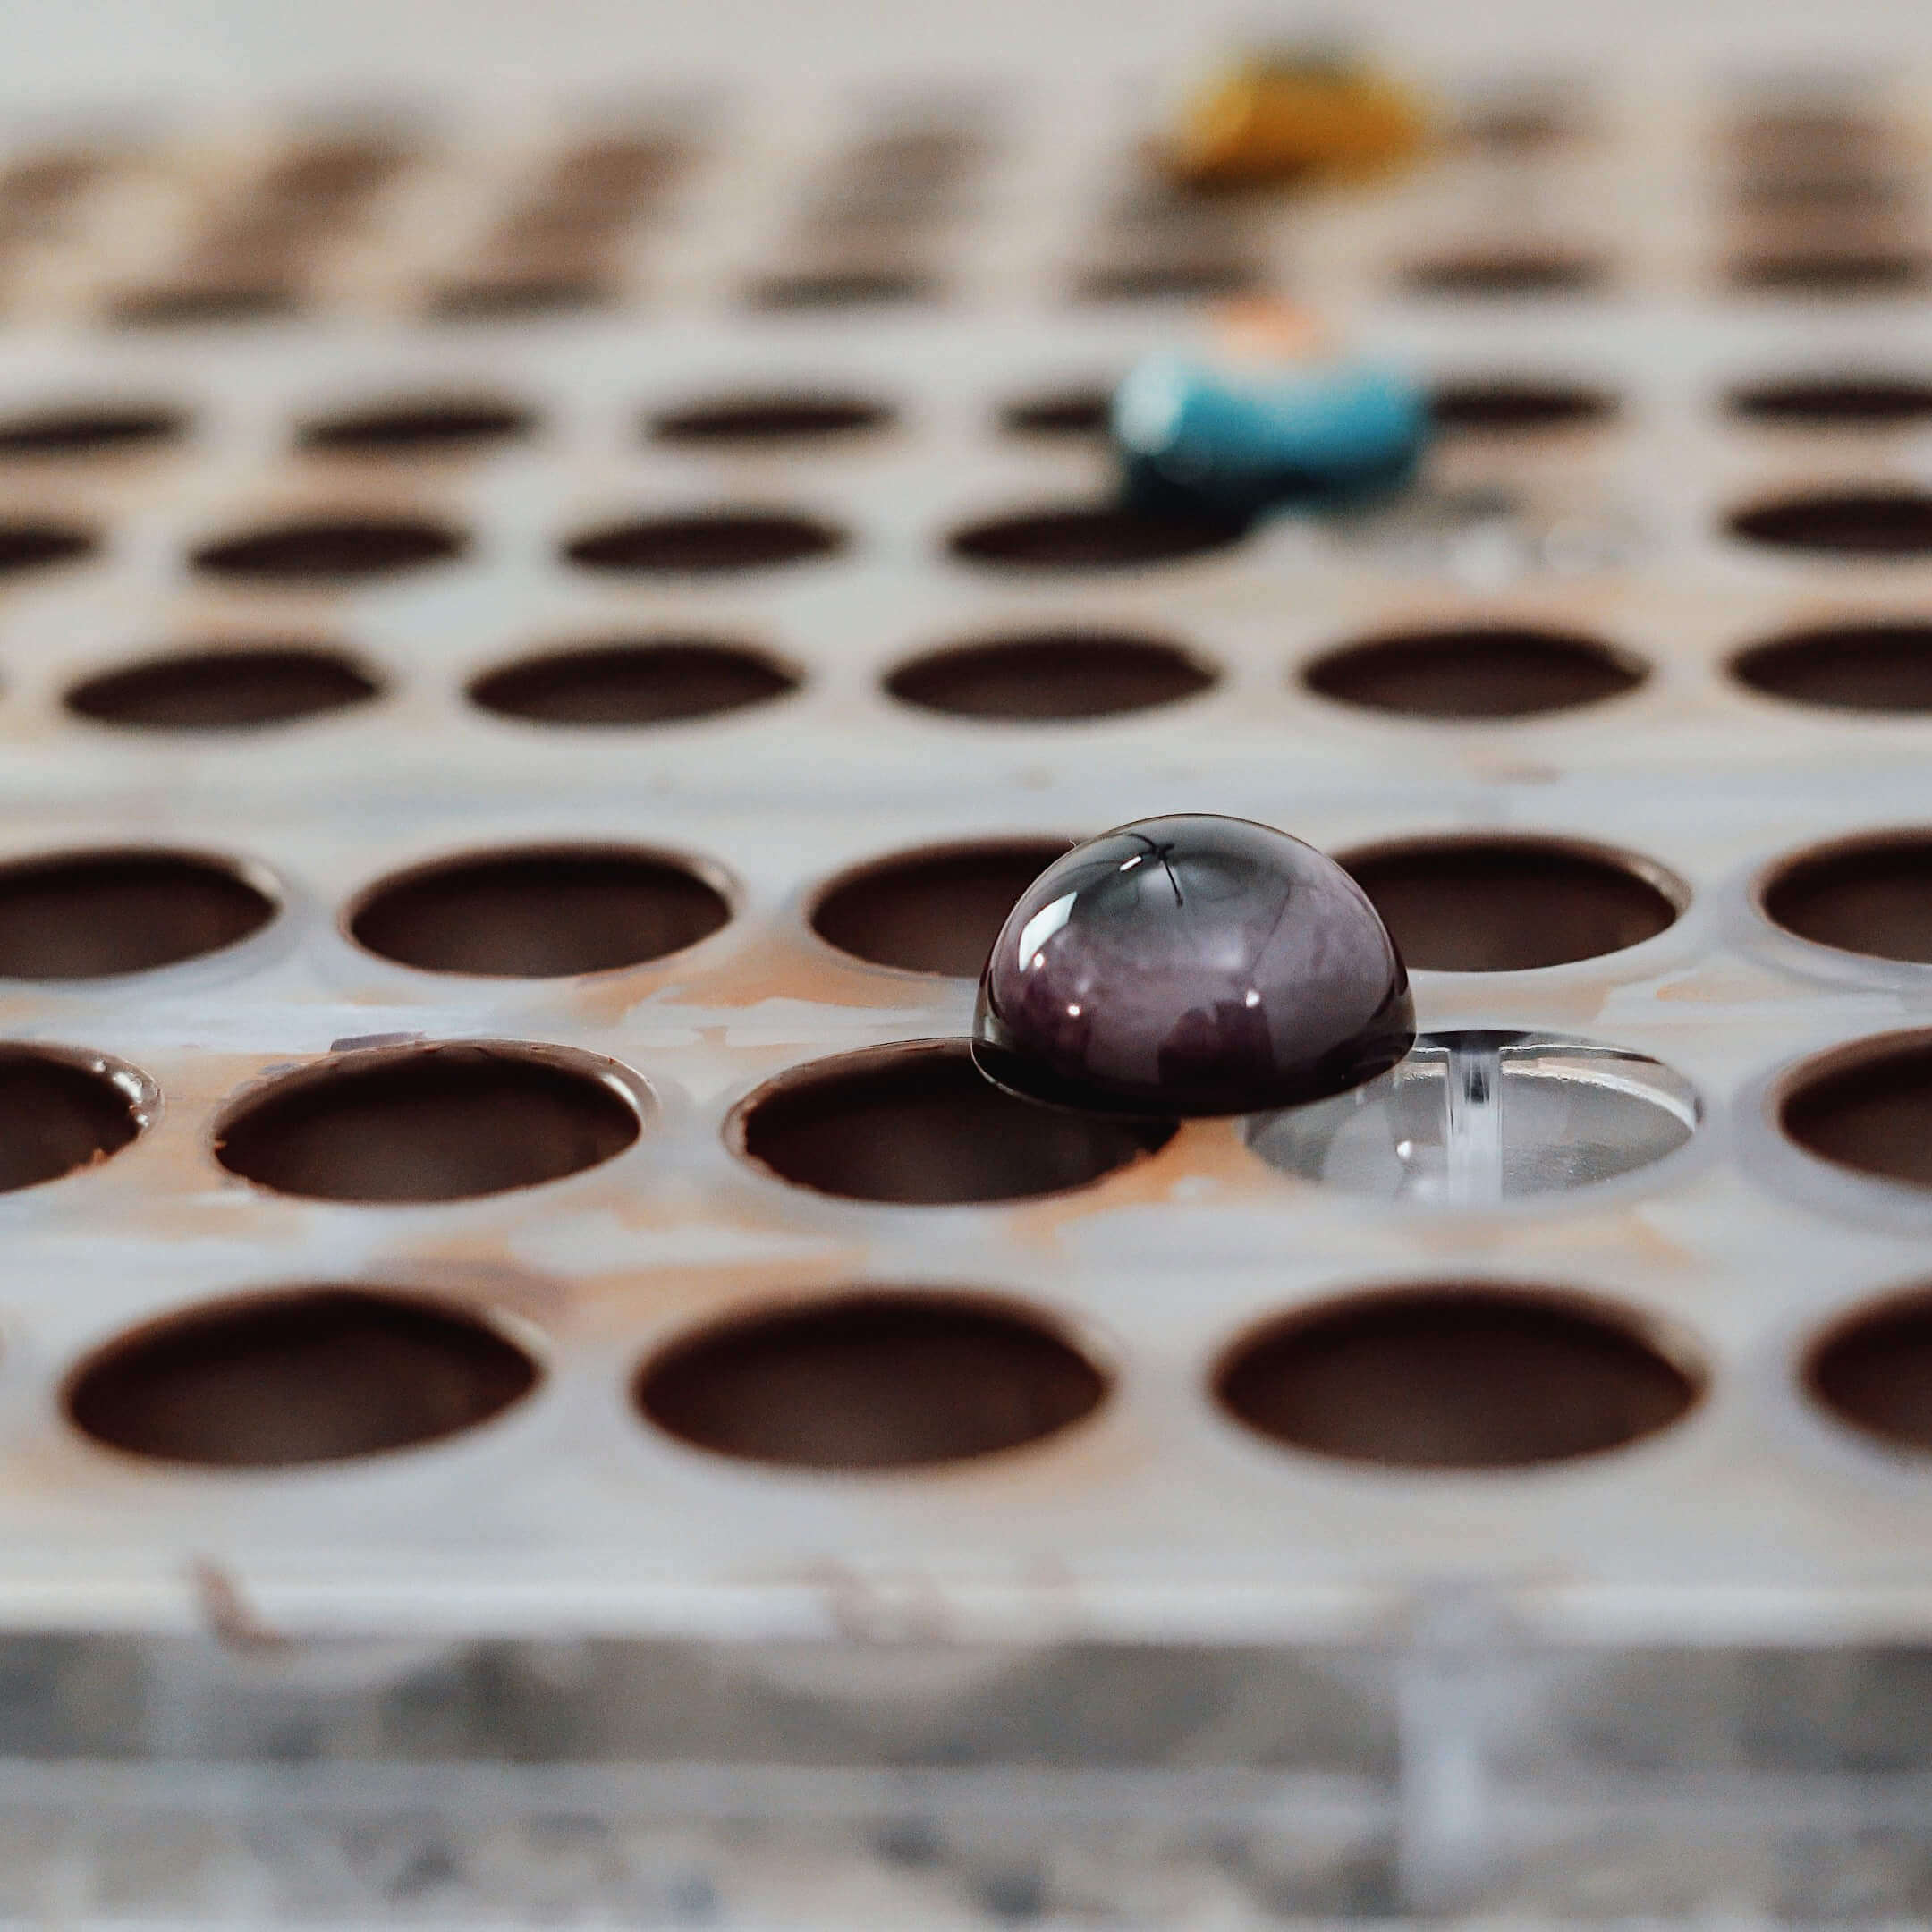
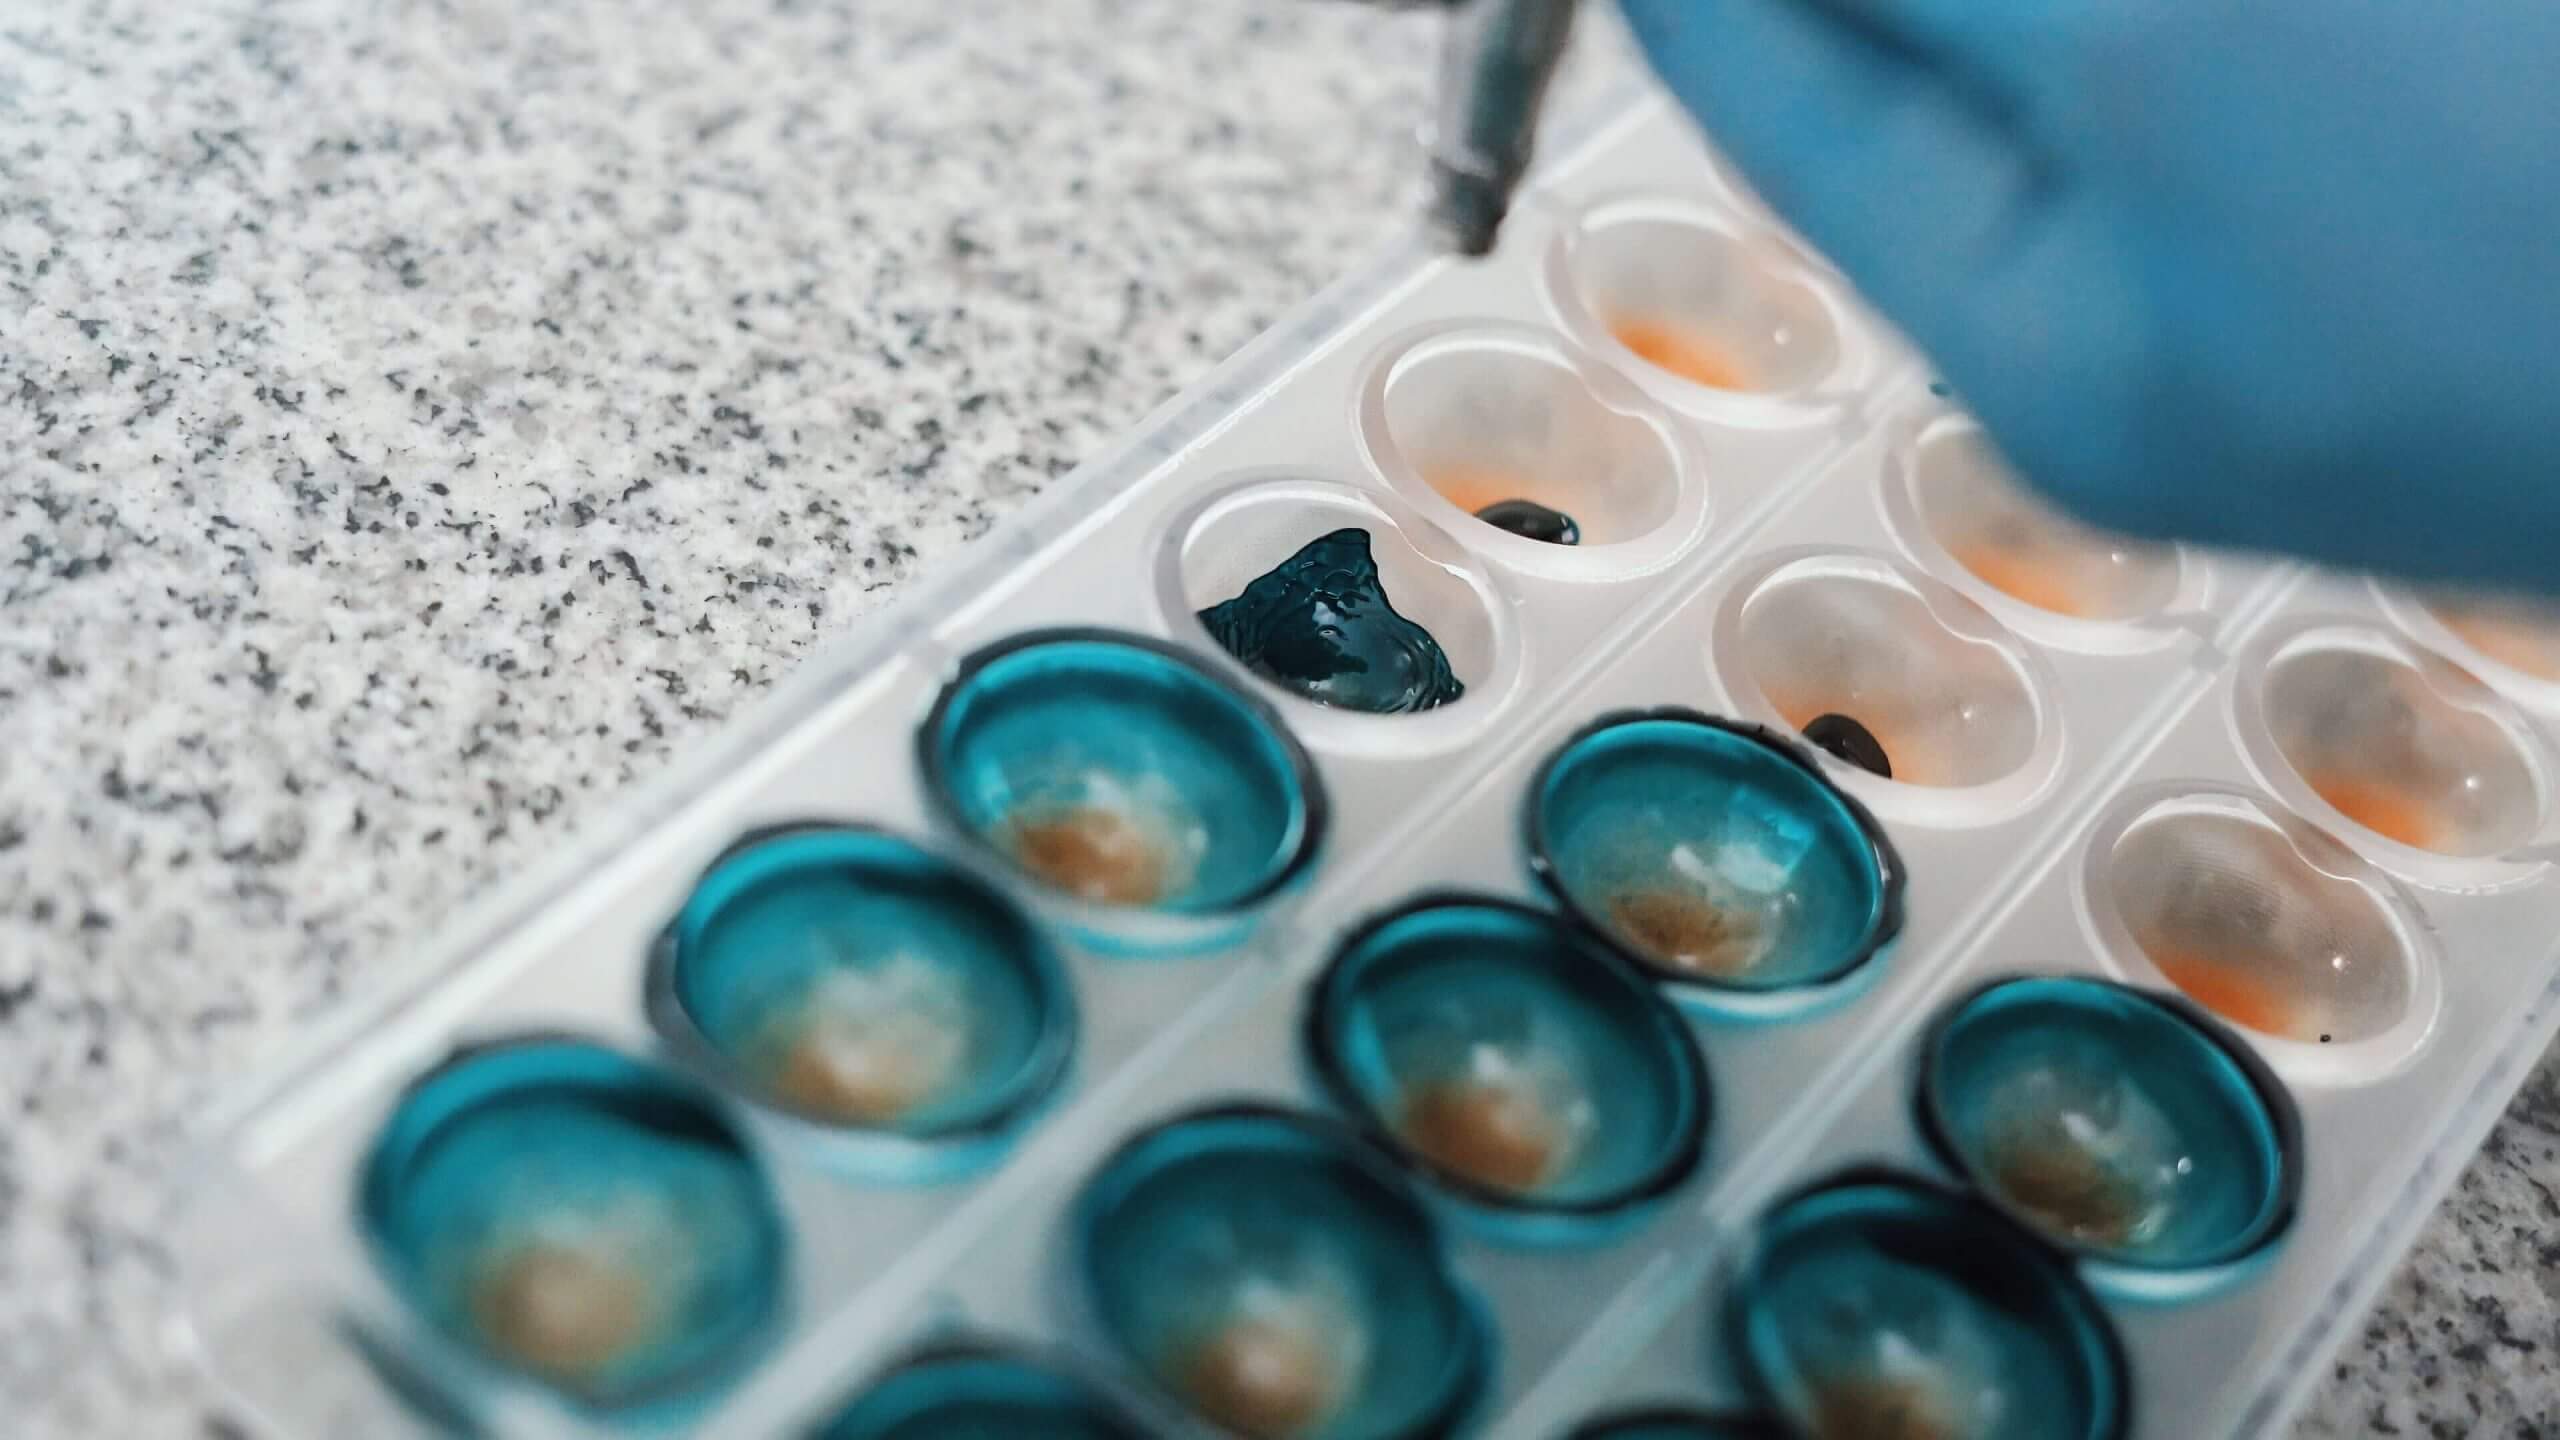
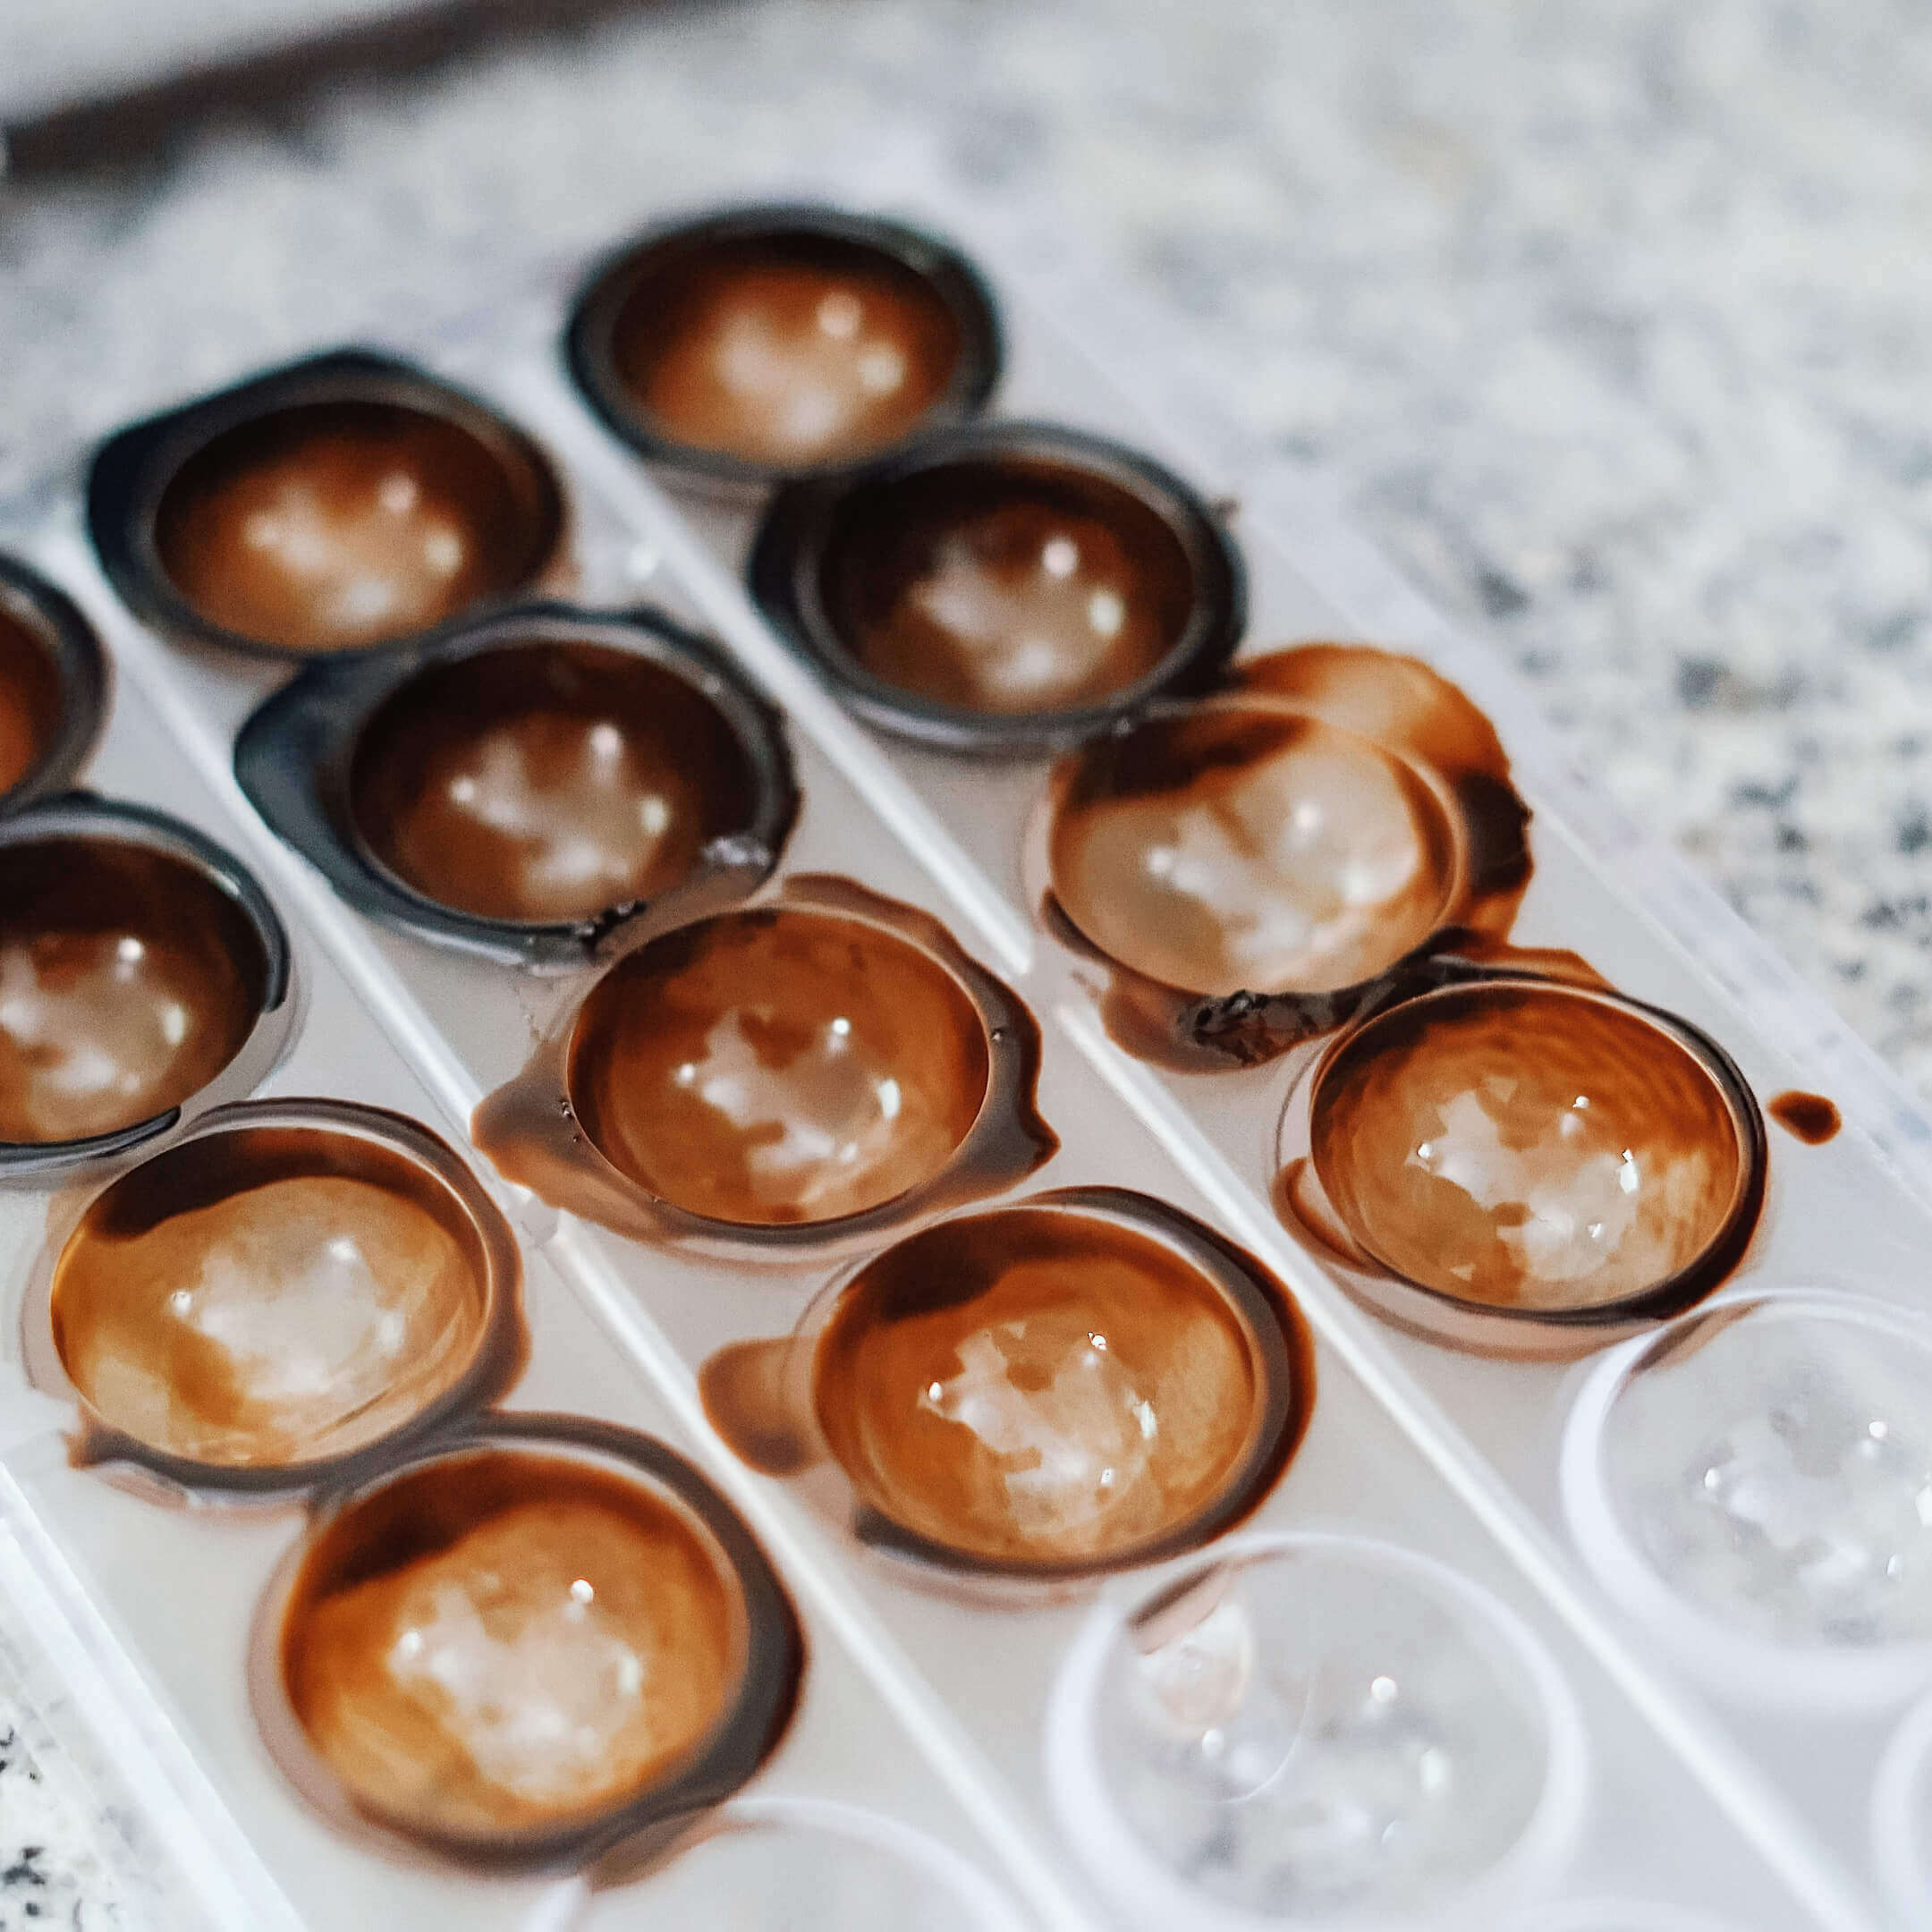
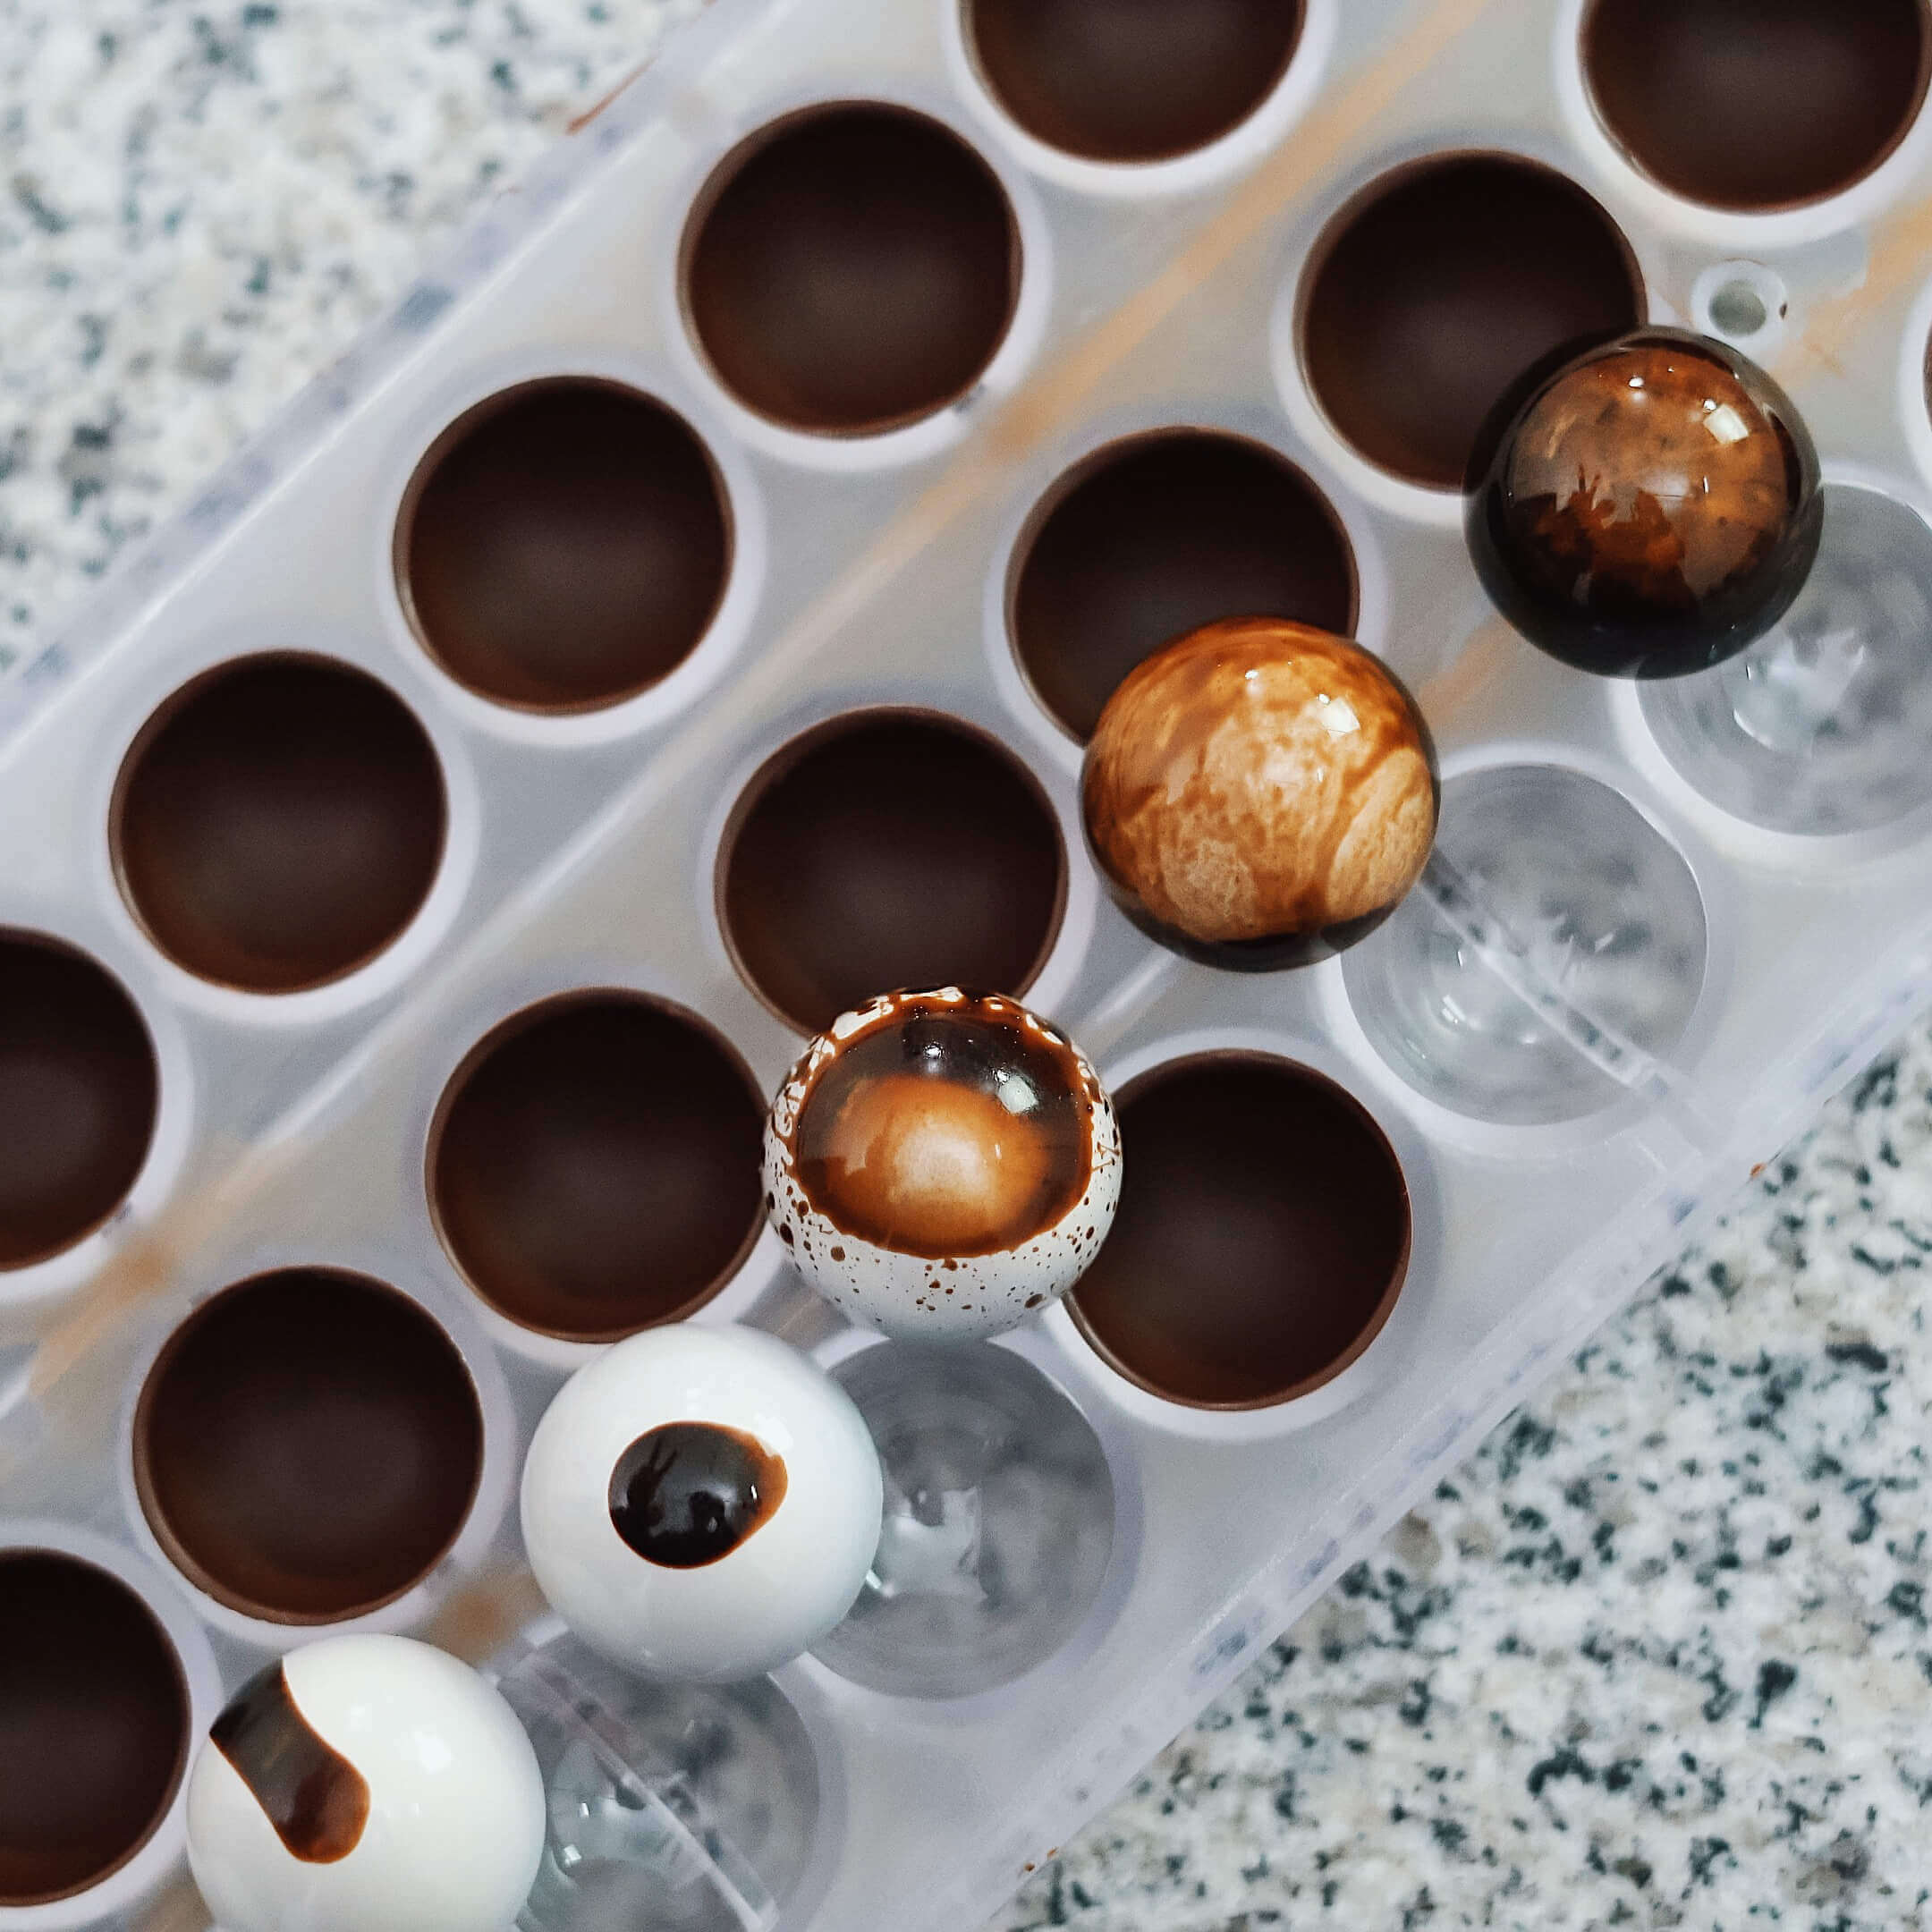
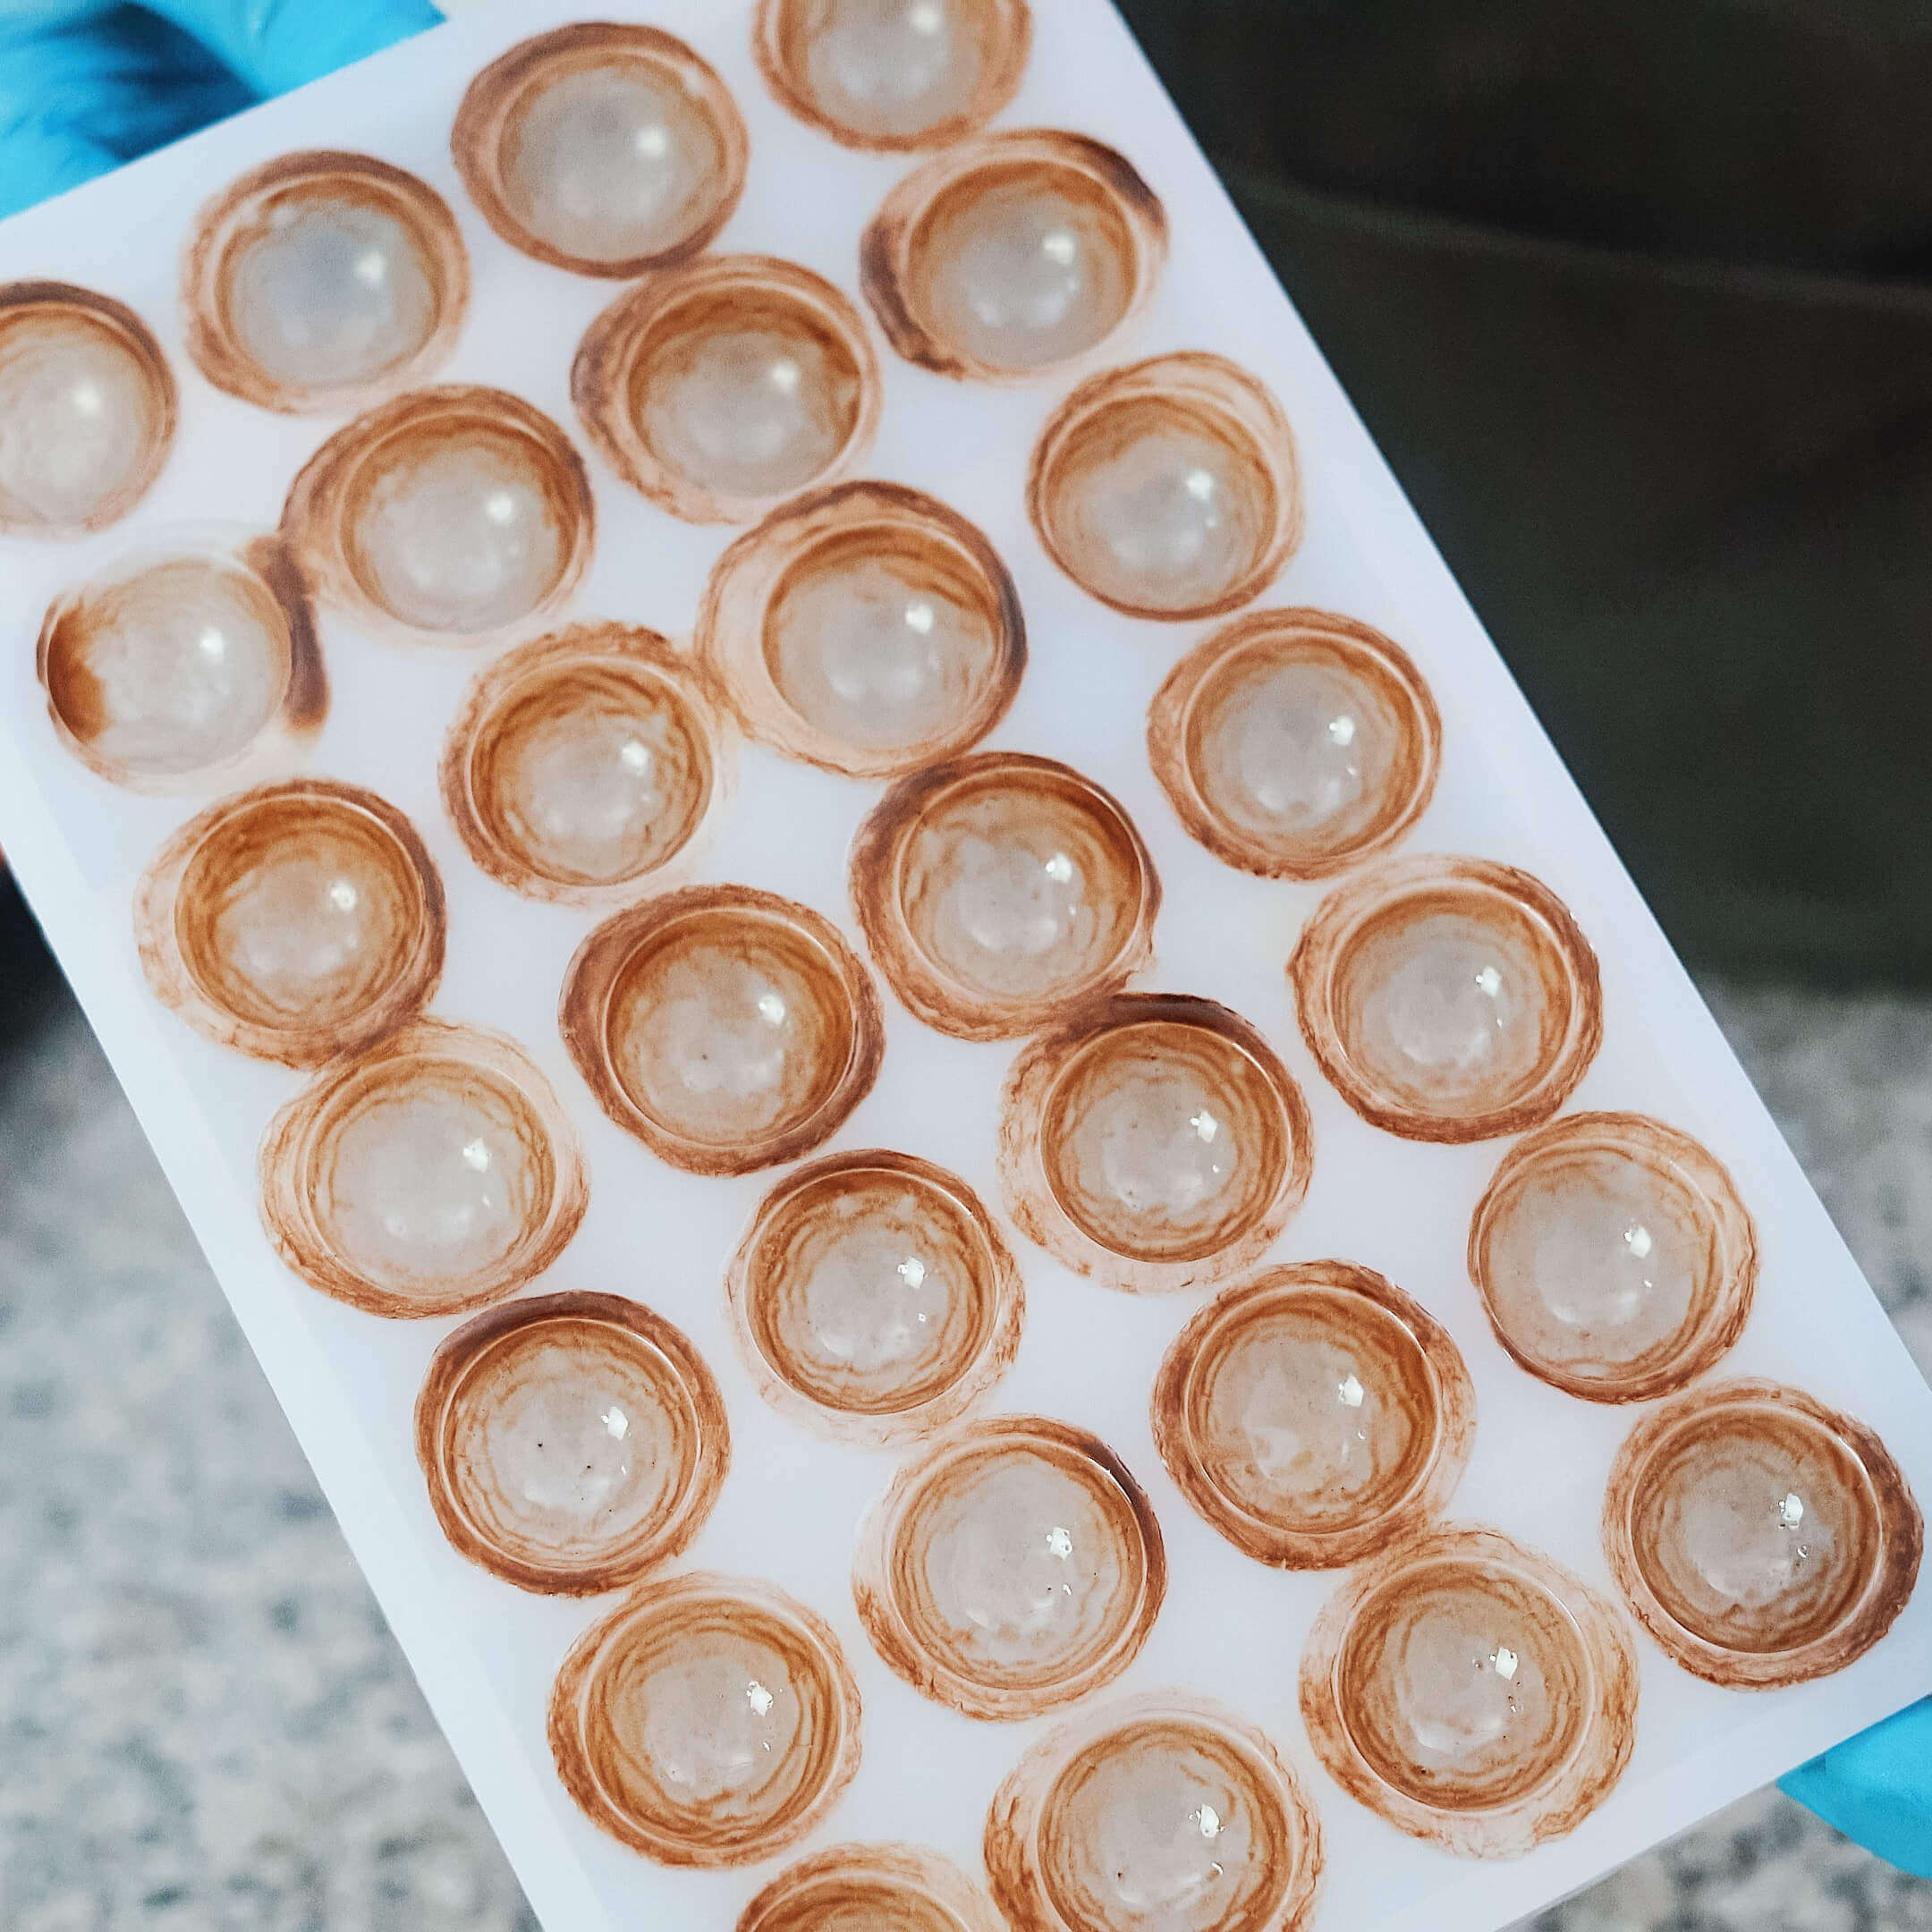
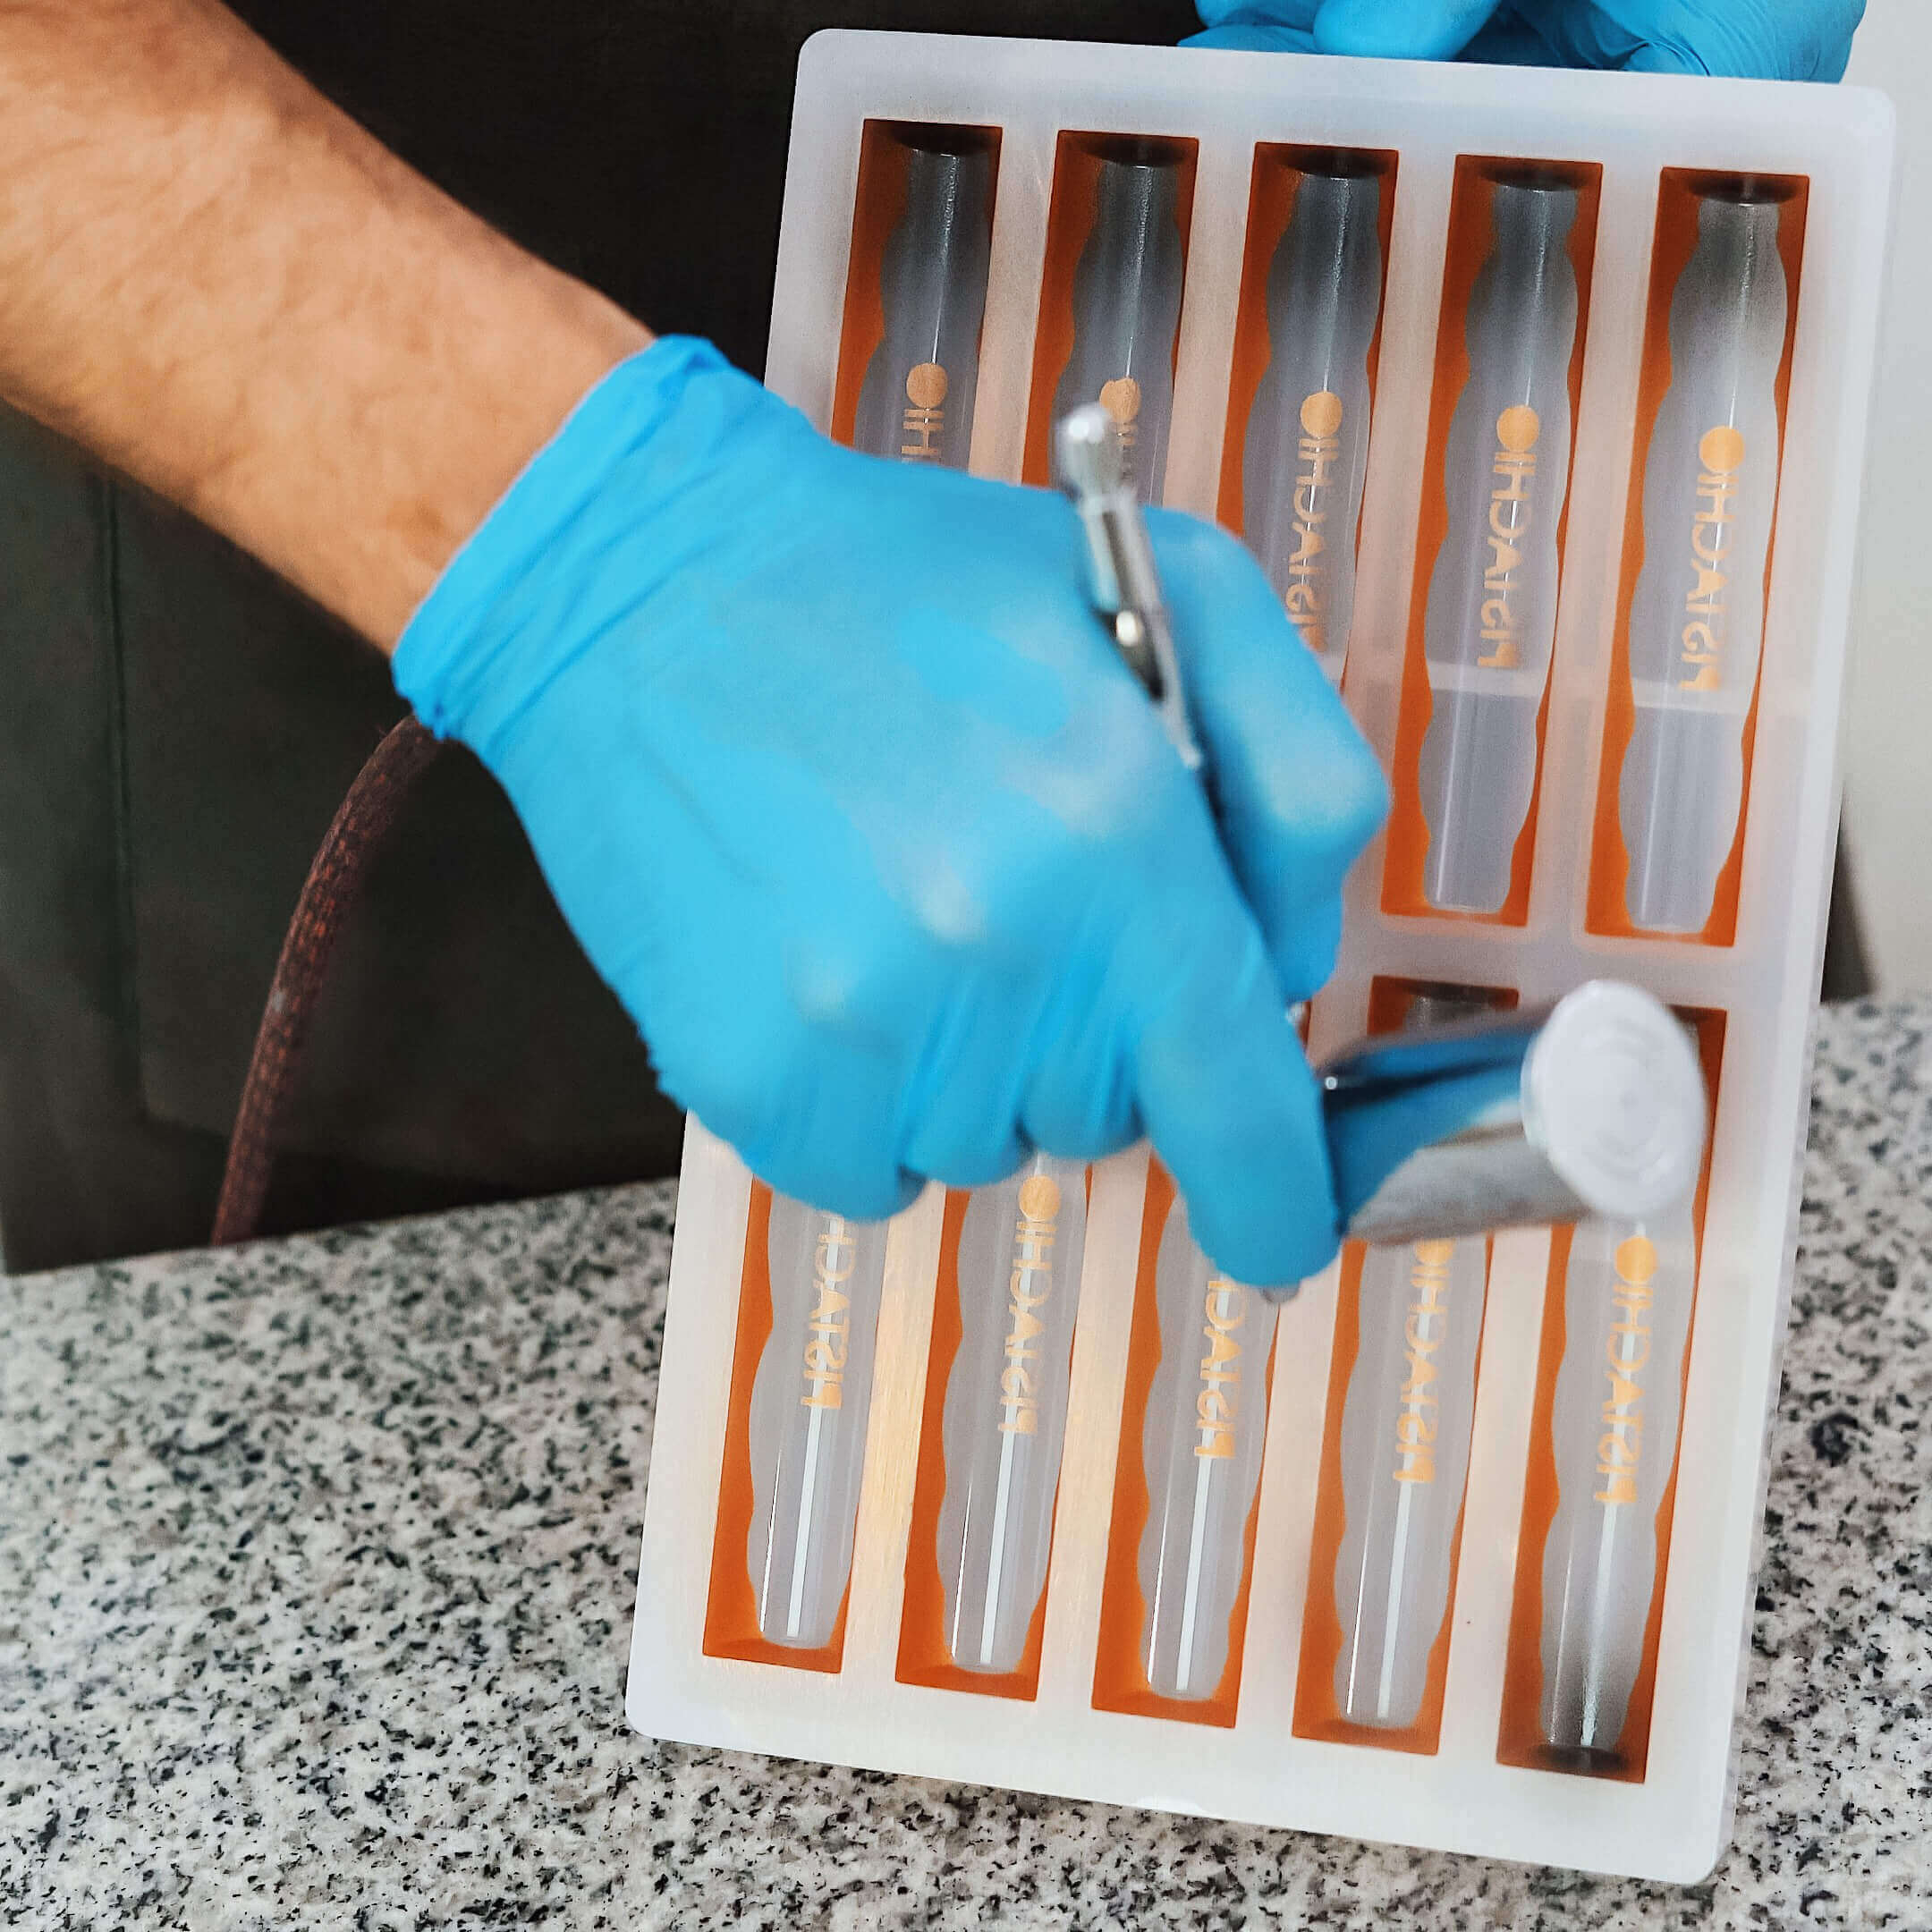
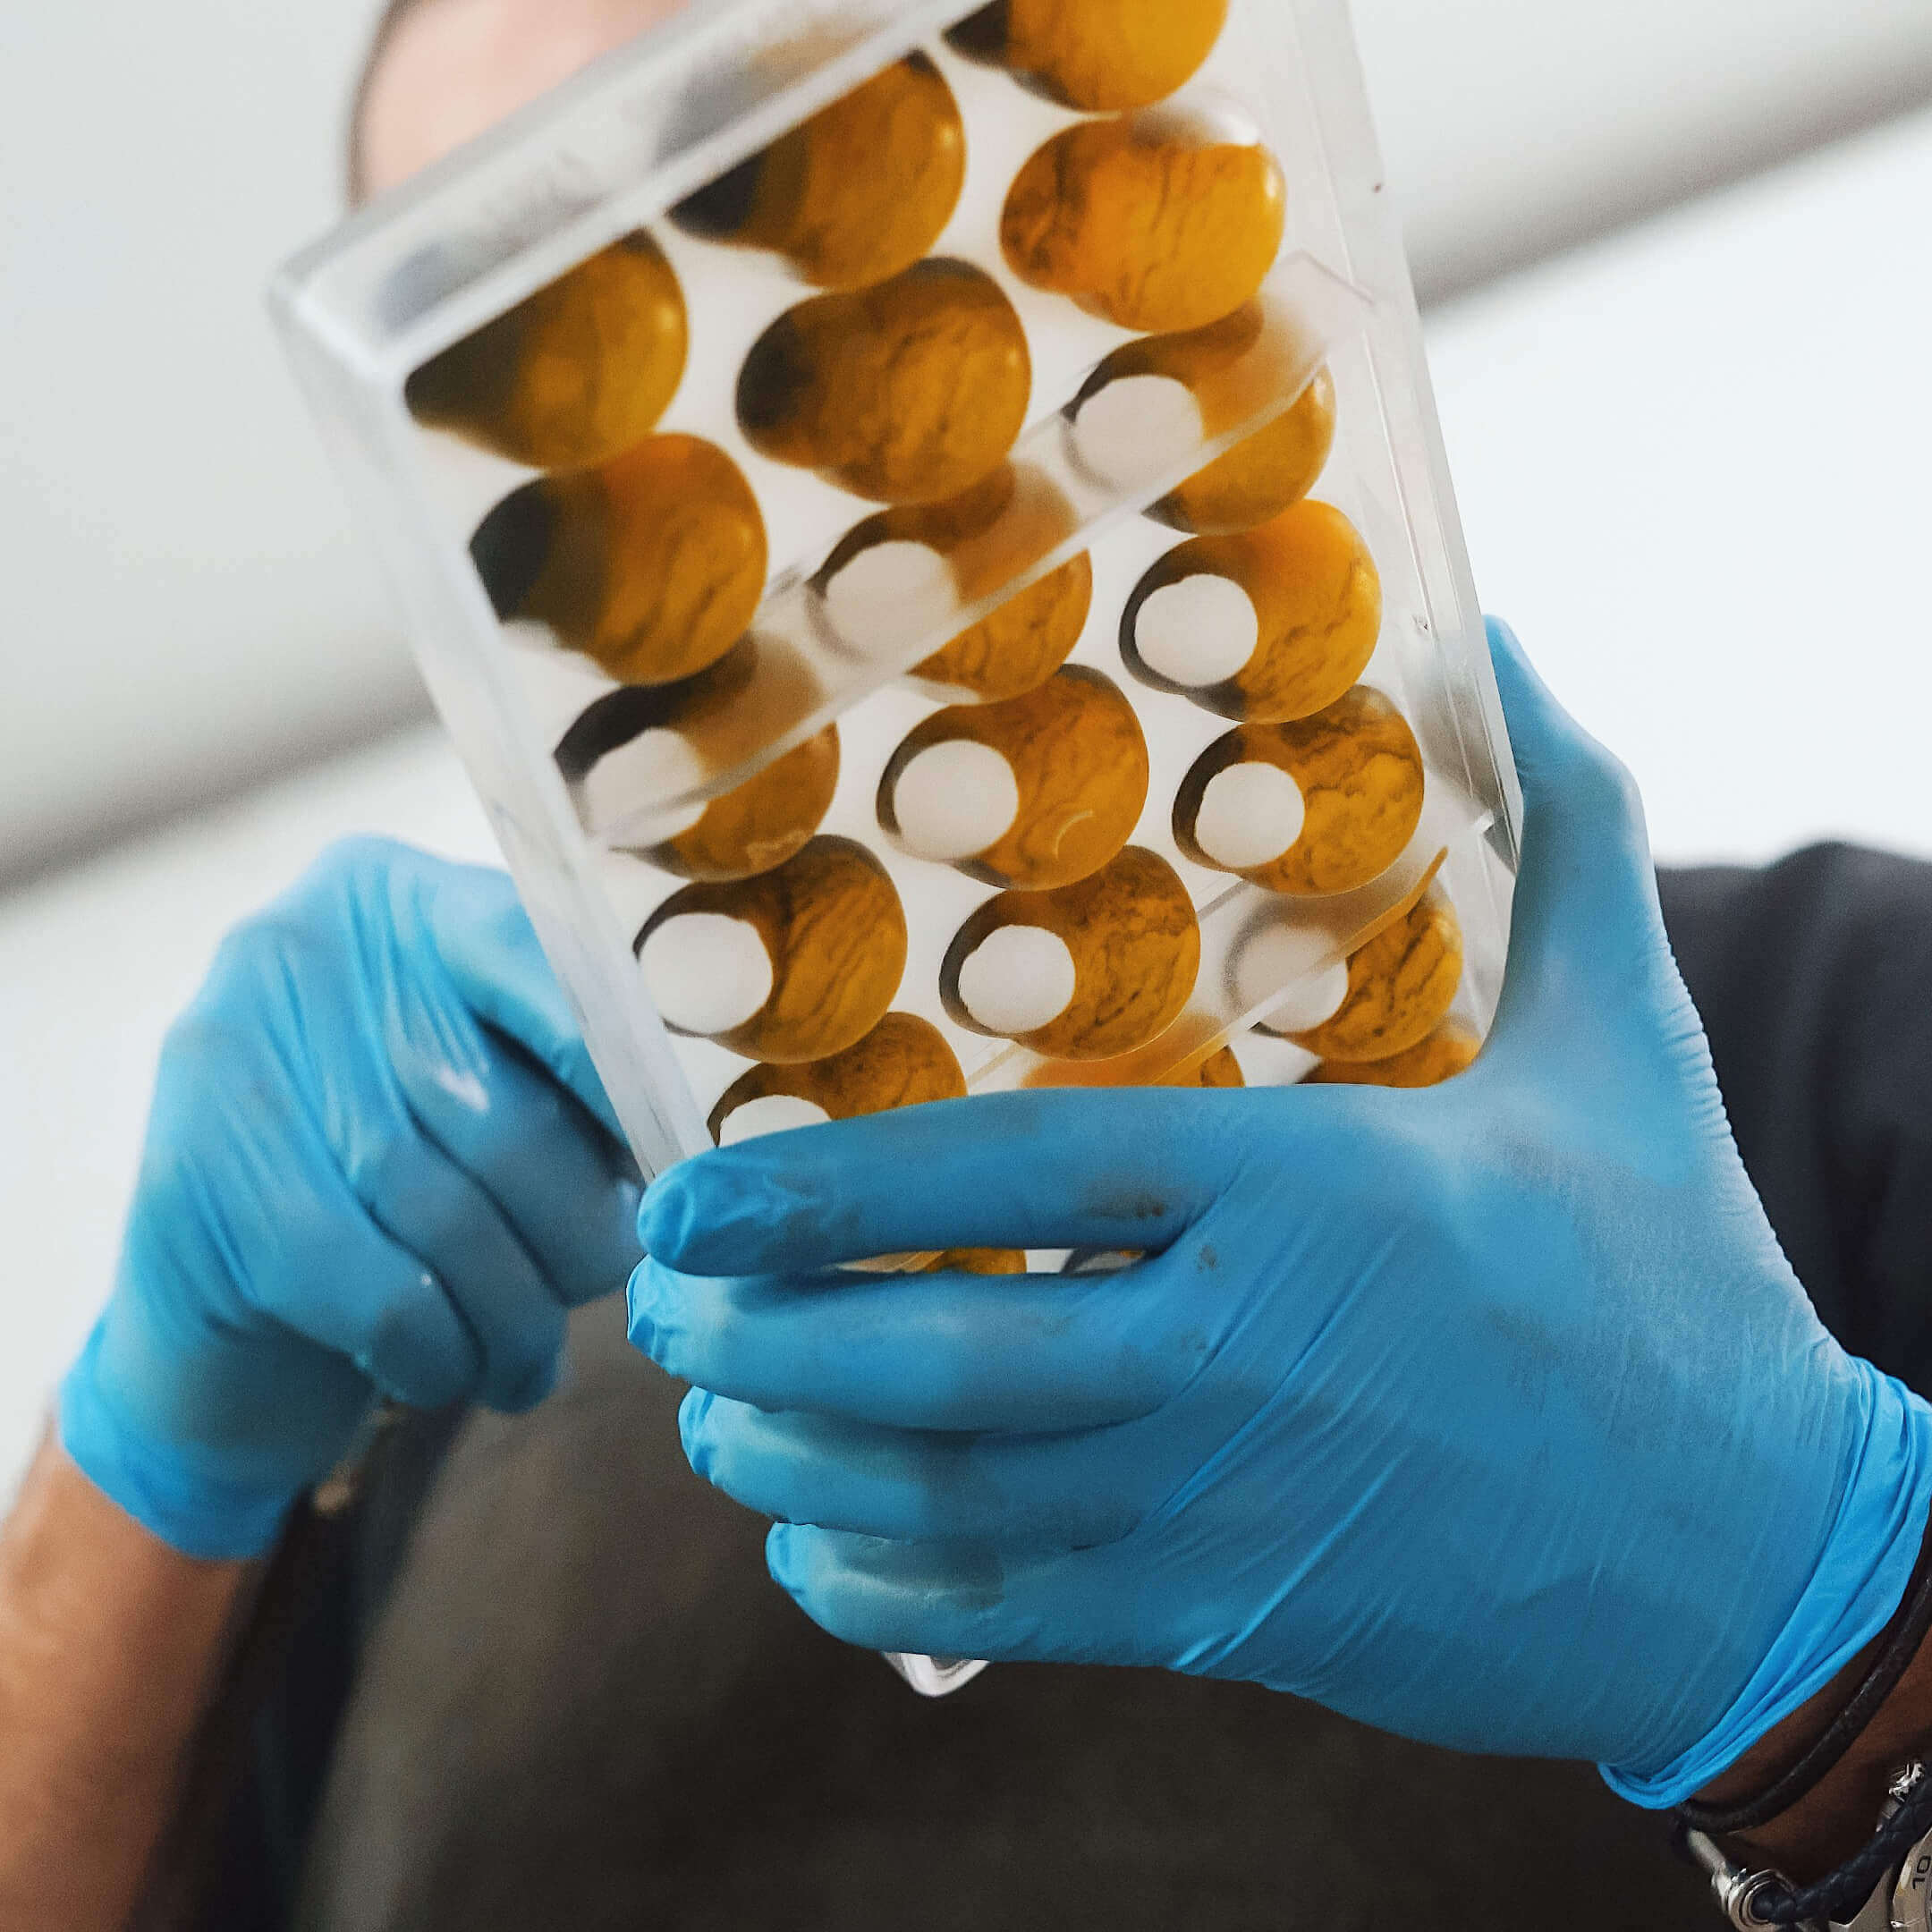
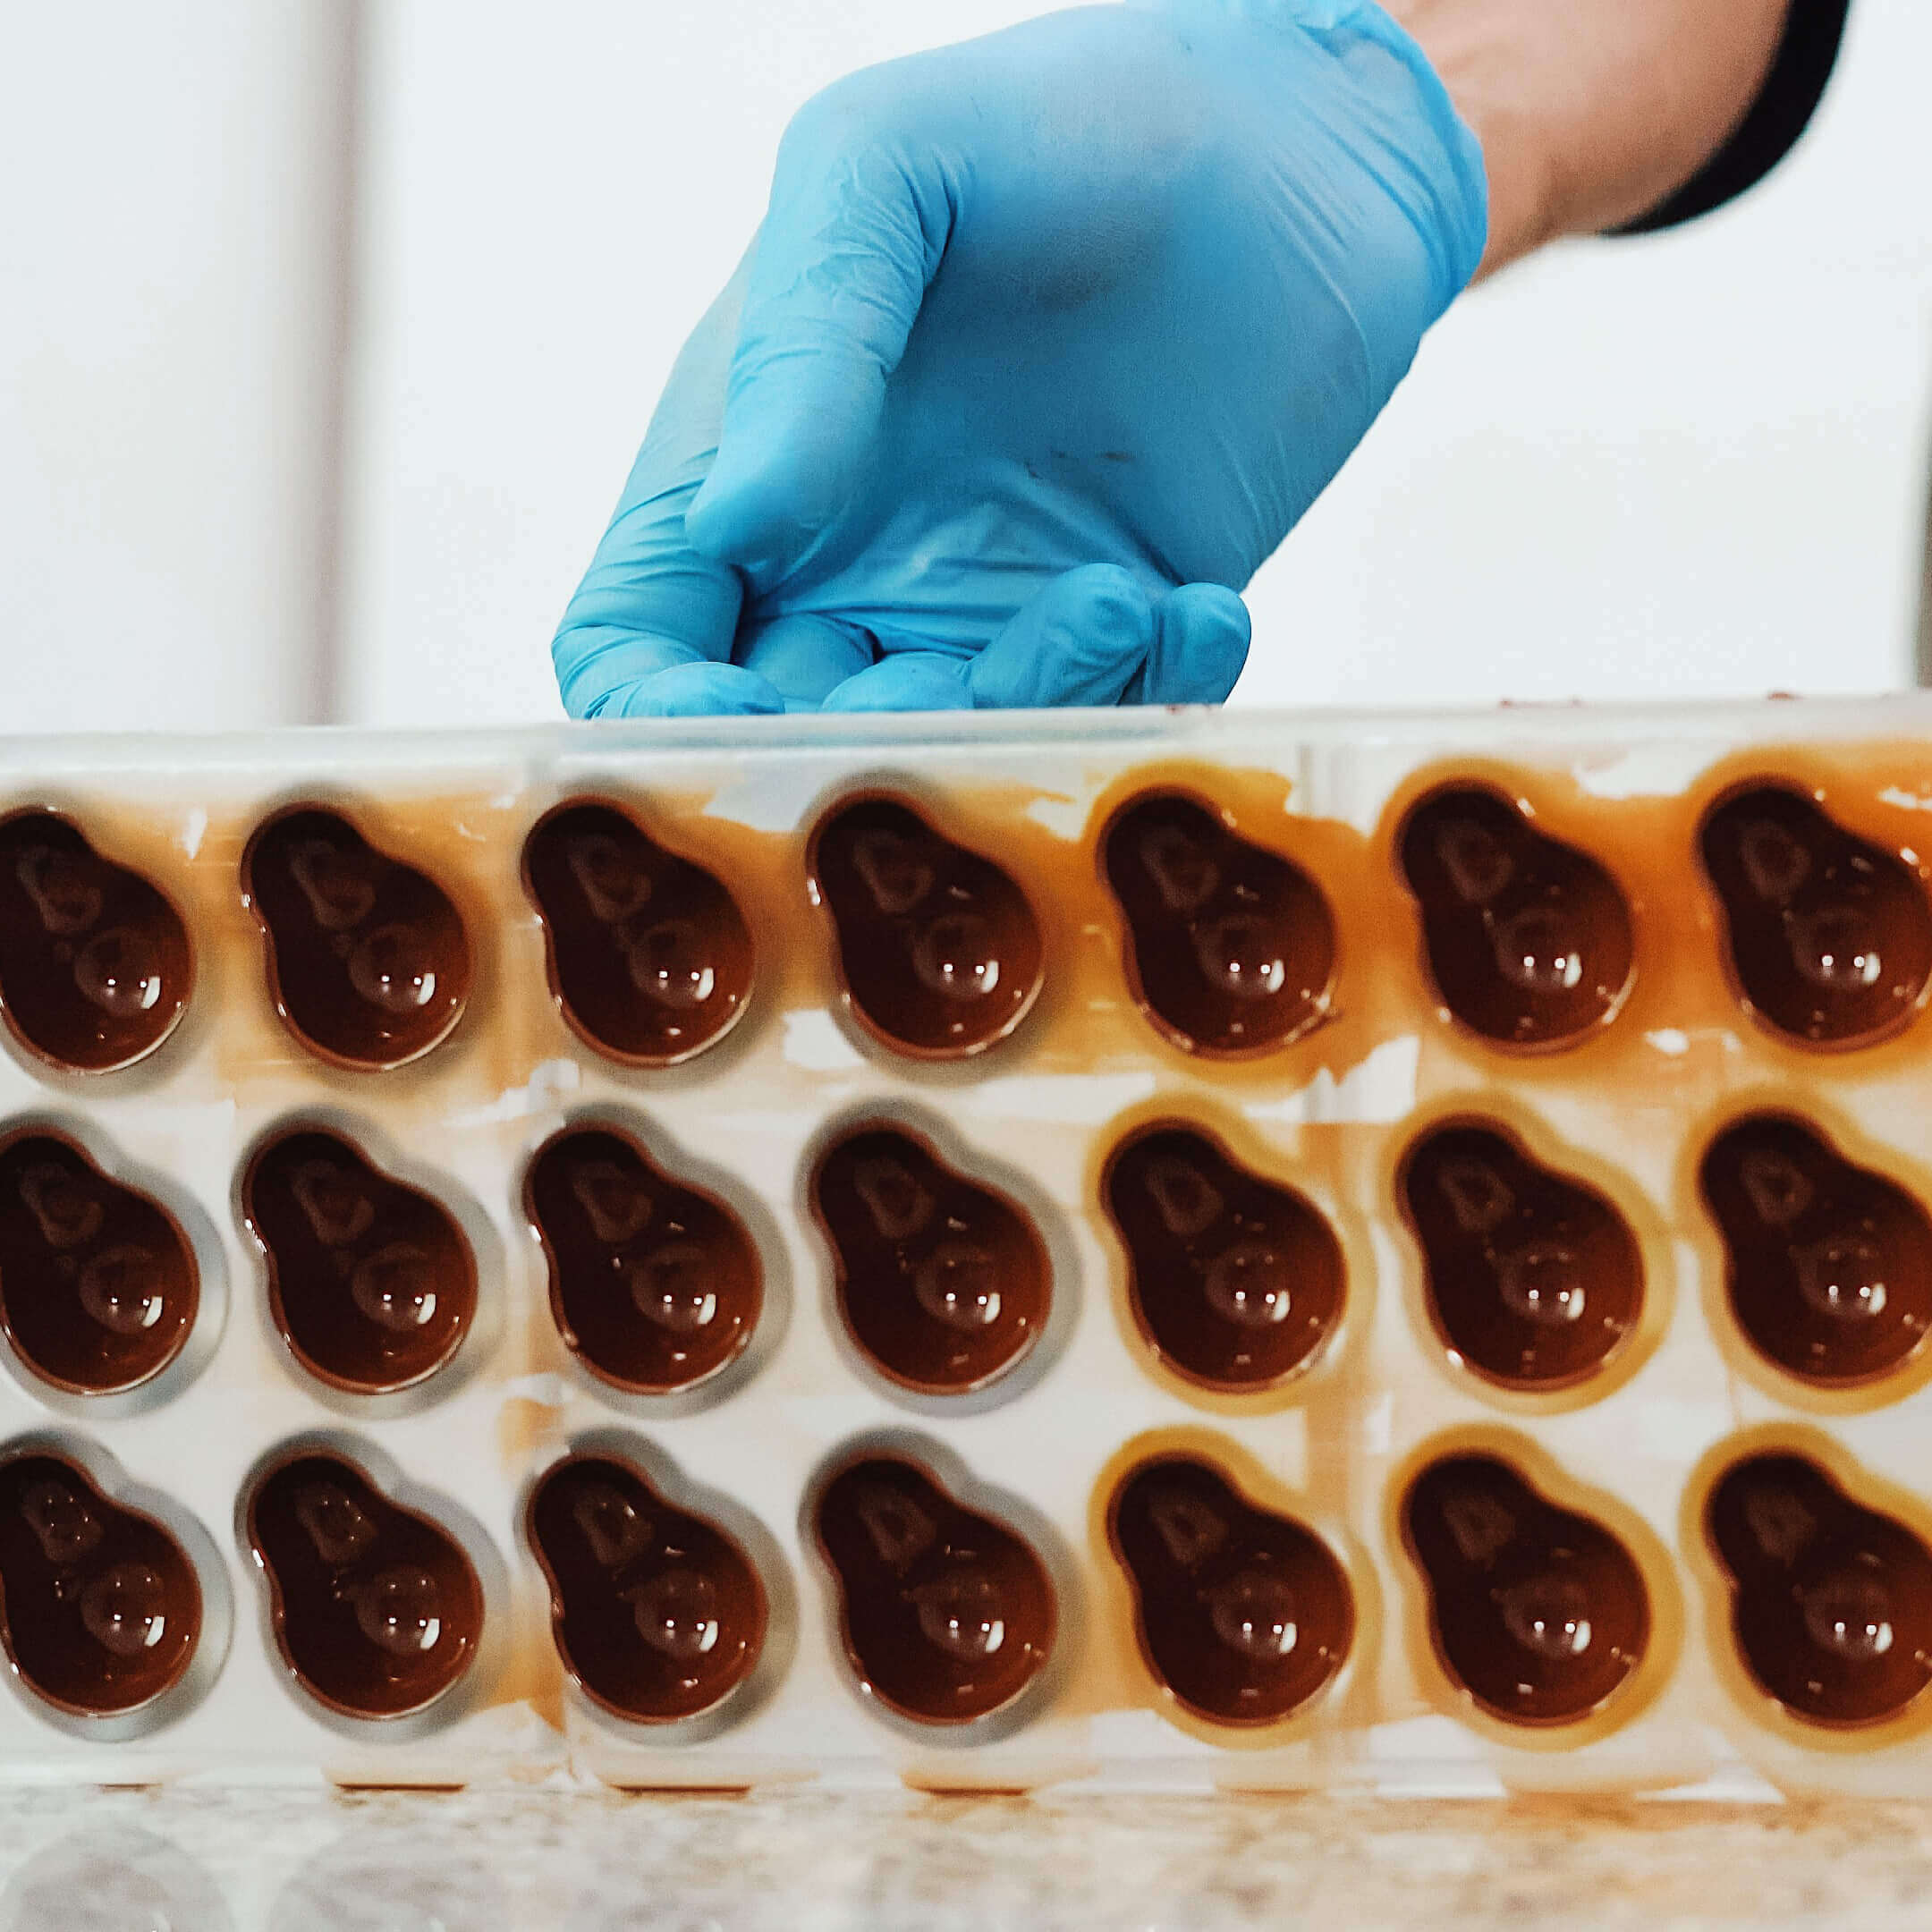
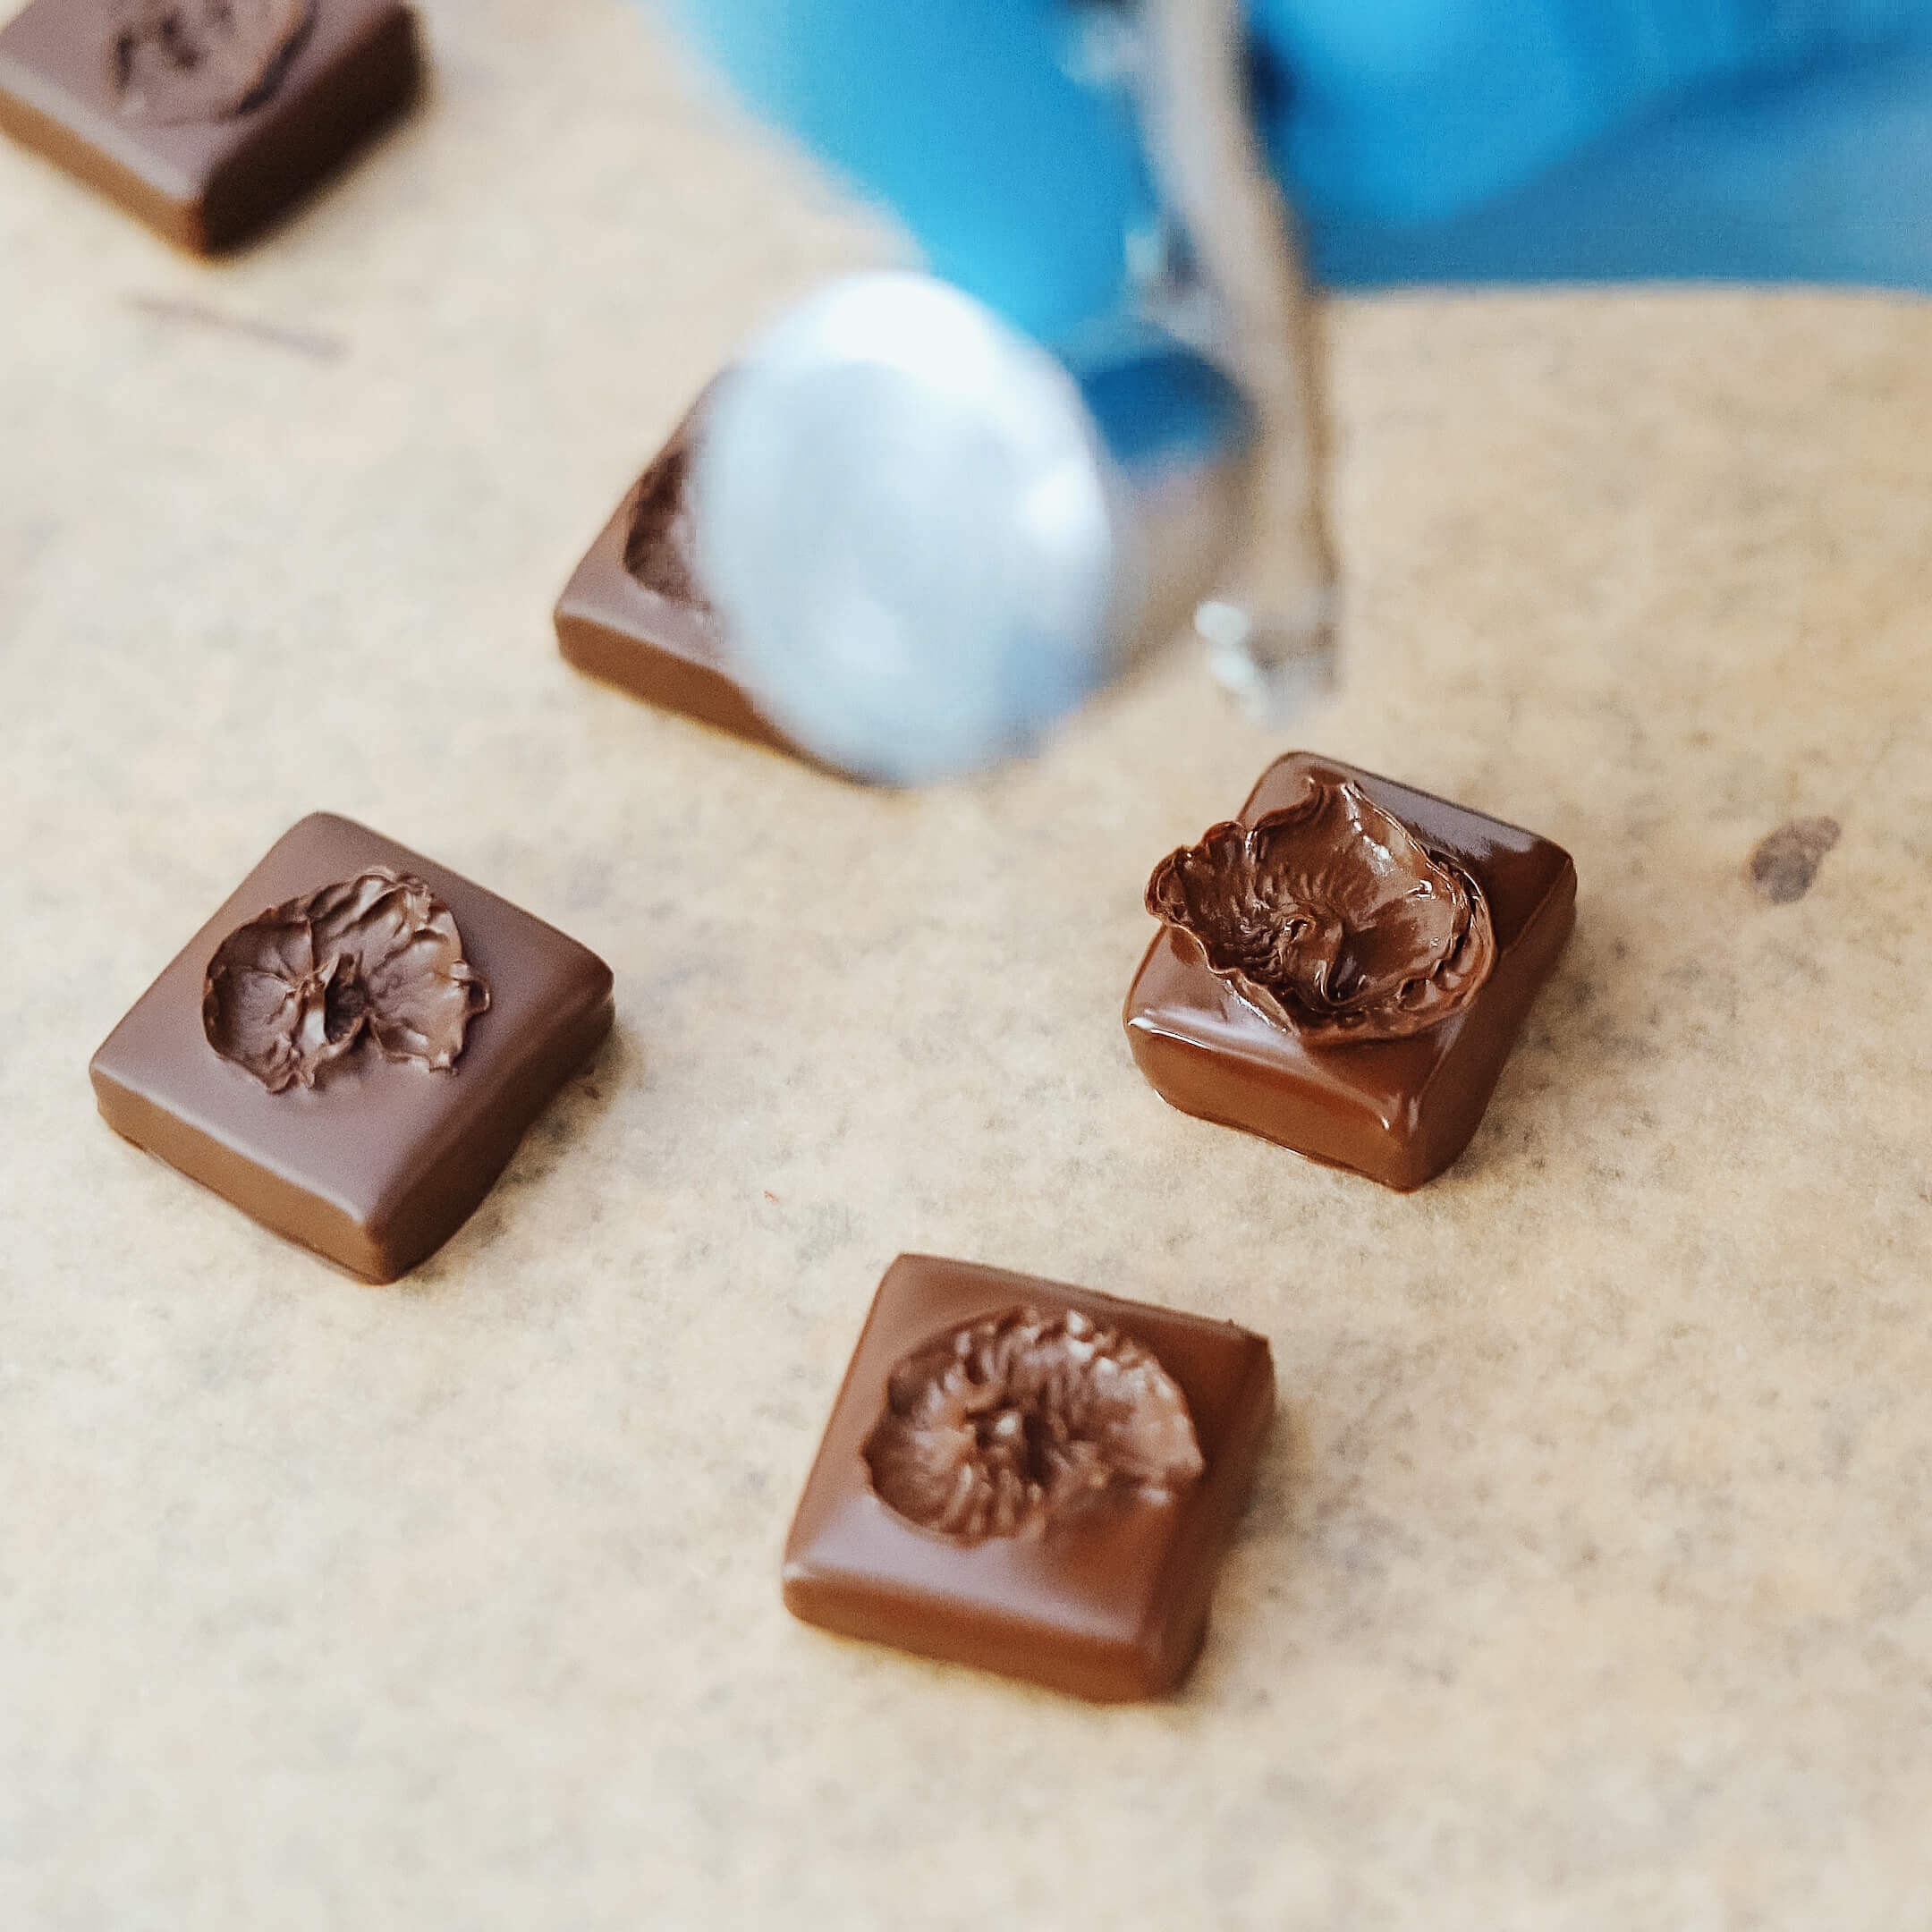
You might have noticed that the course photos show empty shells, not filled chocolates. We did it on purpose because the goal of this course is to teach you how to make beautiful chocolates (which are generally shells), recreate the designs and master techniques, and not how to cook balanced ganaches, not how to make chocolates that can be stored for months, not how to calculate your own and unique recipes. If you are looking for something like this, attend Alexandre Bordeux’s courses on ganaches.
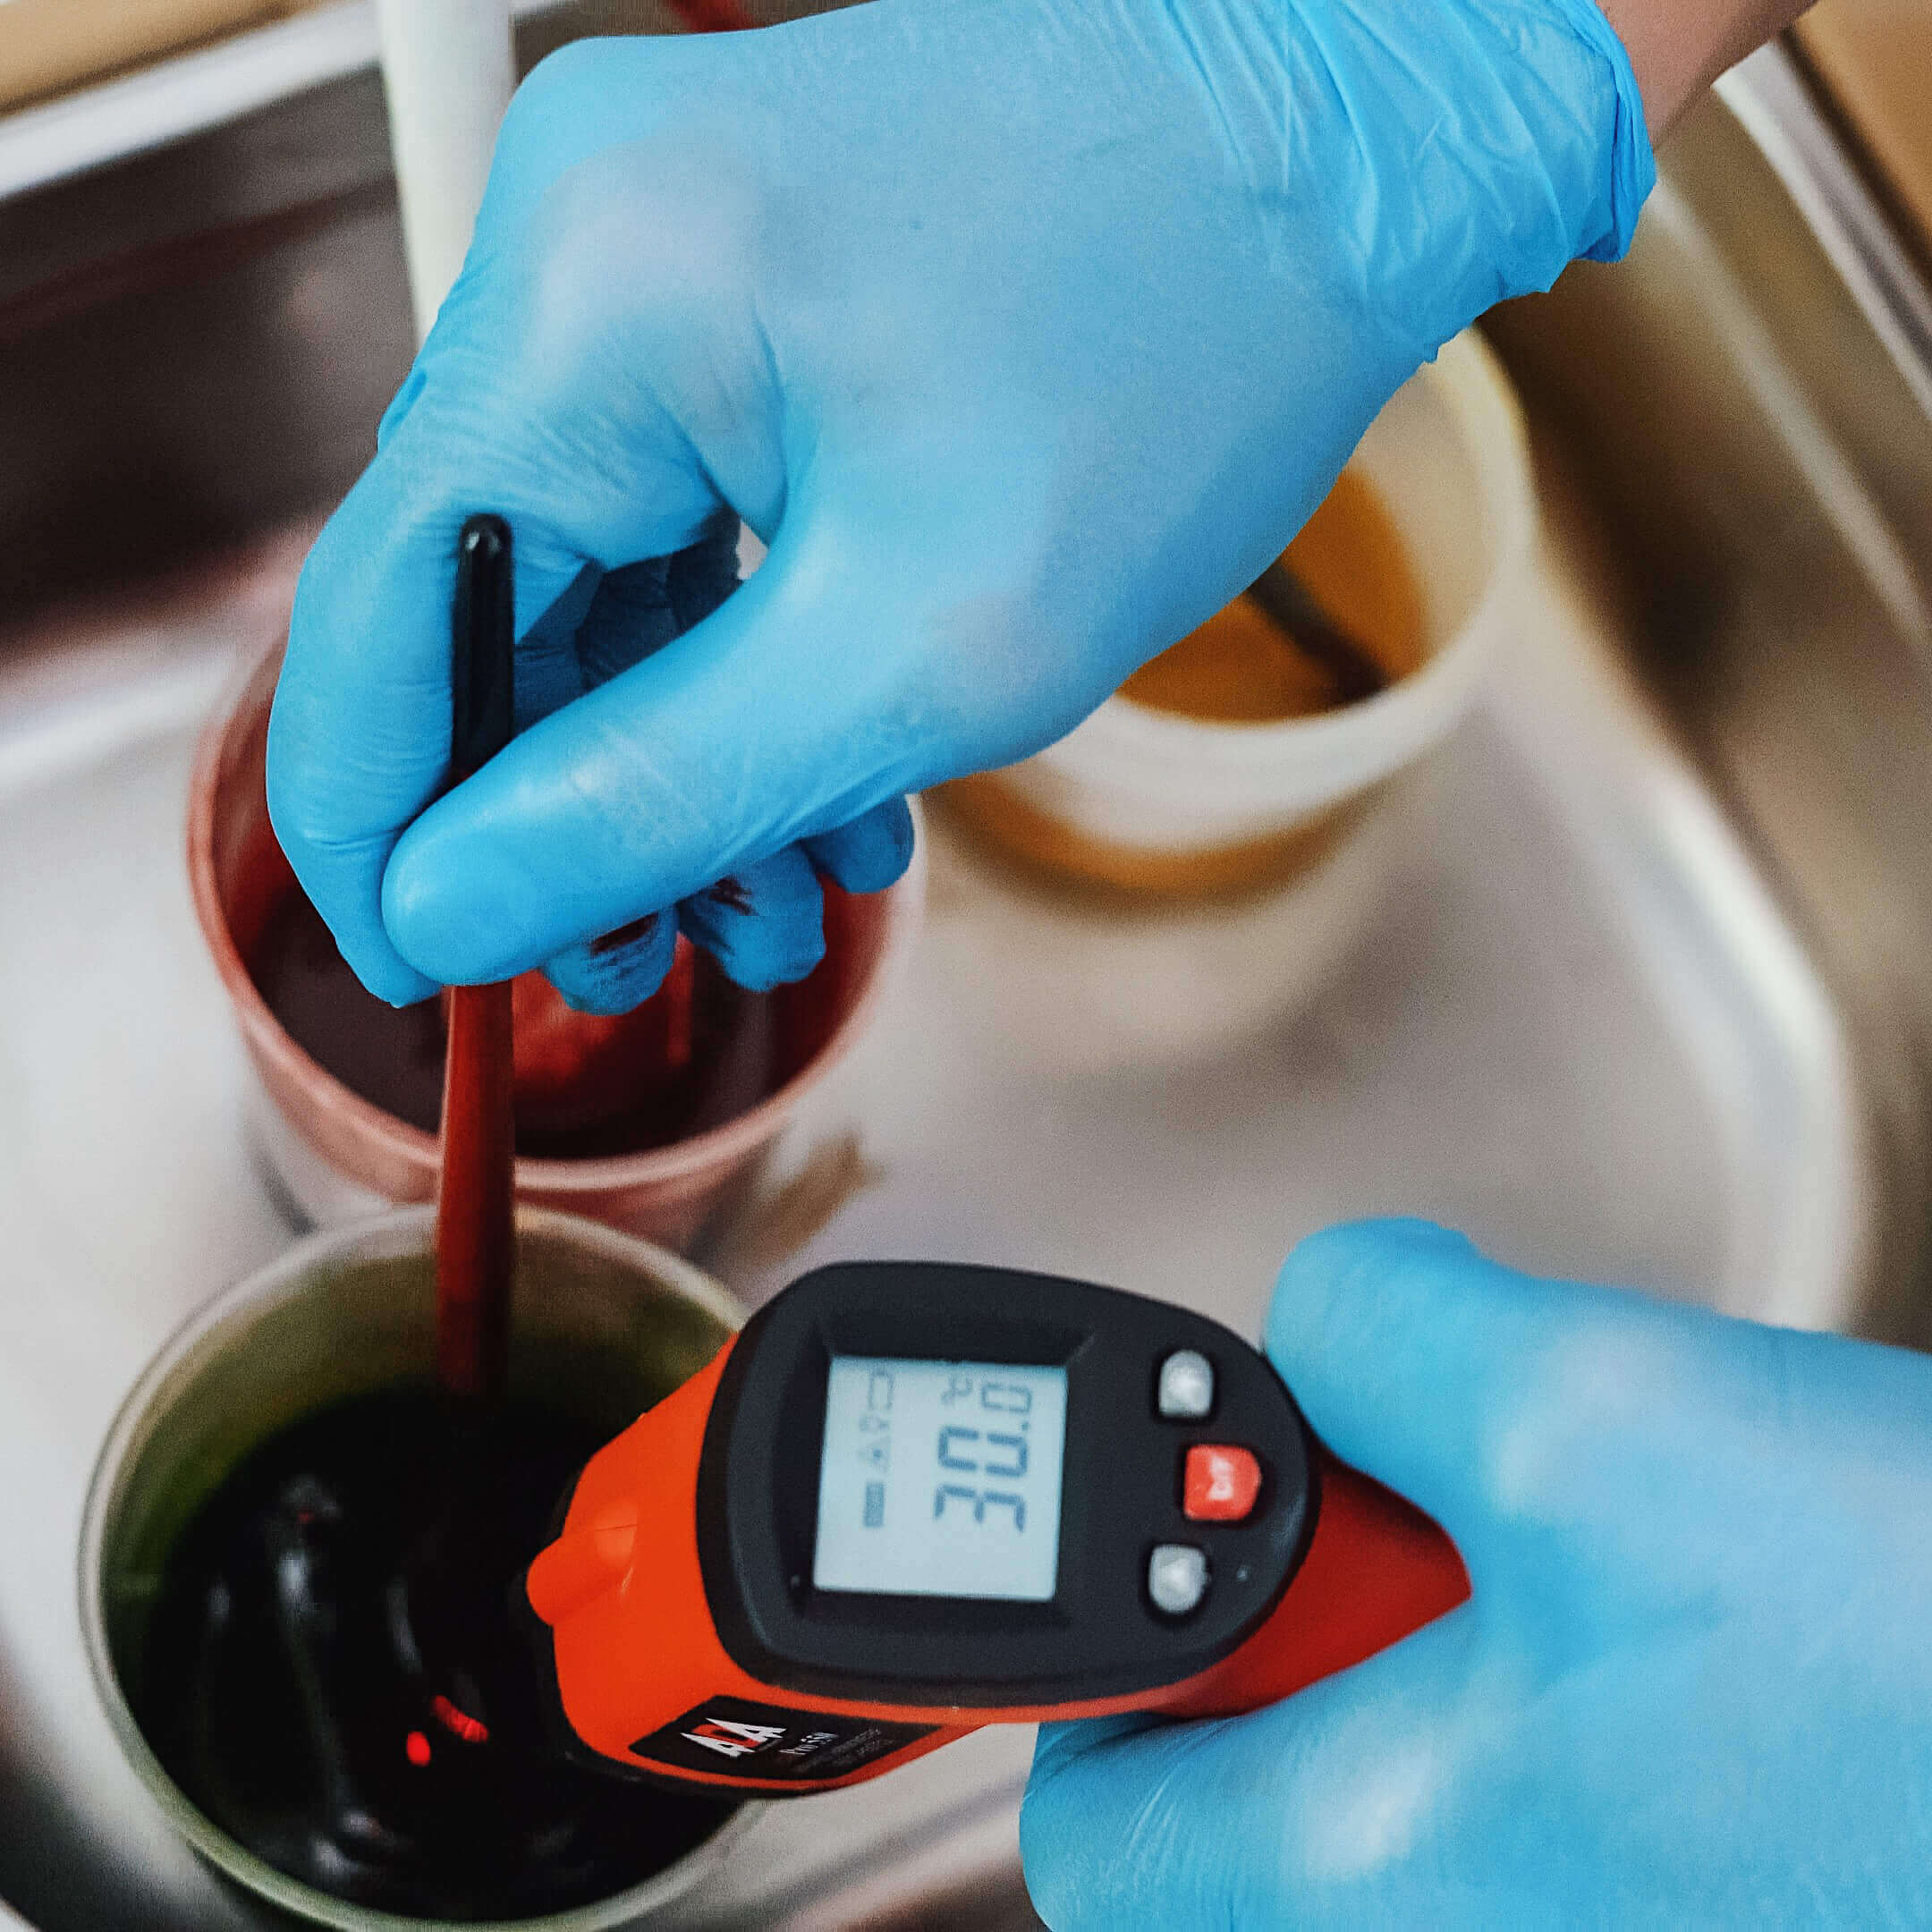
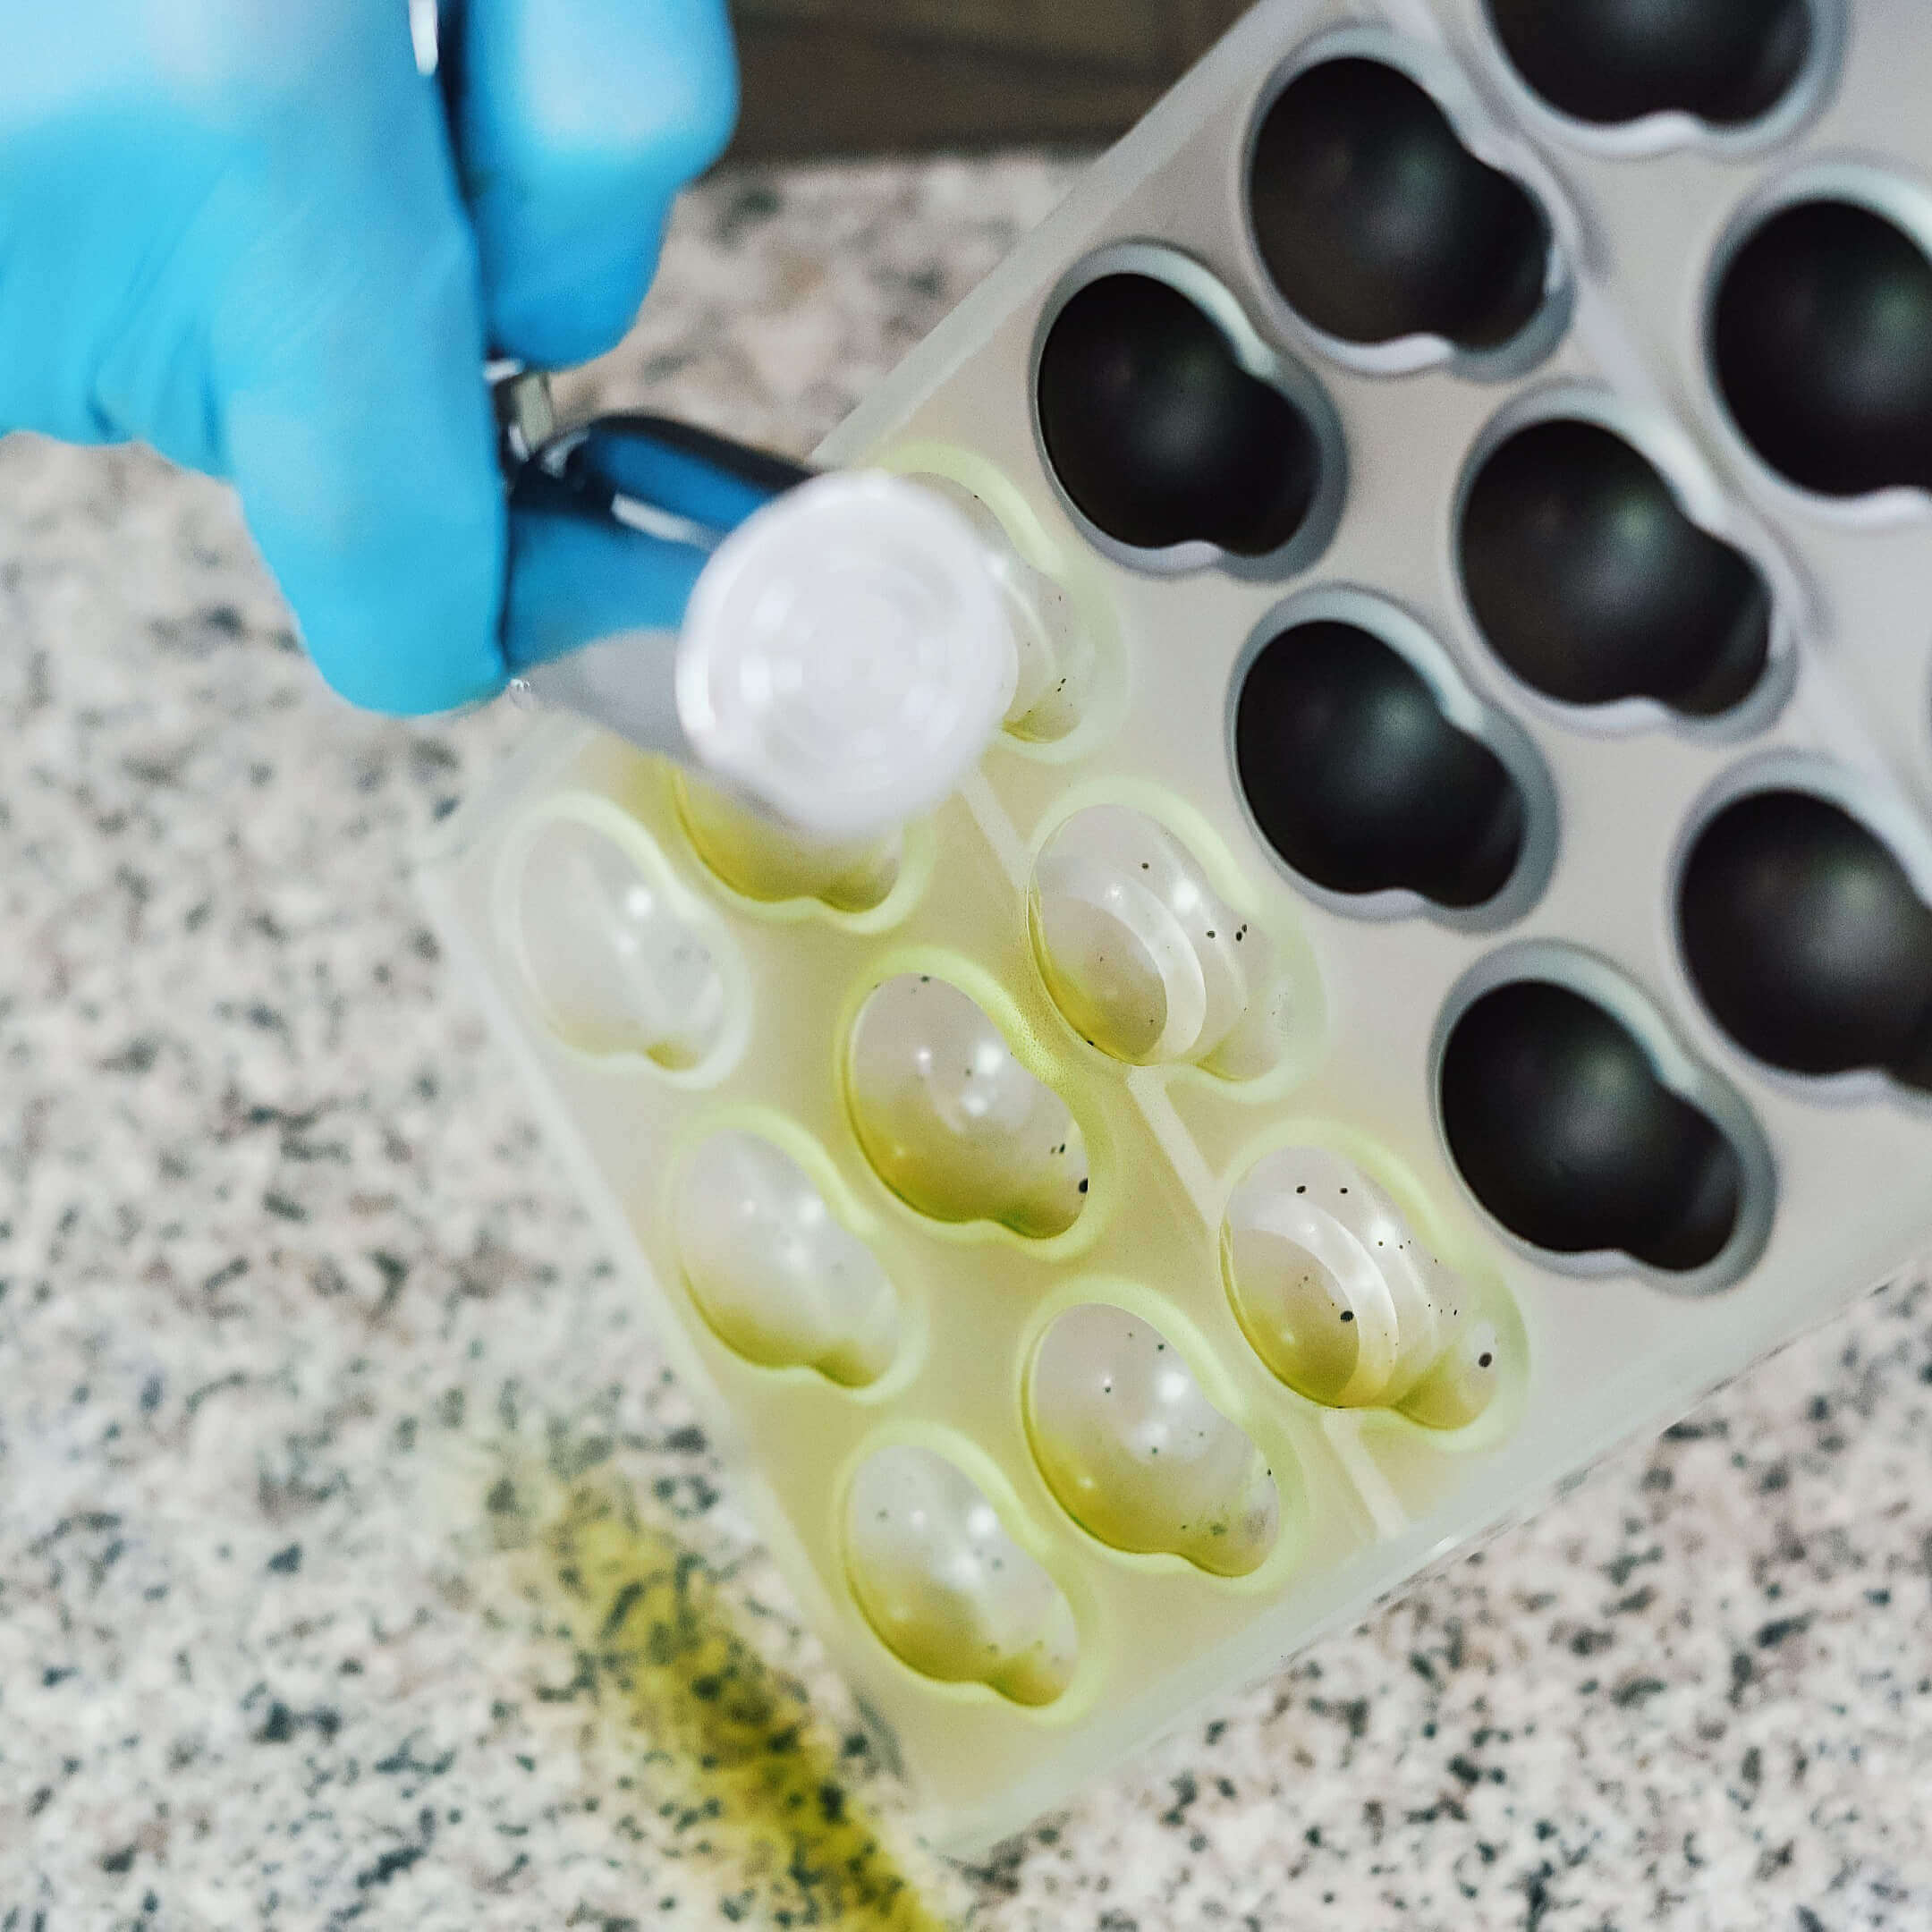
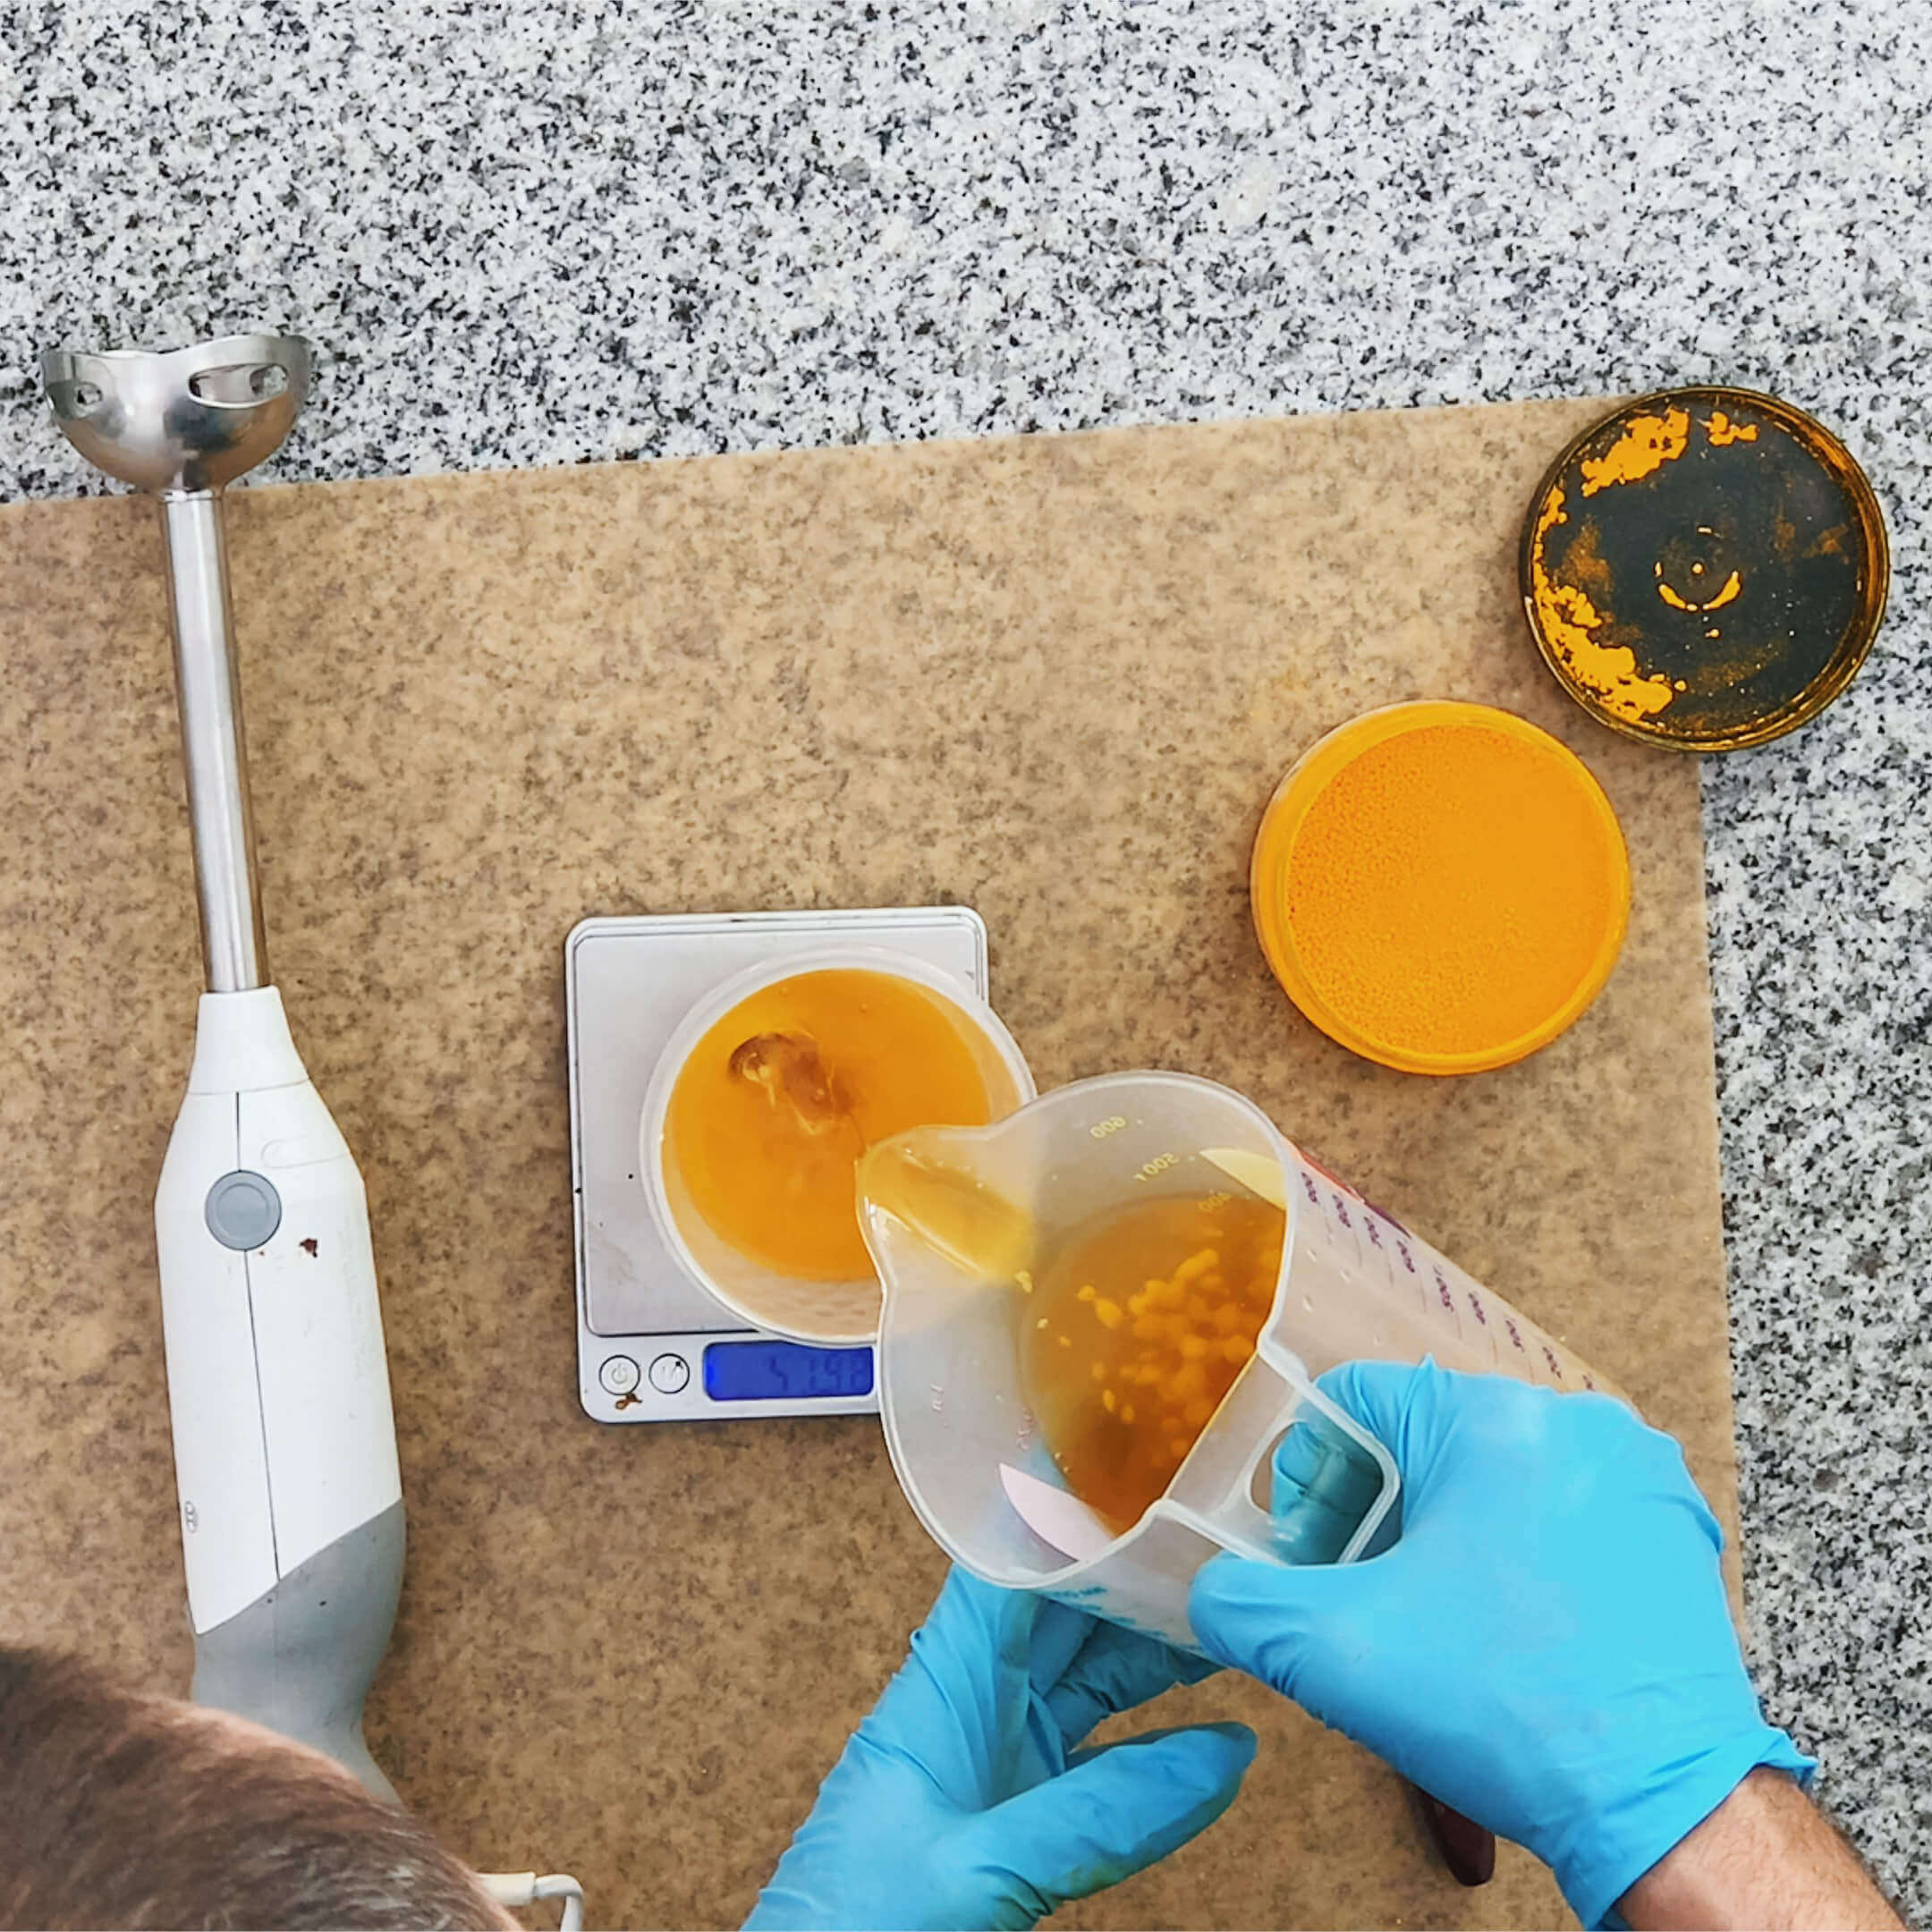
As you remember, the Week 2 module is devoted to the life cycle of chocolates making including sealing and unmoulding. It would be completely weird if we didn’t show you anything about fillings. So, we have made a detailed tutorial on basic fillings covering main types of fillings we usually use in chocolates: ganaches, crunchy layers, gels and caramel. In the tutorial you will find out about the main concepts, including the understanding of what an emulsion is and why it is important. We will show you how to prepare basic fillings and how to use them in chocolate shells.
We’ve included some Andrey’s recipes for your personal use. We don’t have detailed tutorials on how to prepare them, but you will have the recipes with detailed instructions. It’s up to you whether to use these recipes in the course or not.
Week 3 module is about fillings. And since our course isn’t about fillings, there is no assignment for Week 3. Only tutorials to work with.
#Contents
01► 34:42 “FILLINGS” VIDEO-TUTORIAL 0
02“FILLINGS” STEP-BY-STEP GUIDE 26
03“FILLINGS” ADD-L RECIPES 26
Week 6
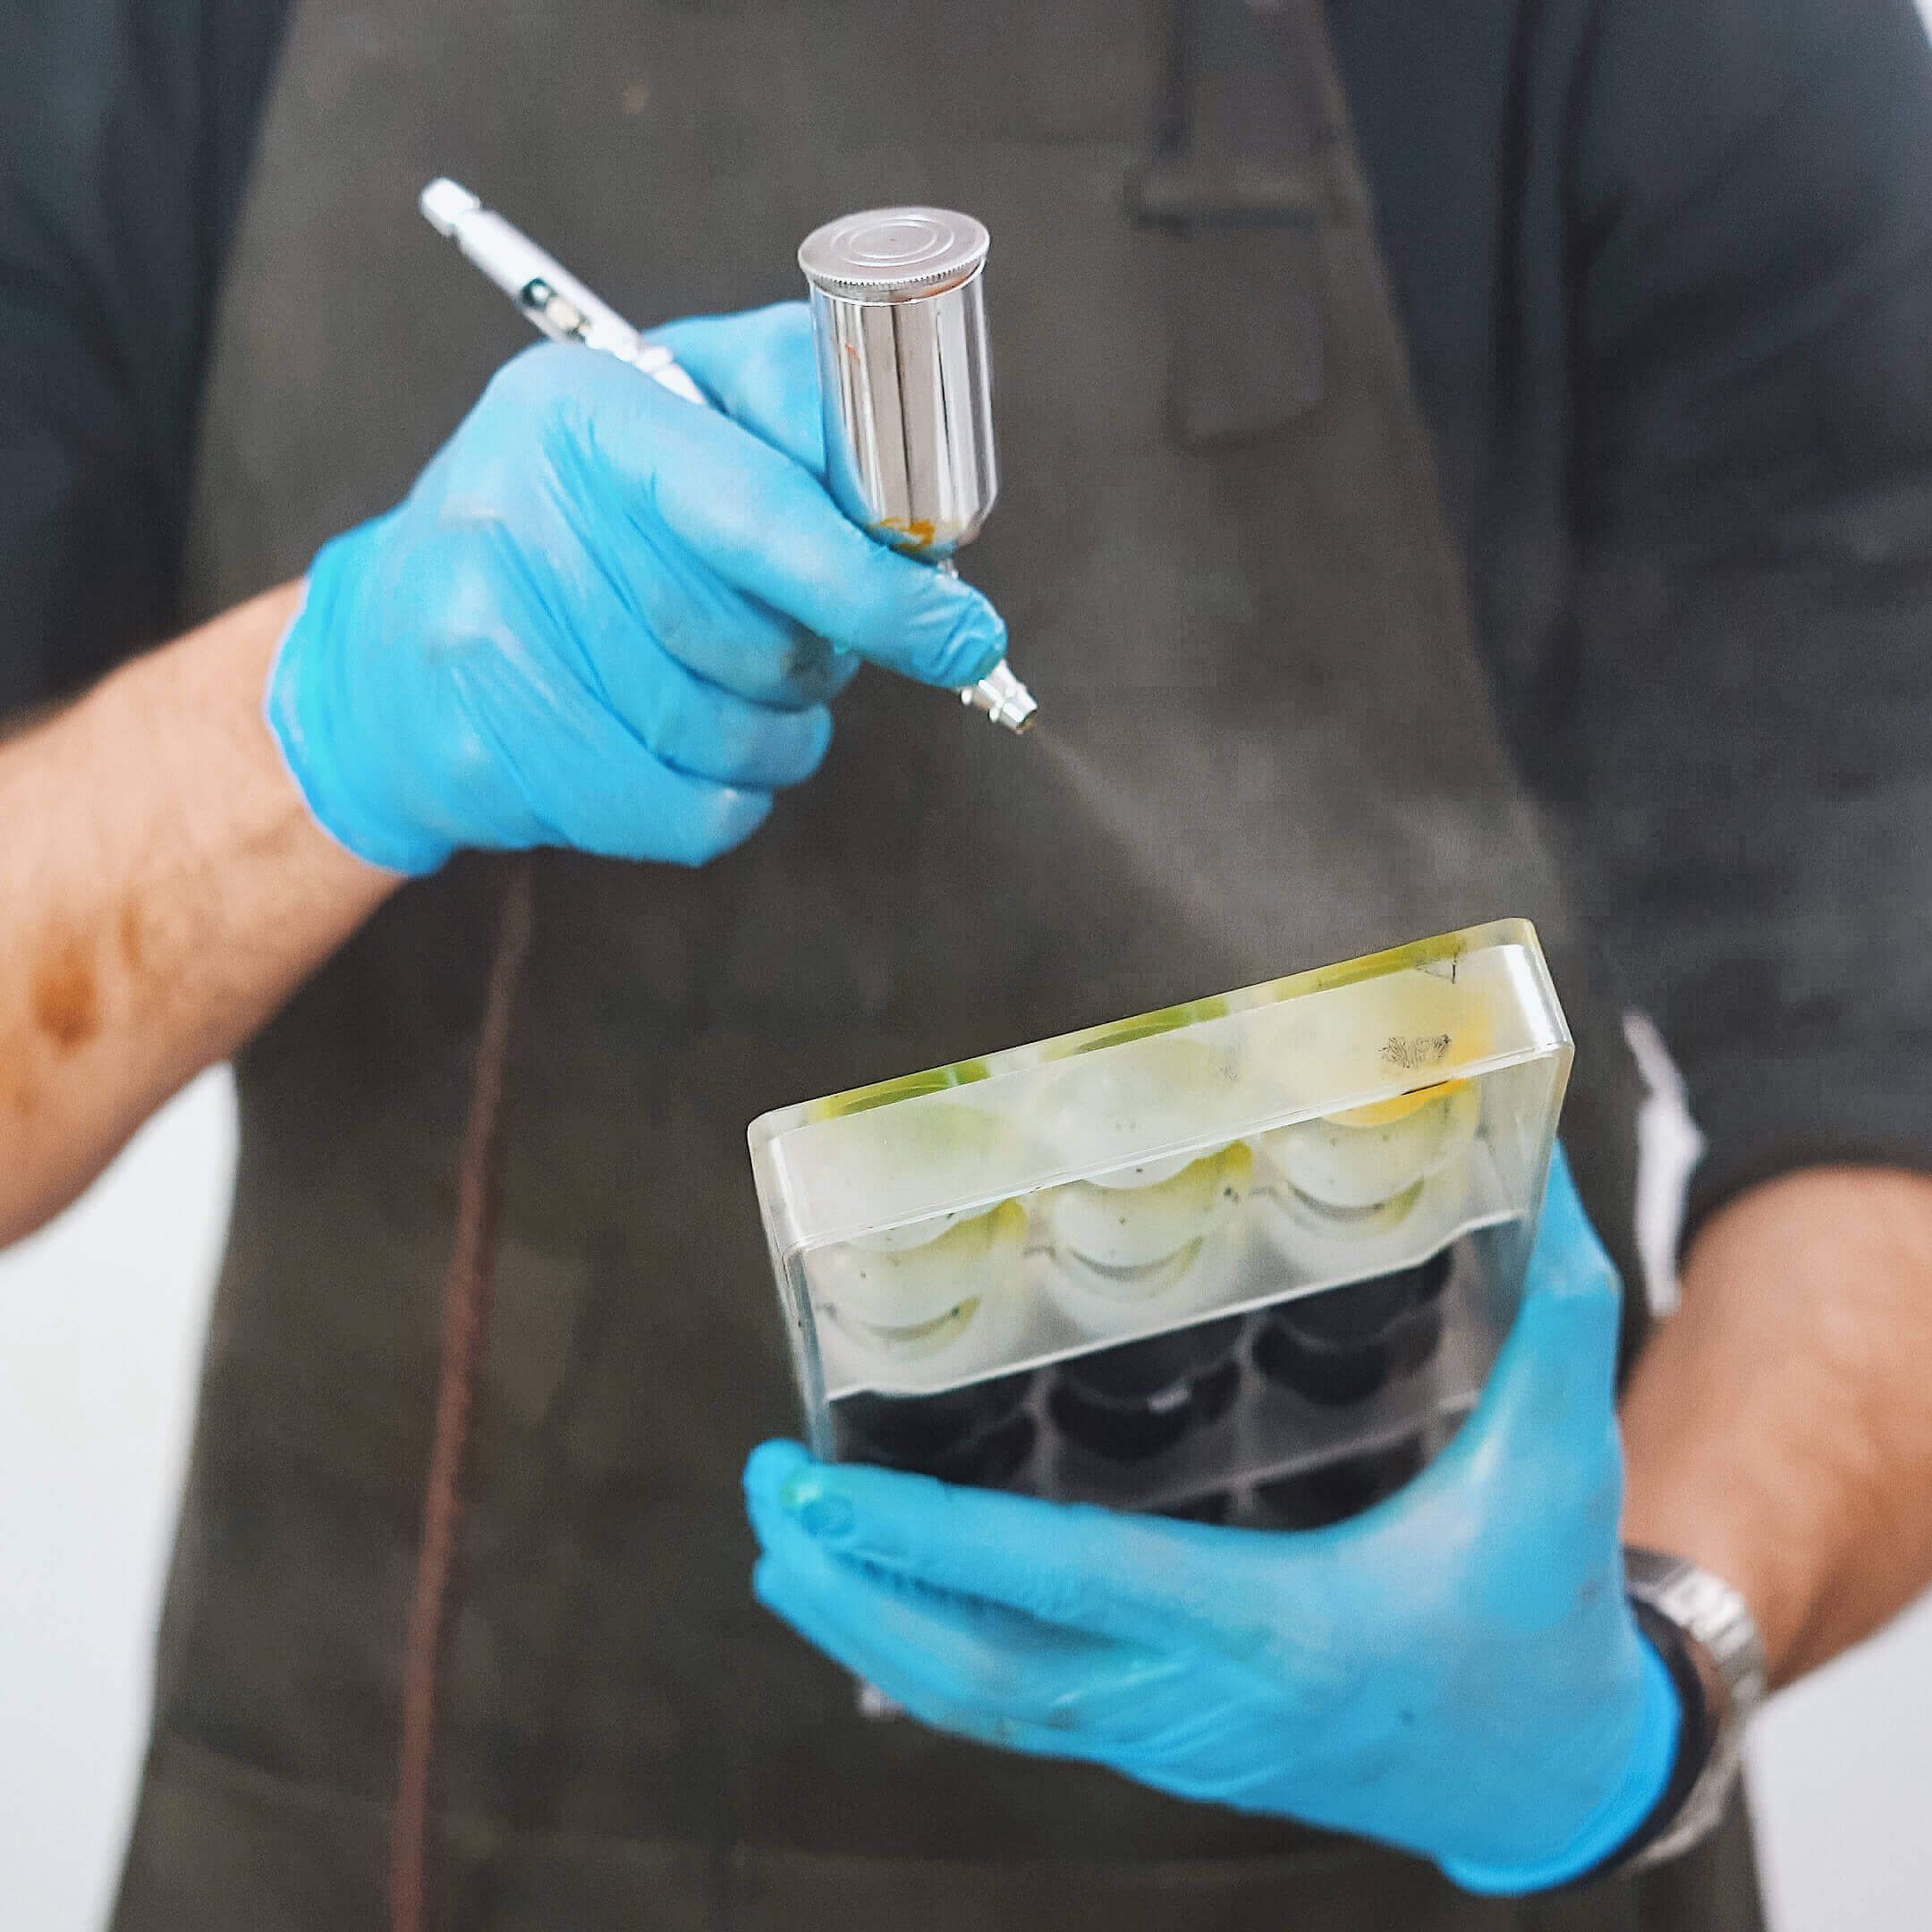
“Spray Pattern Control”
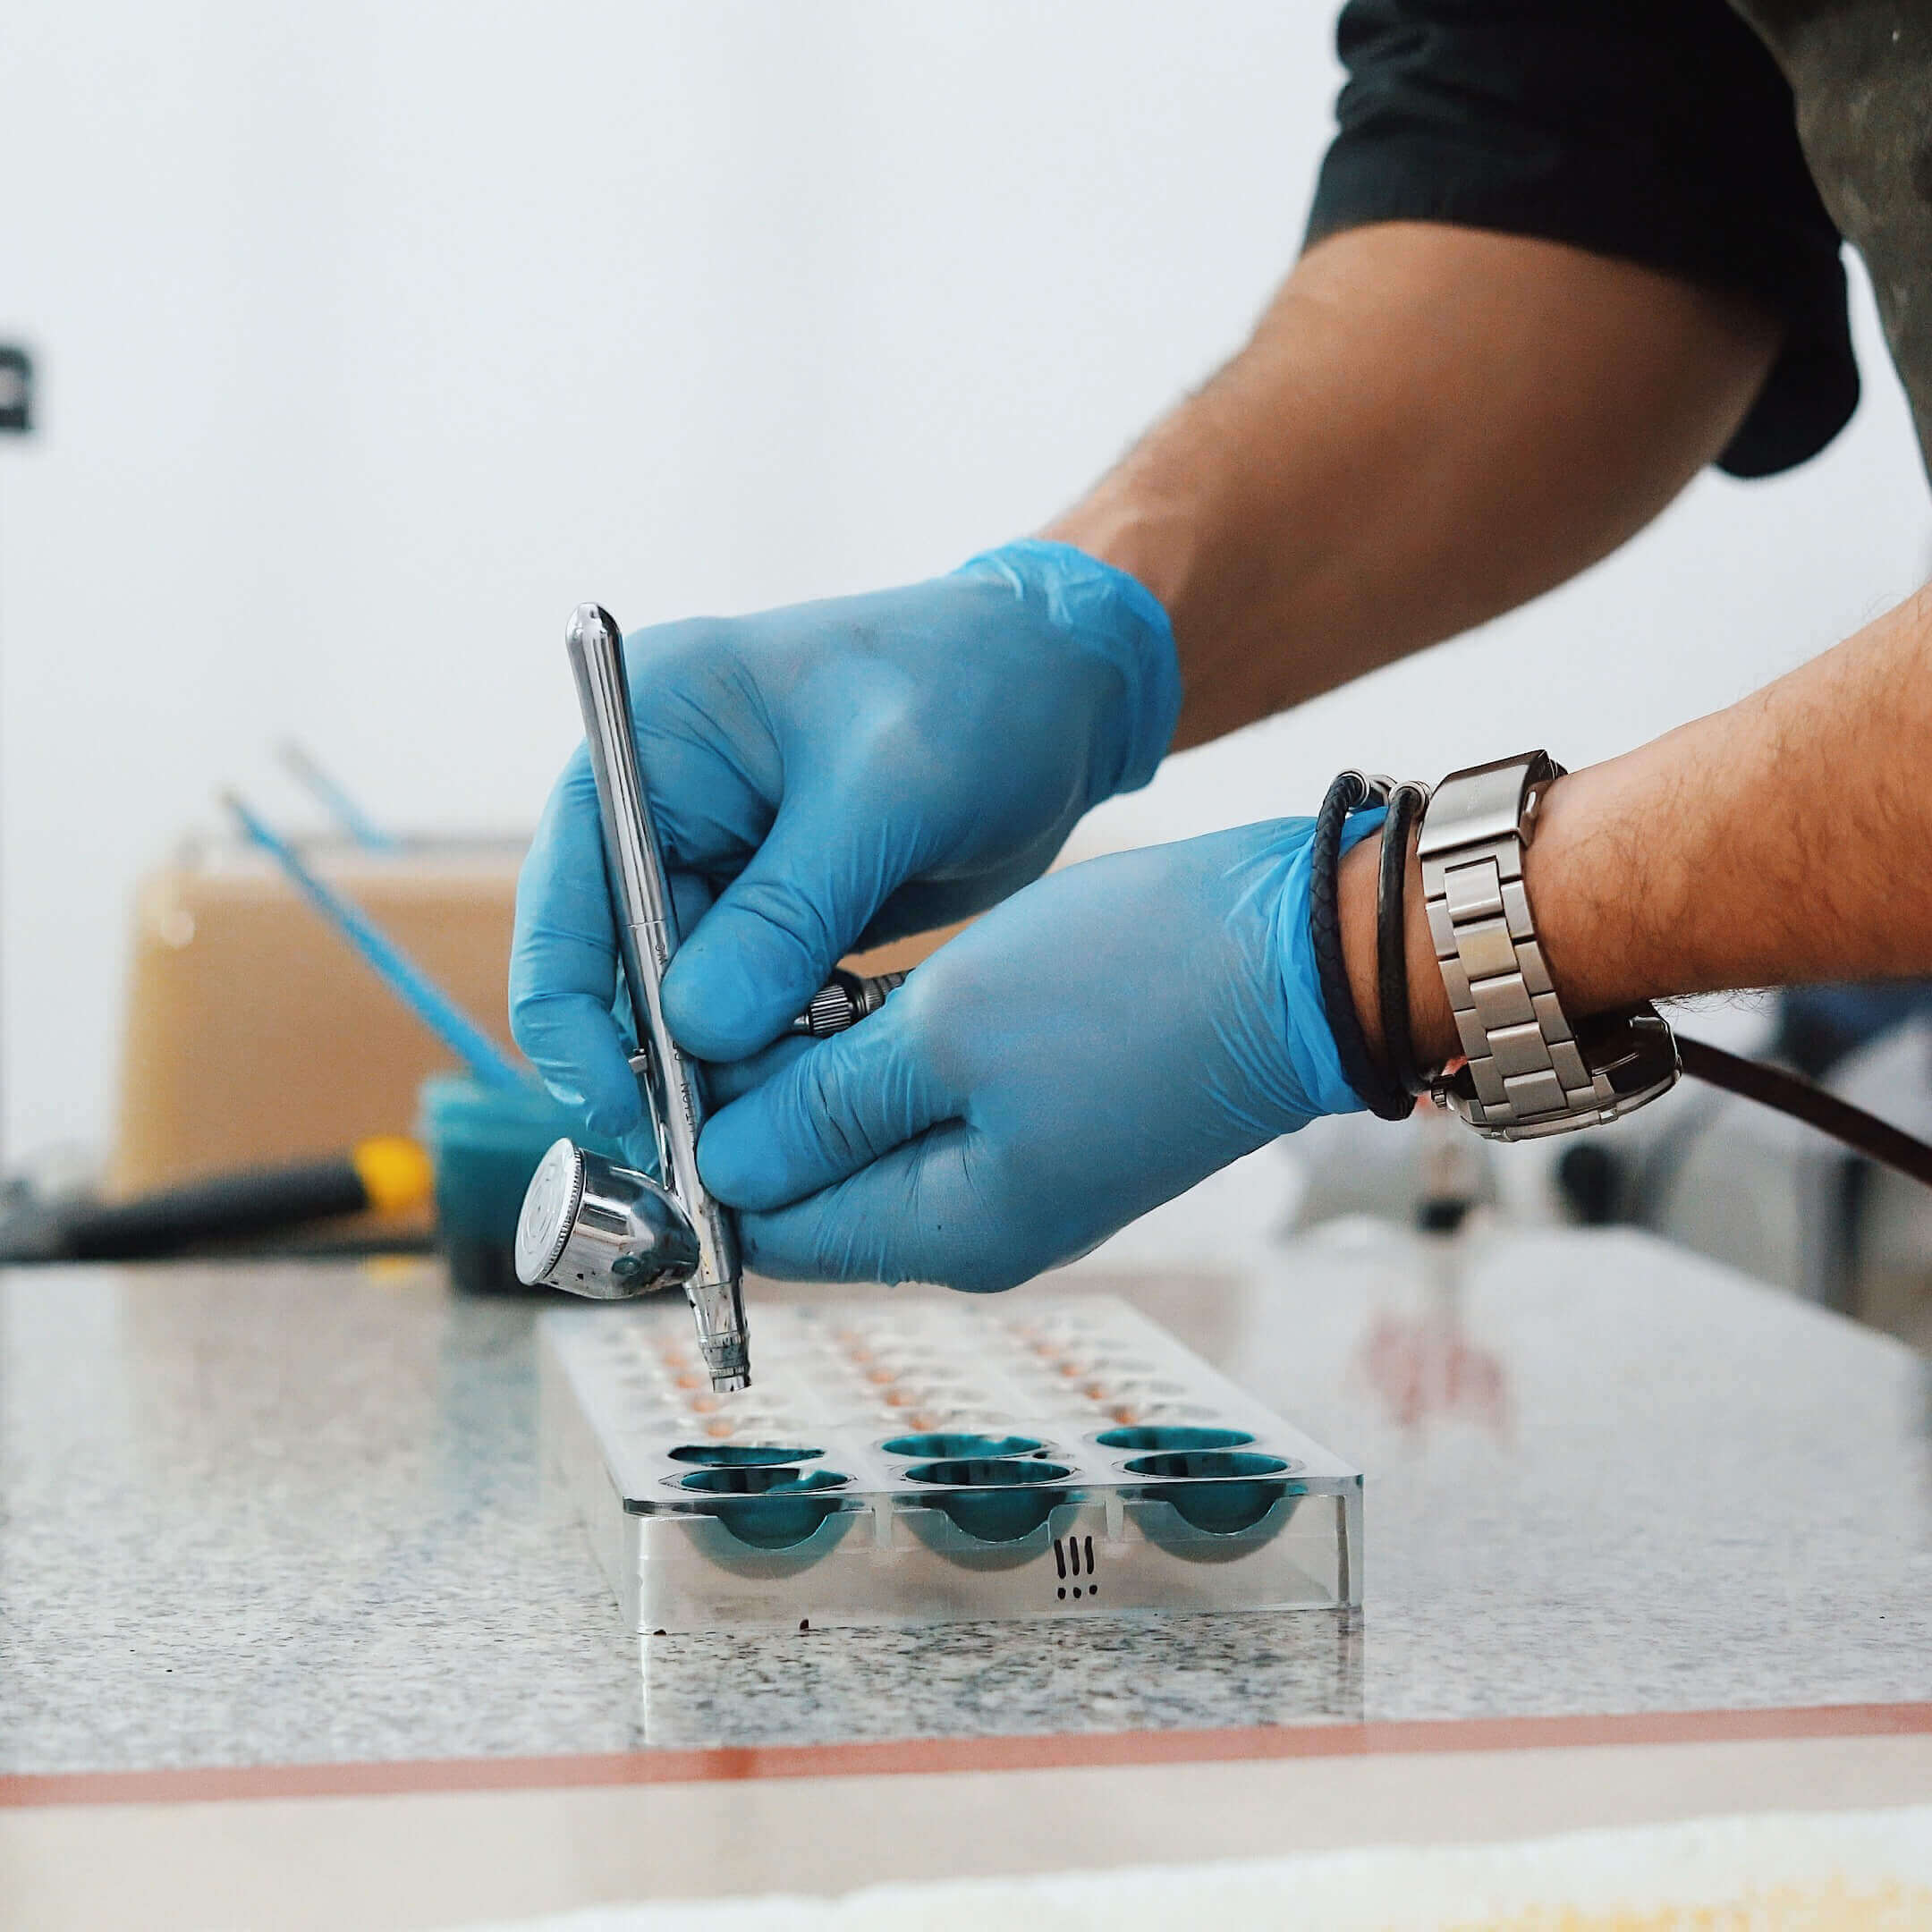
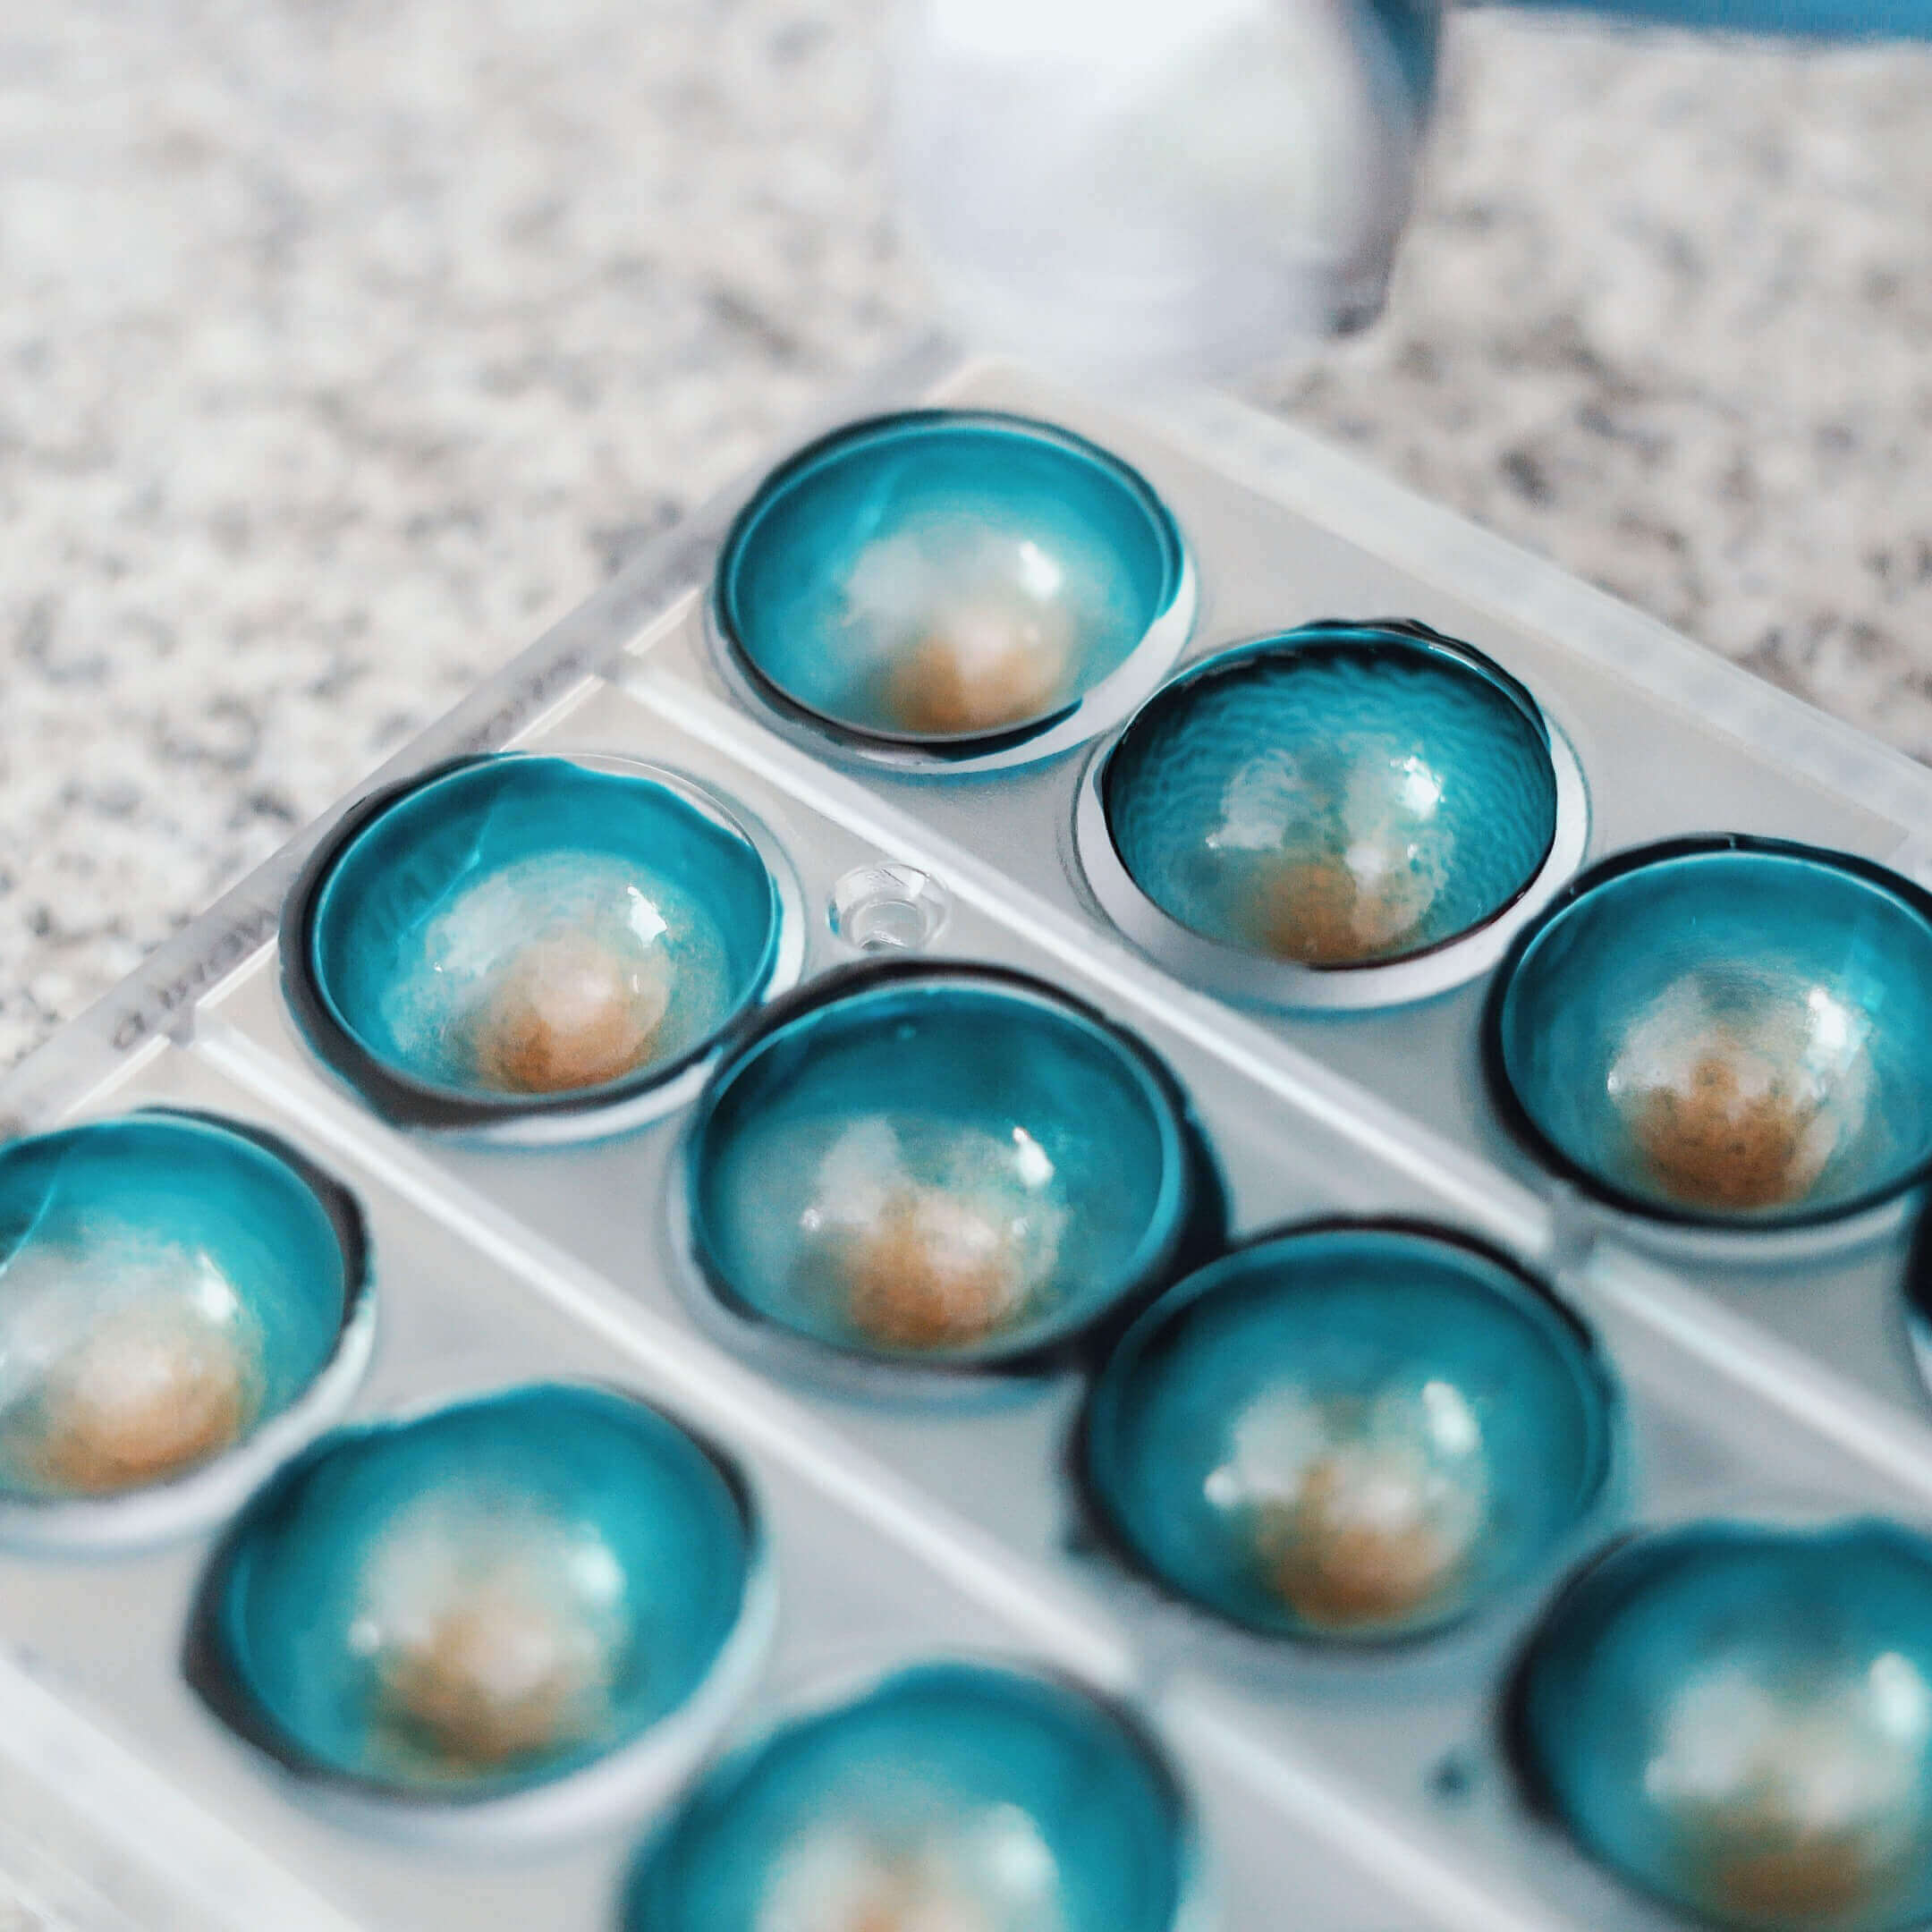
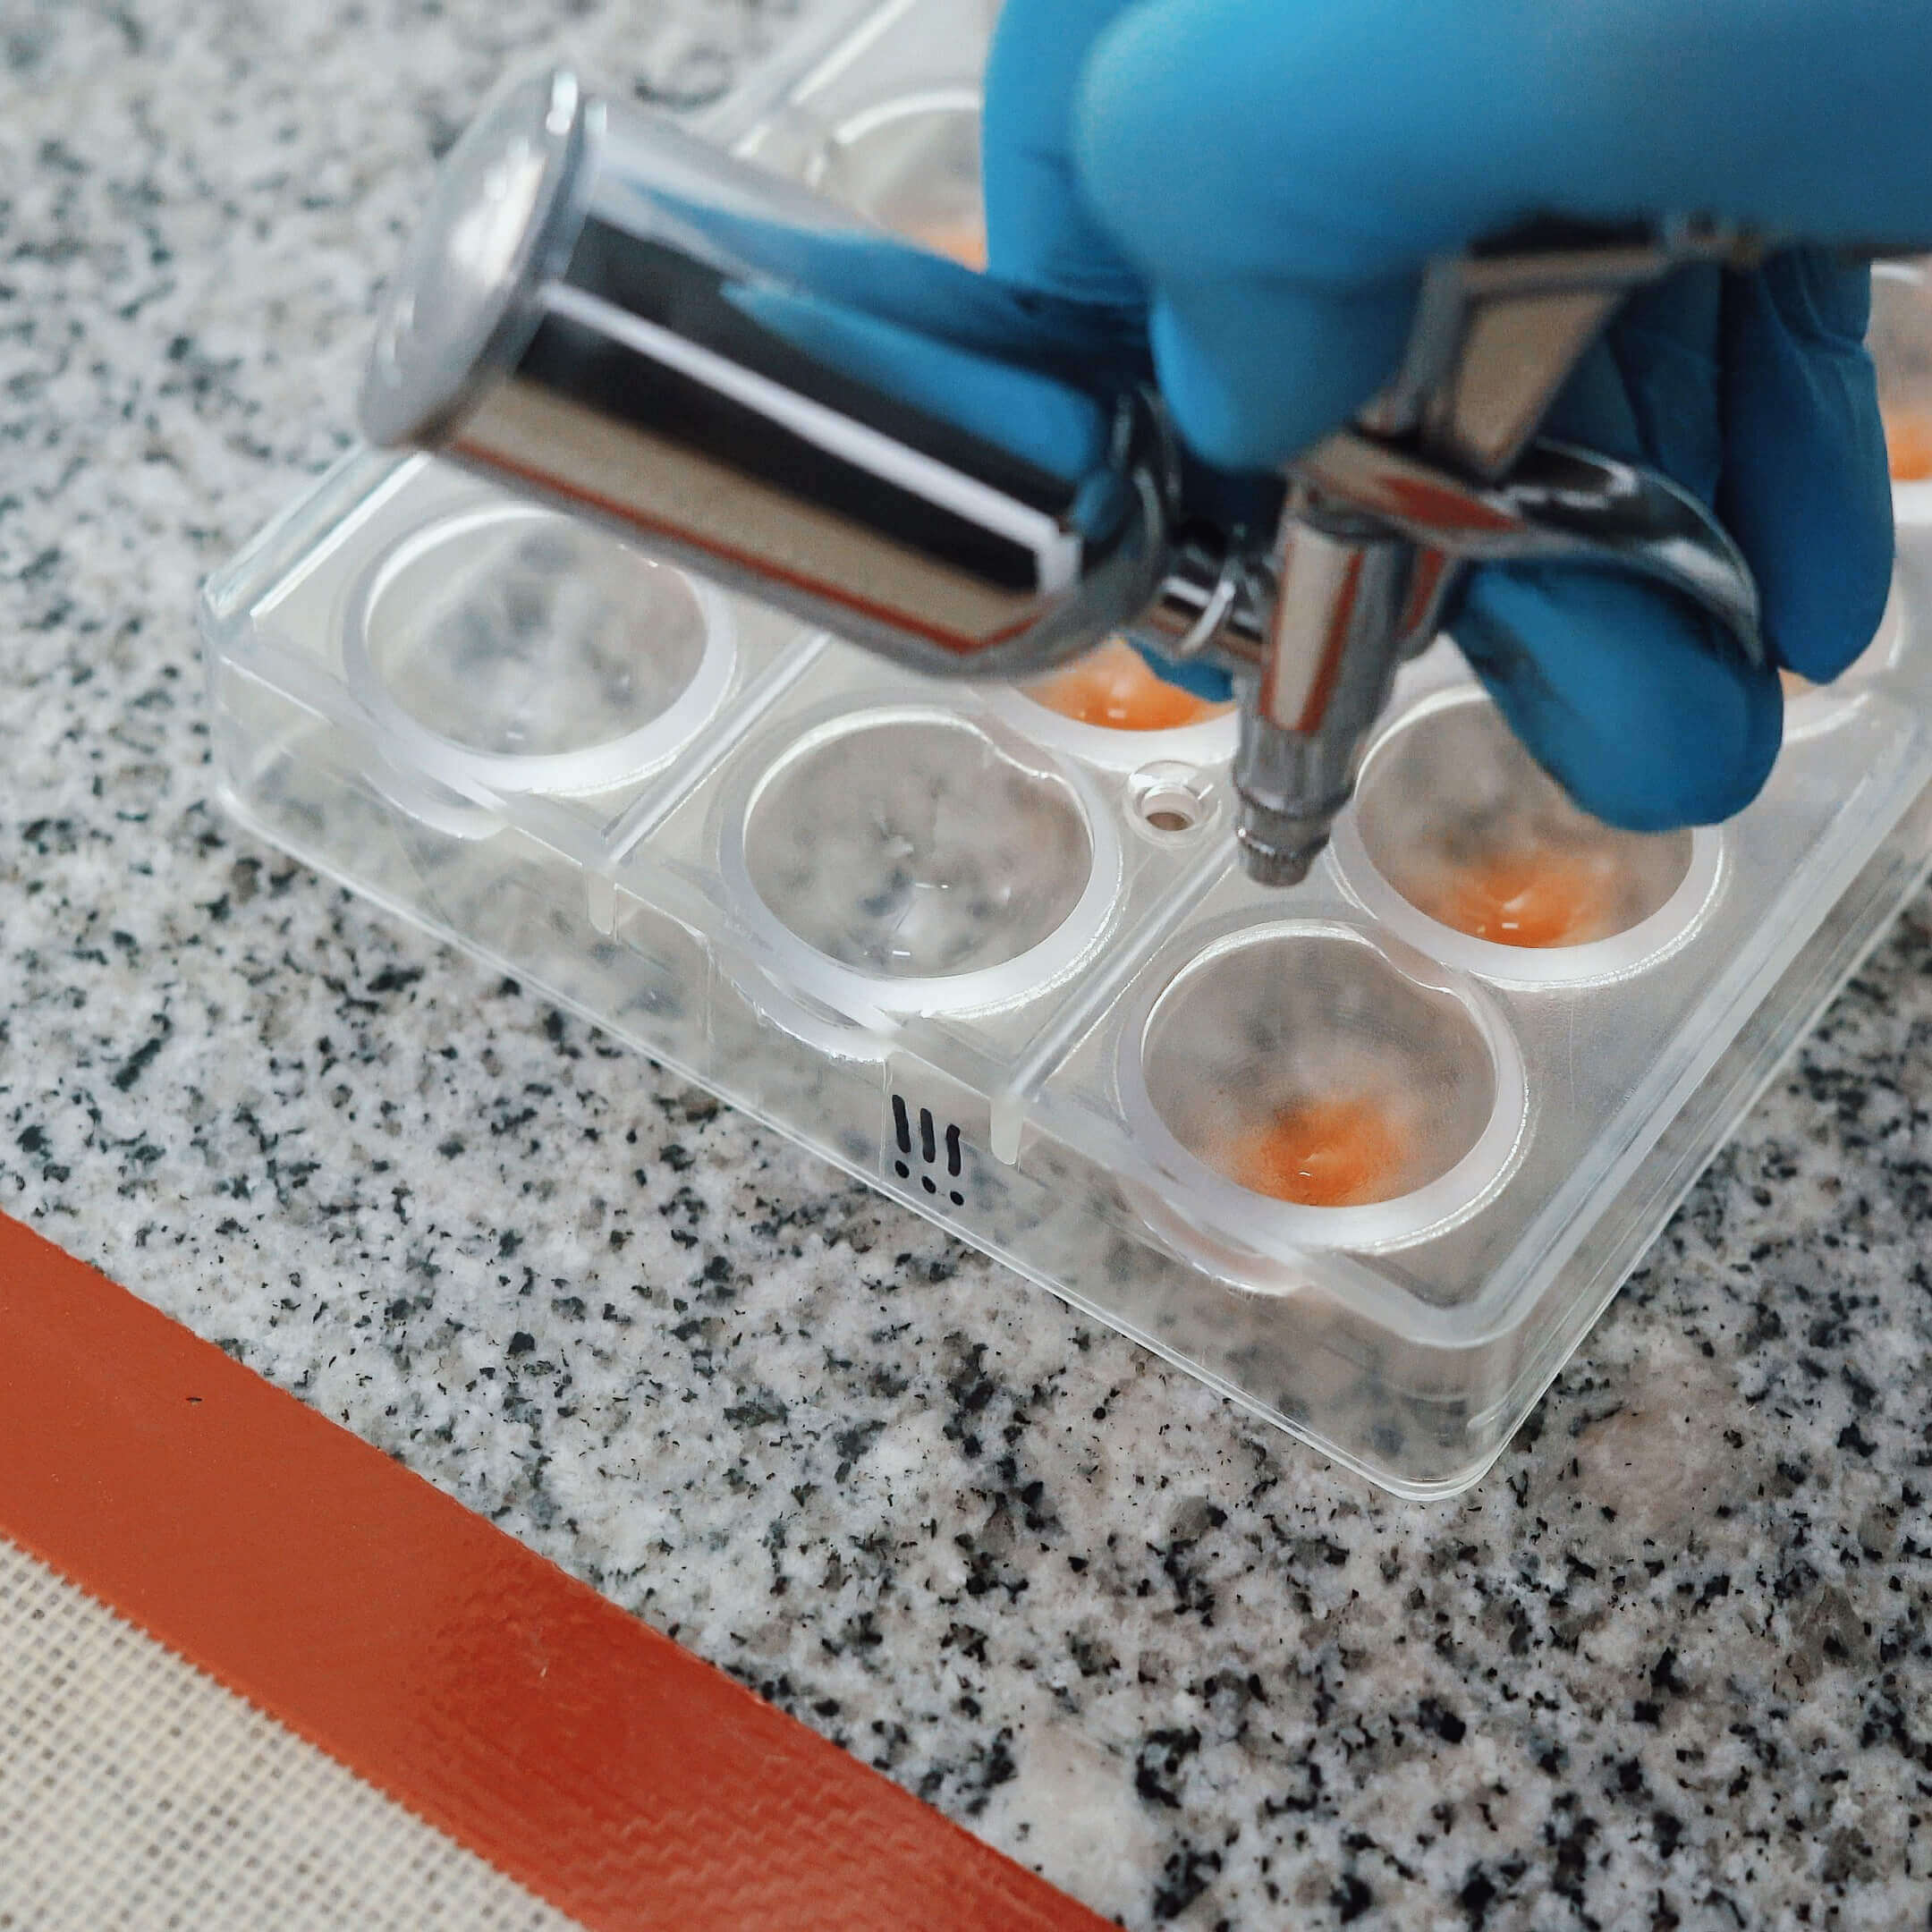
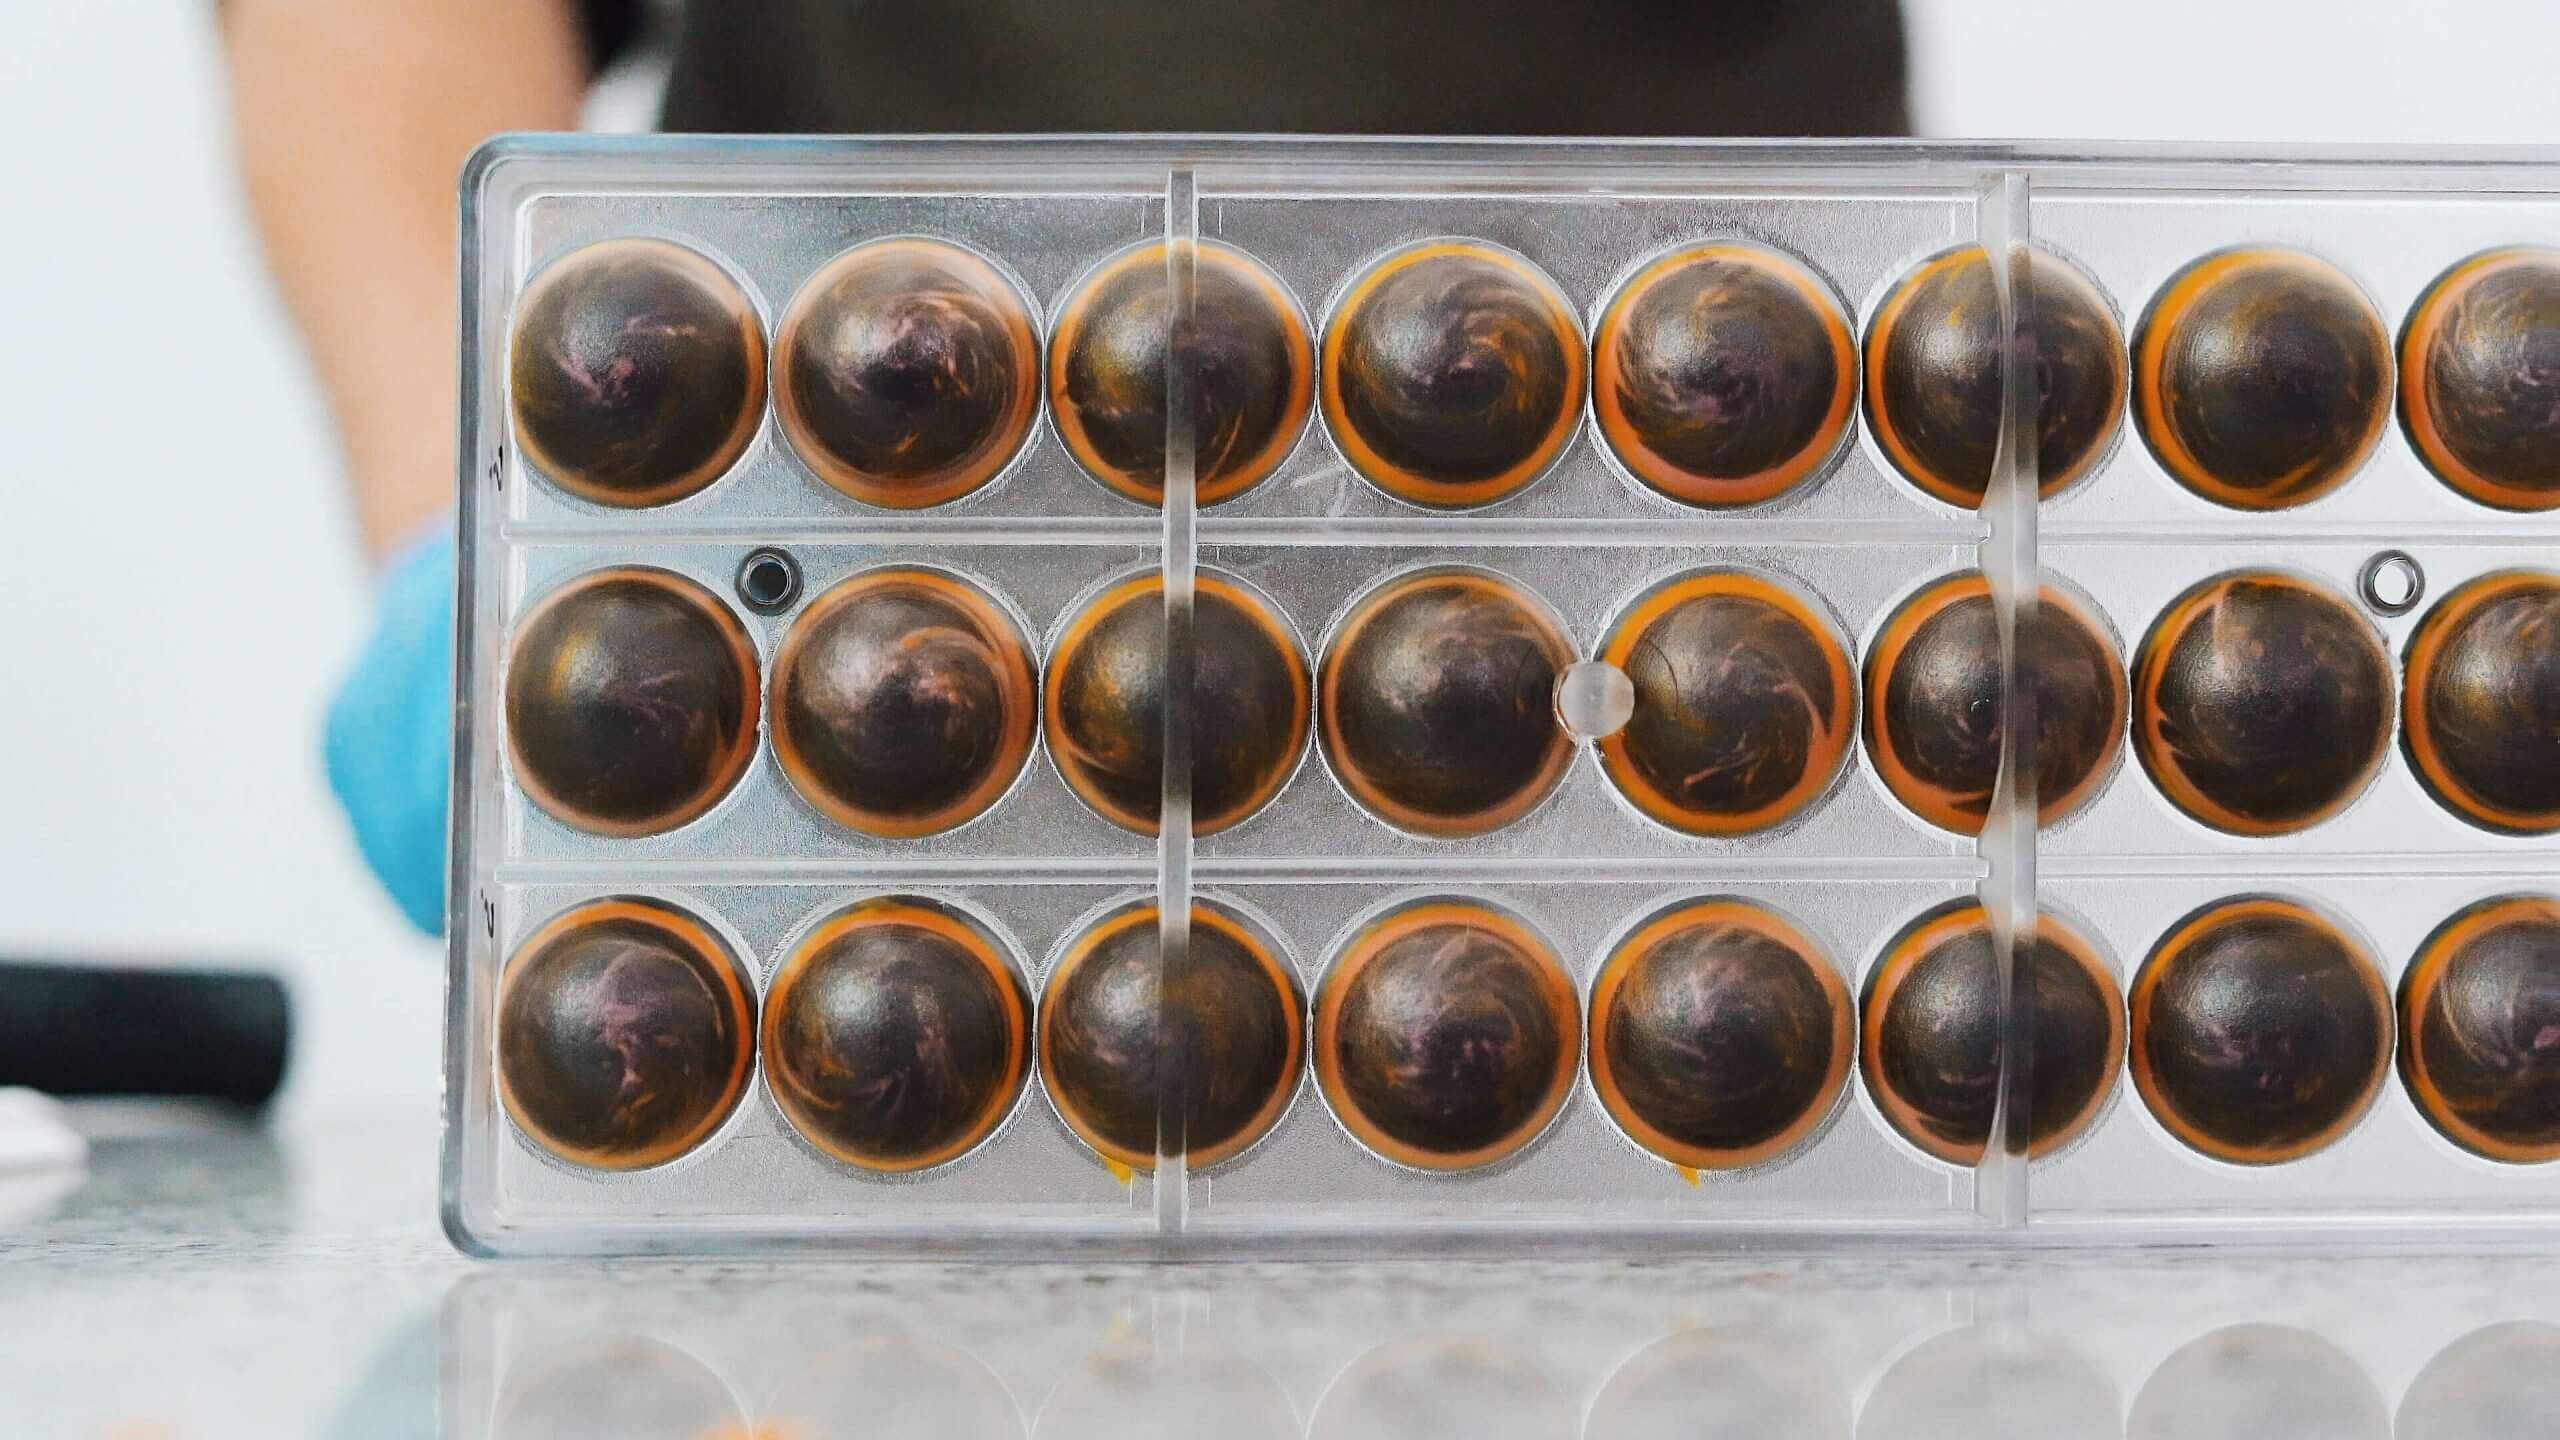
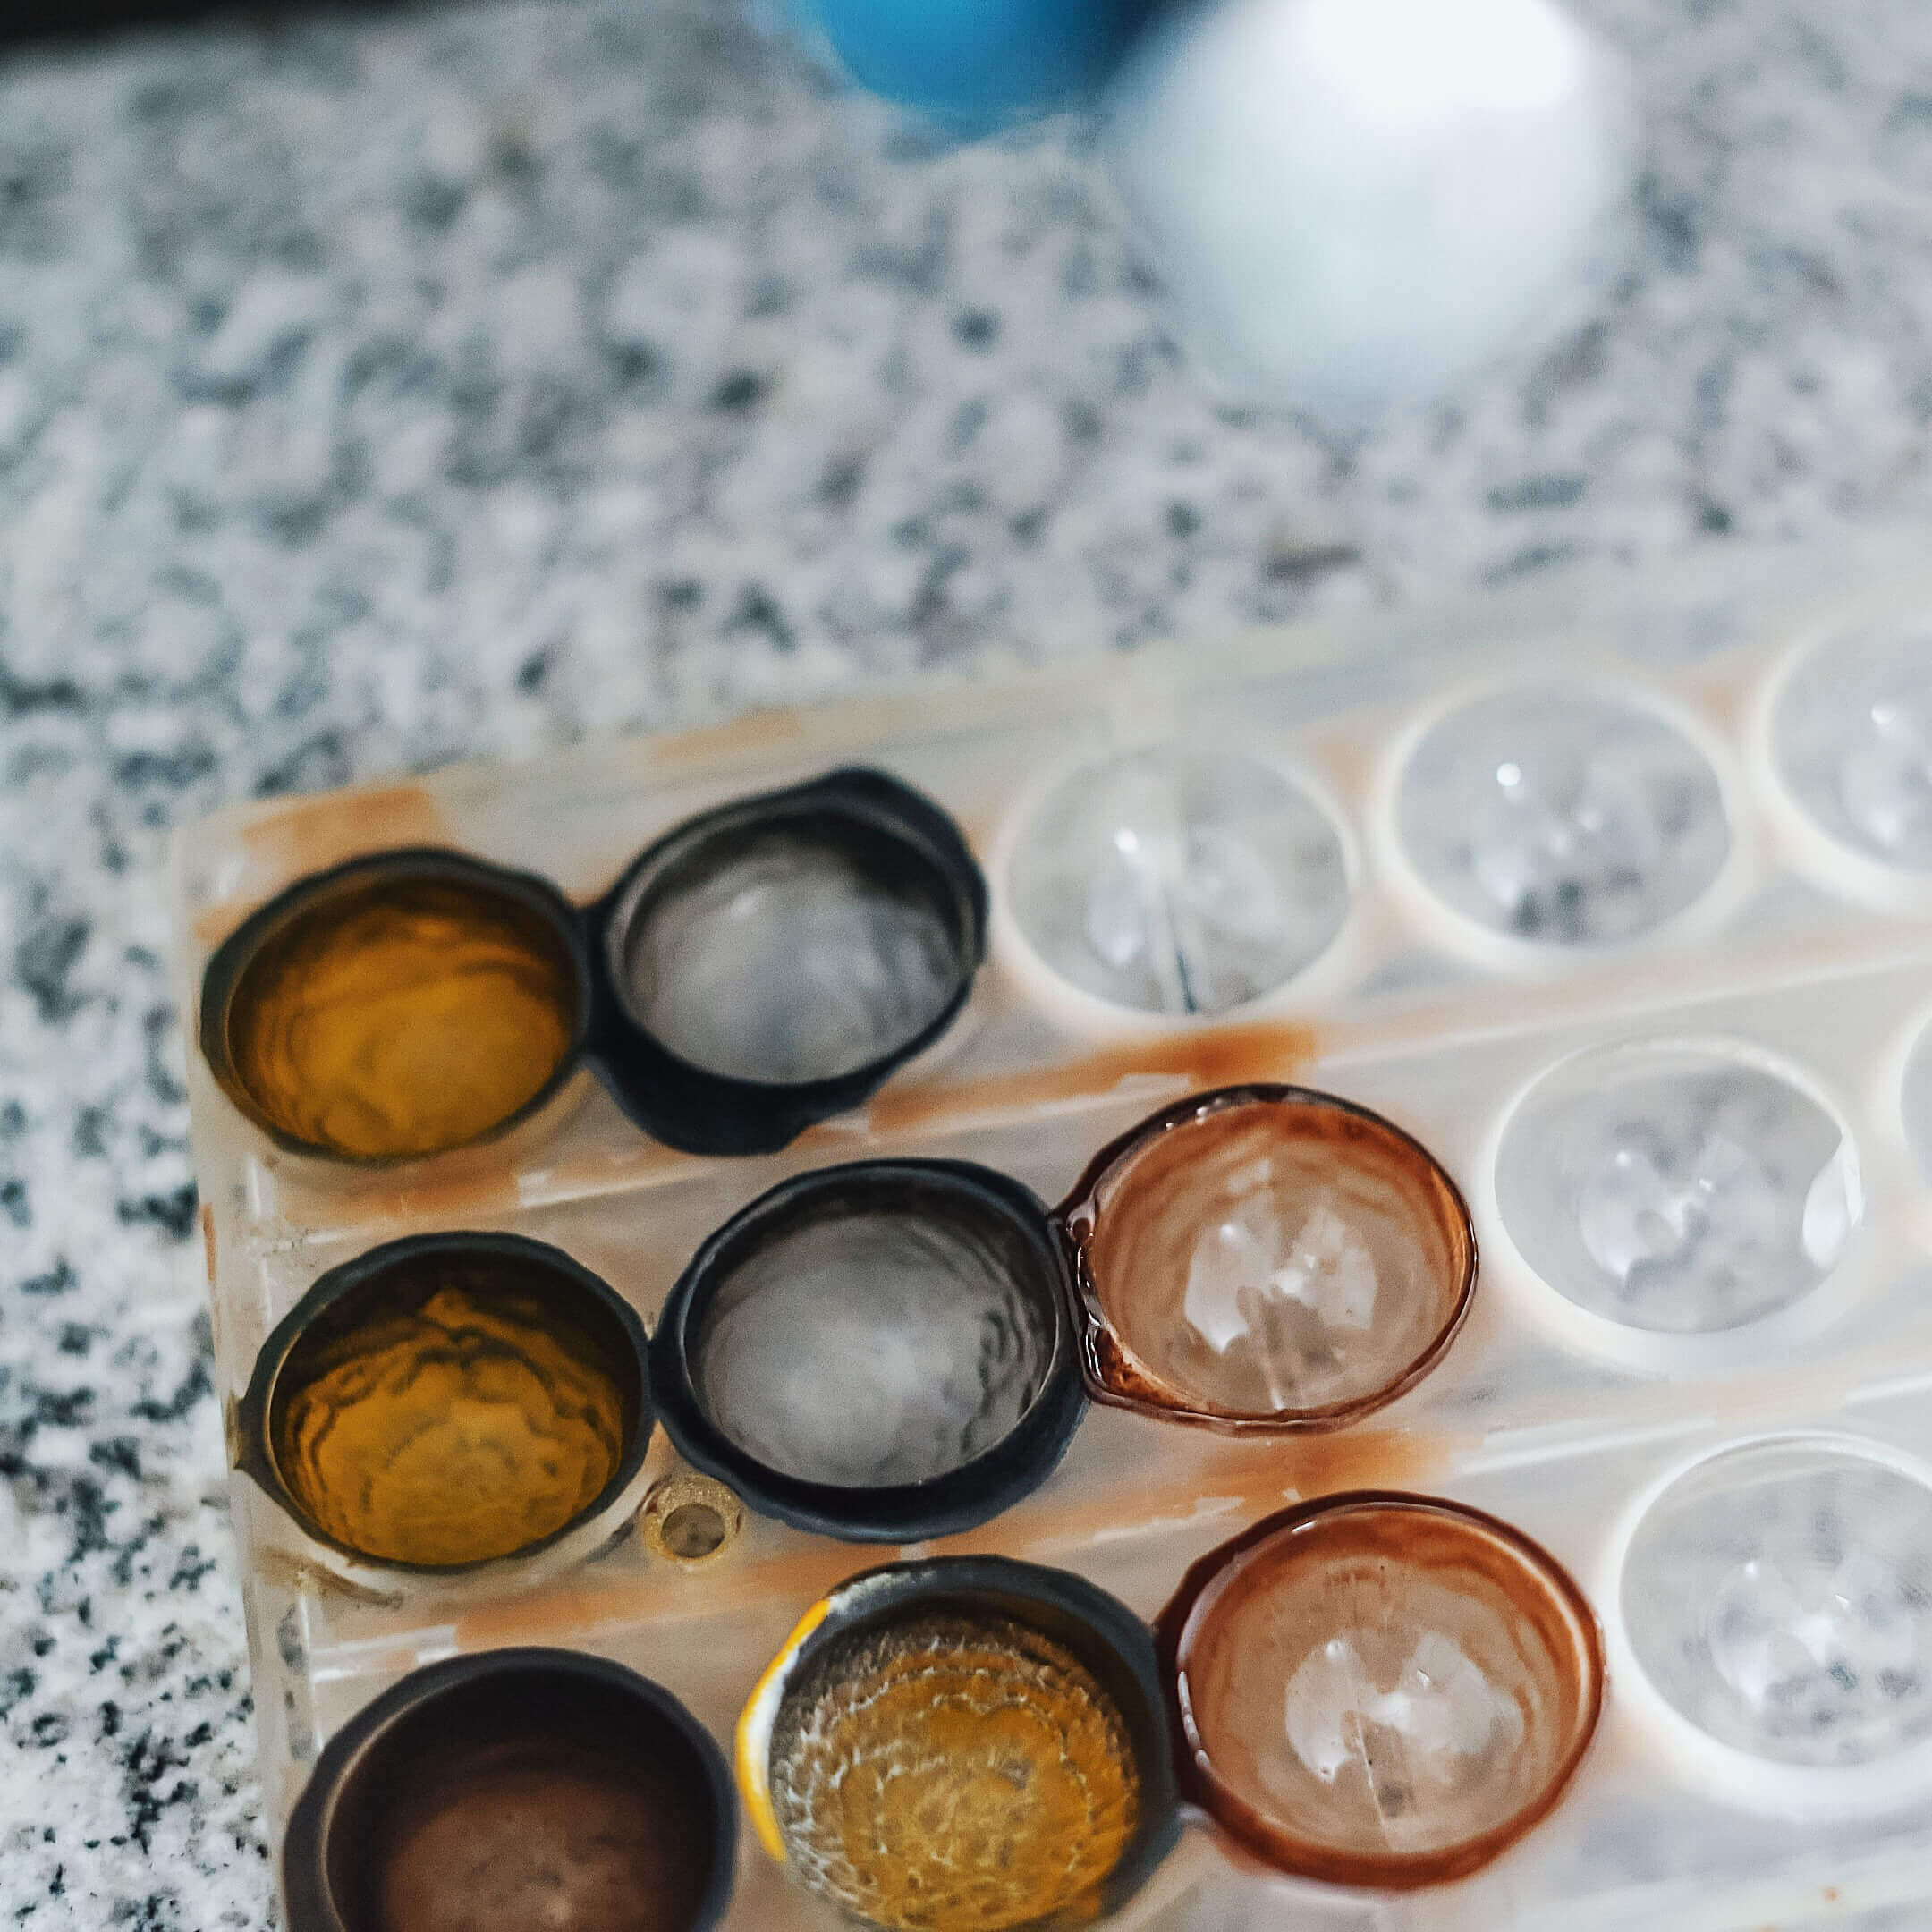
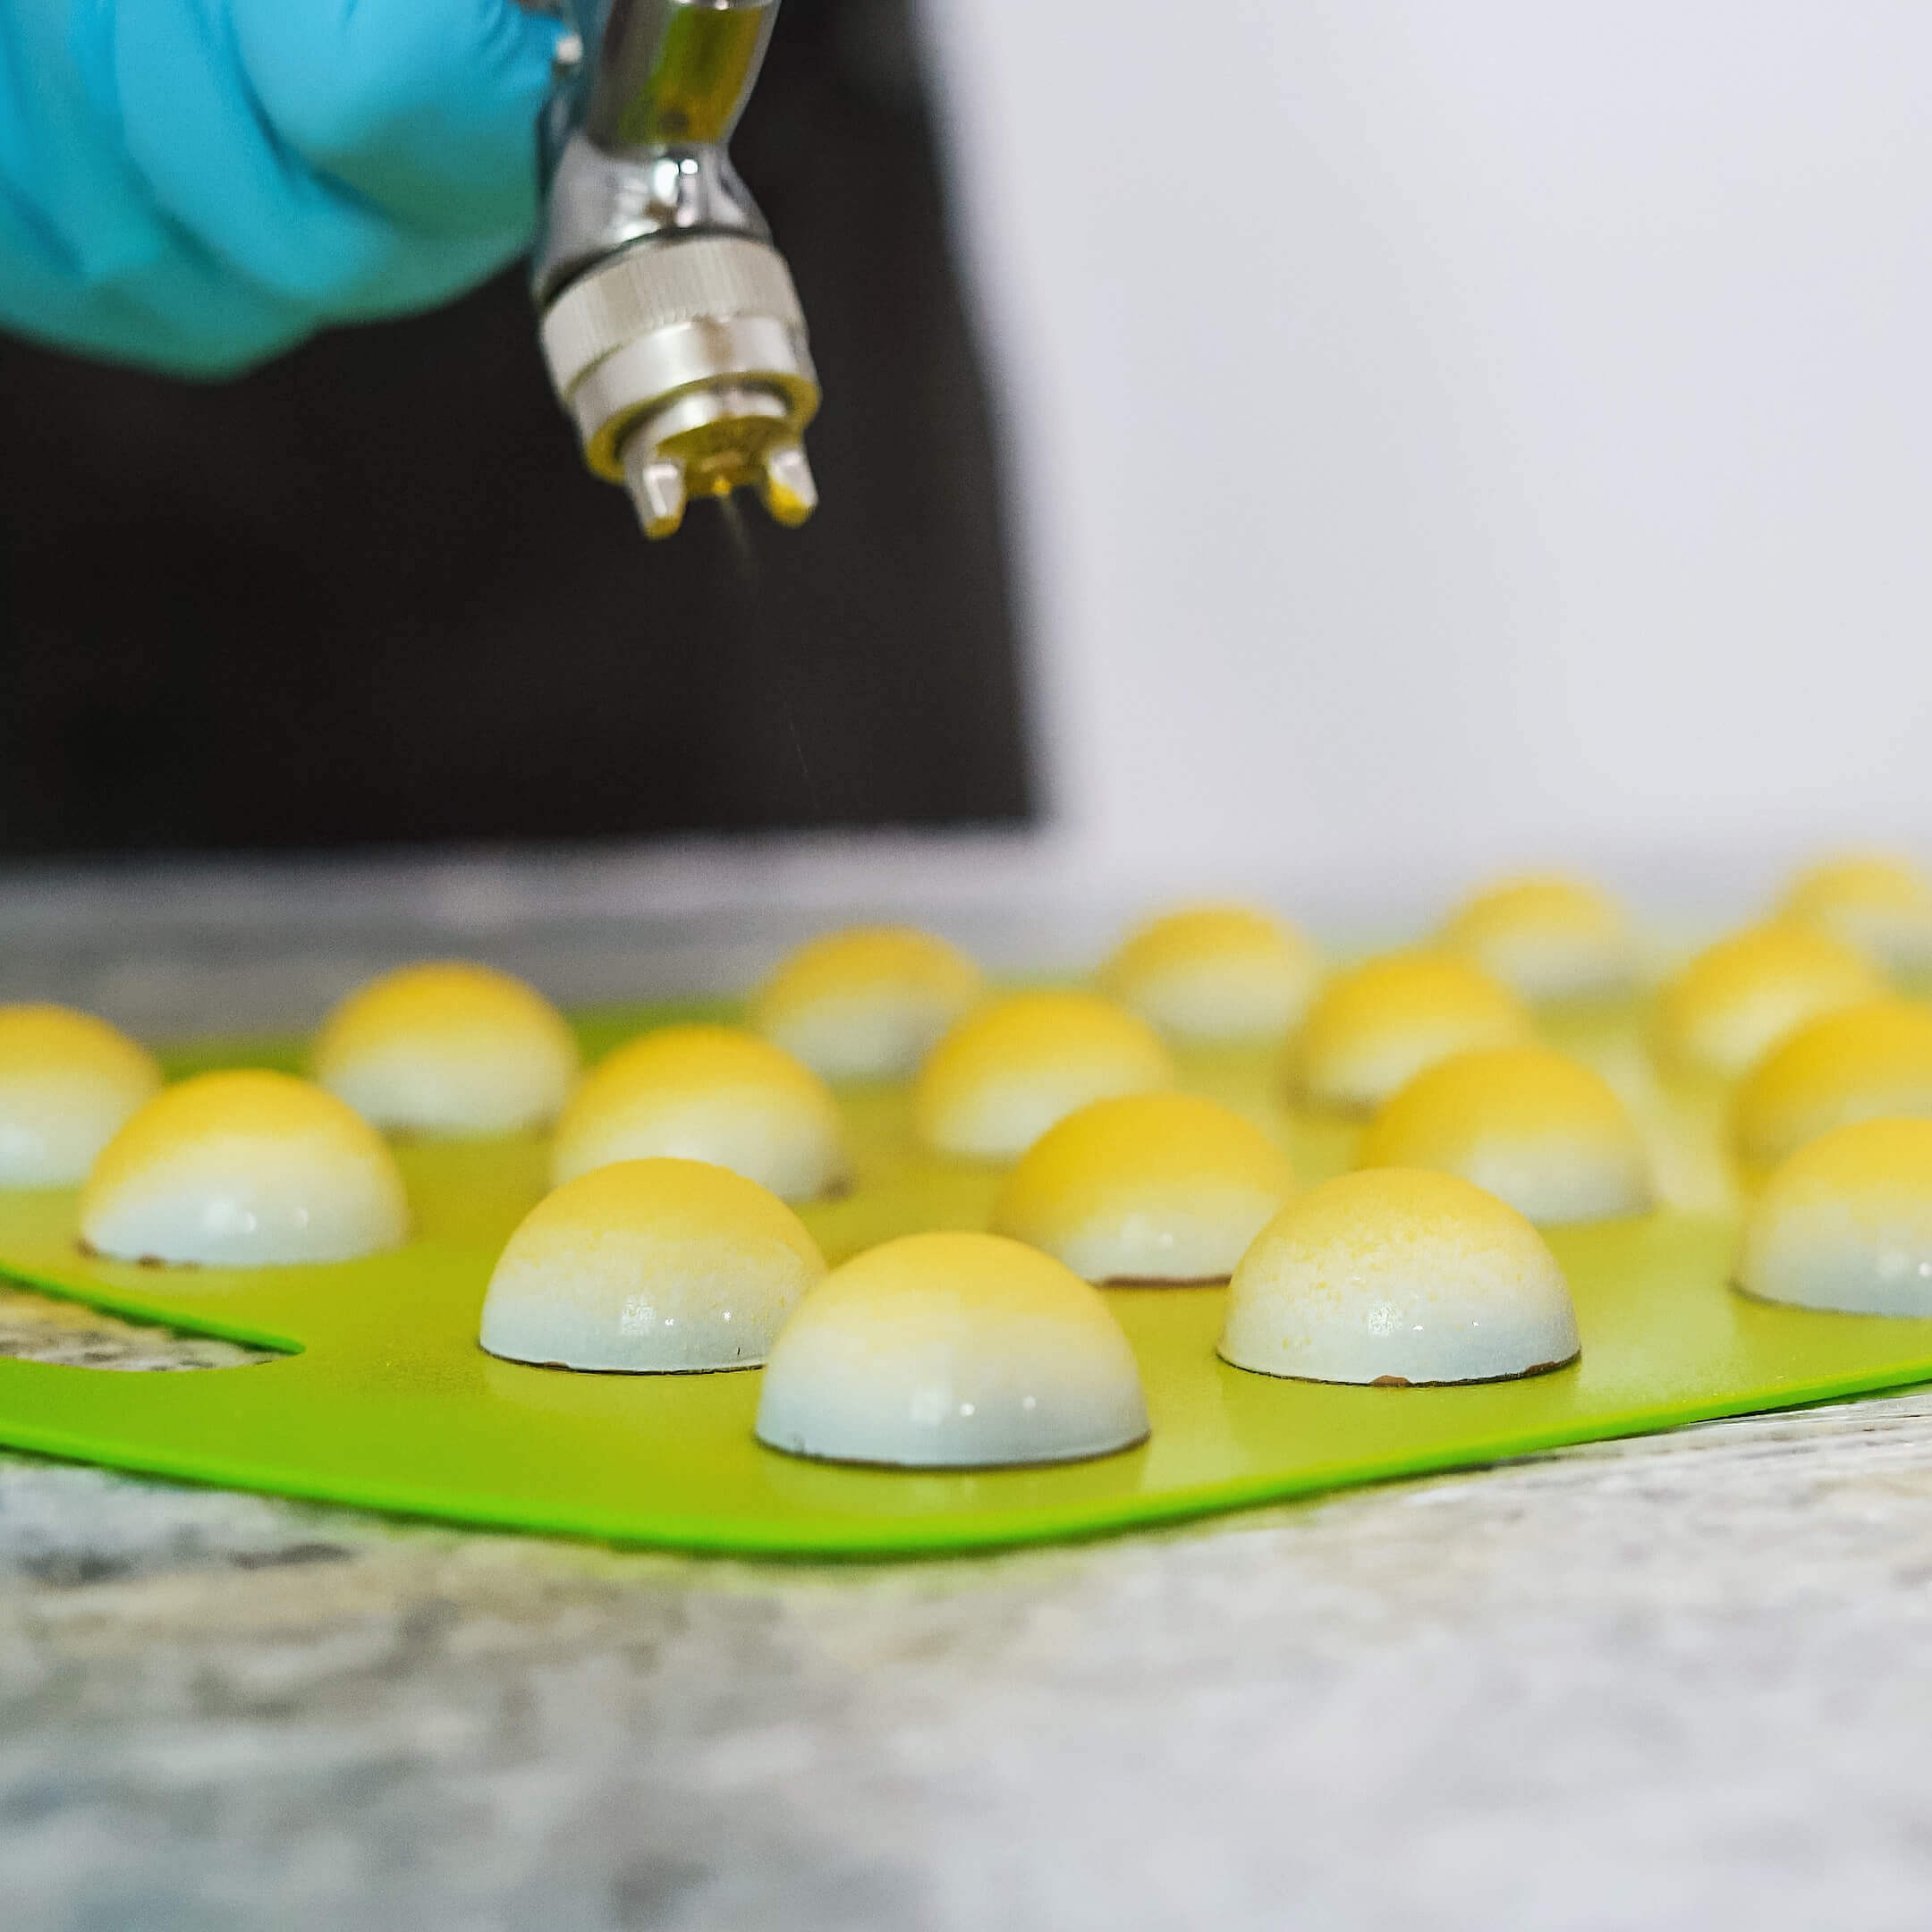
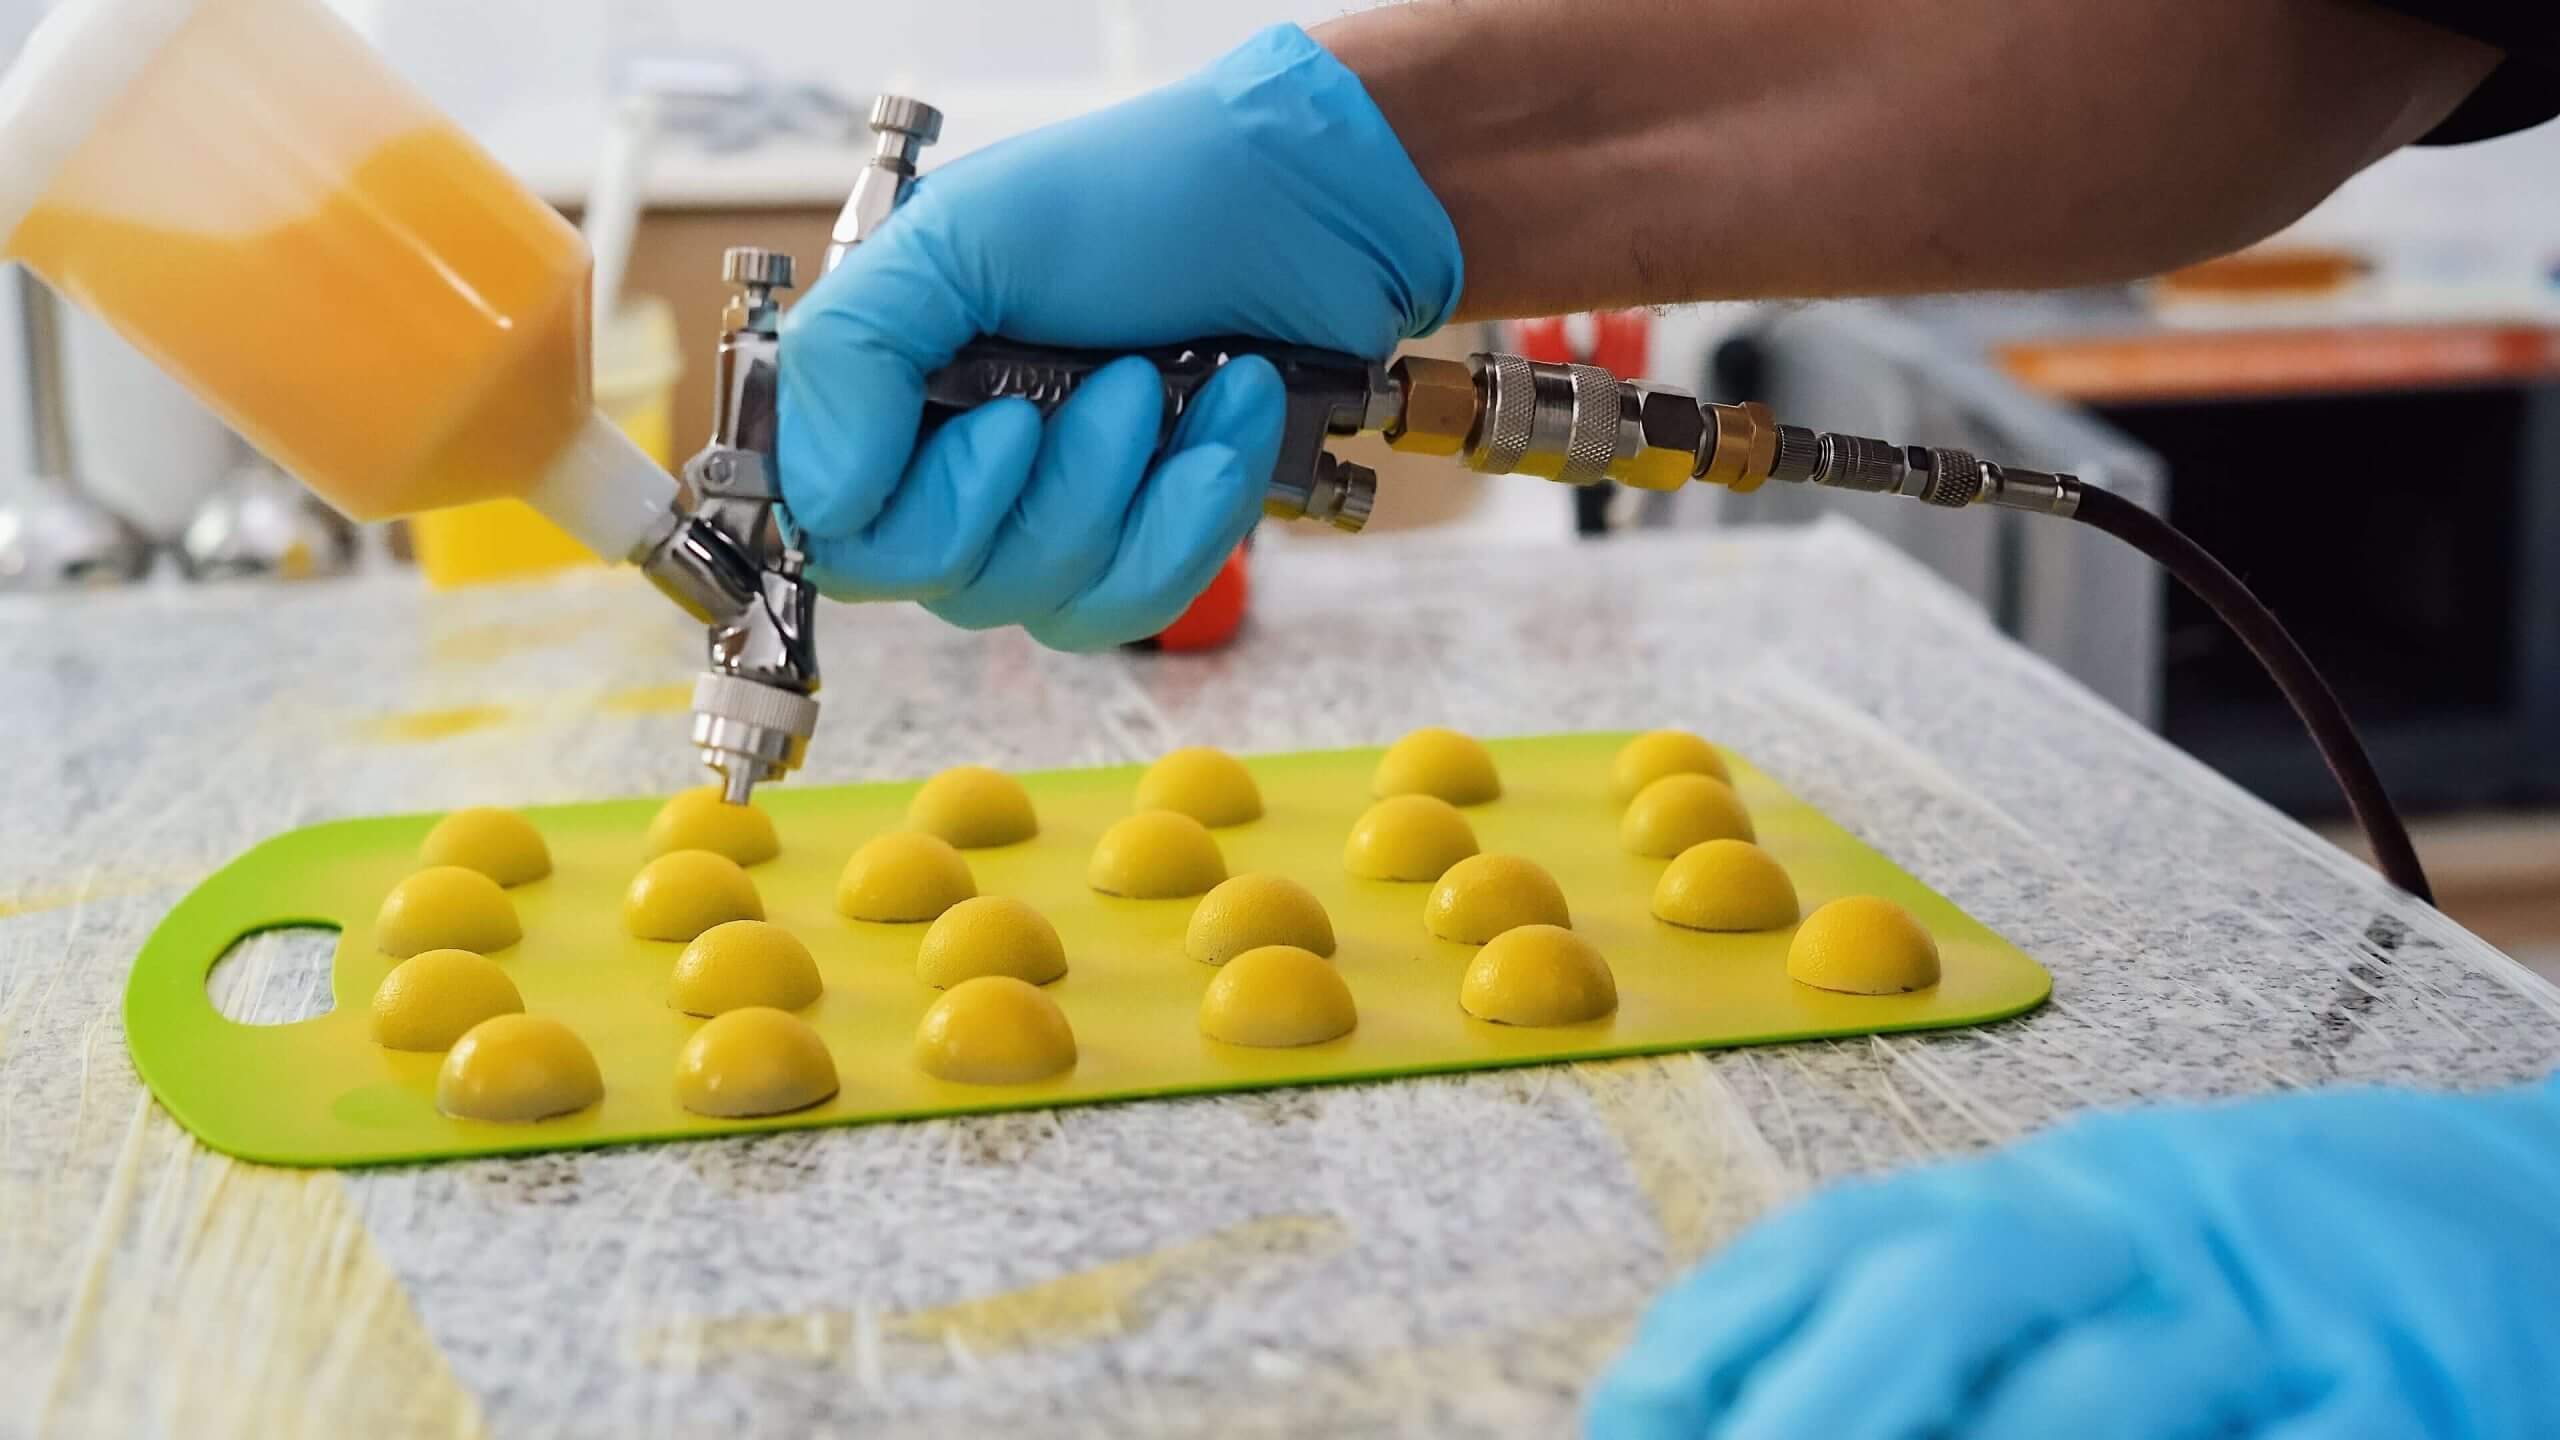
Week 6 is devoted to three very similar designs made with the help of one technique. You will concentrate on controlling a spray pattern to colour mould cavities partly.
#Contents
01► 34:42 “SPRAY CONTROL” VIDEO-TUTORIAL 0
02“SPRAY CONTROL” STEP-BY-STEP GUIDE 26
03ASSIGNMENT 16
Week 8
“Fan Brush and Creation of Borders”
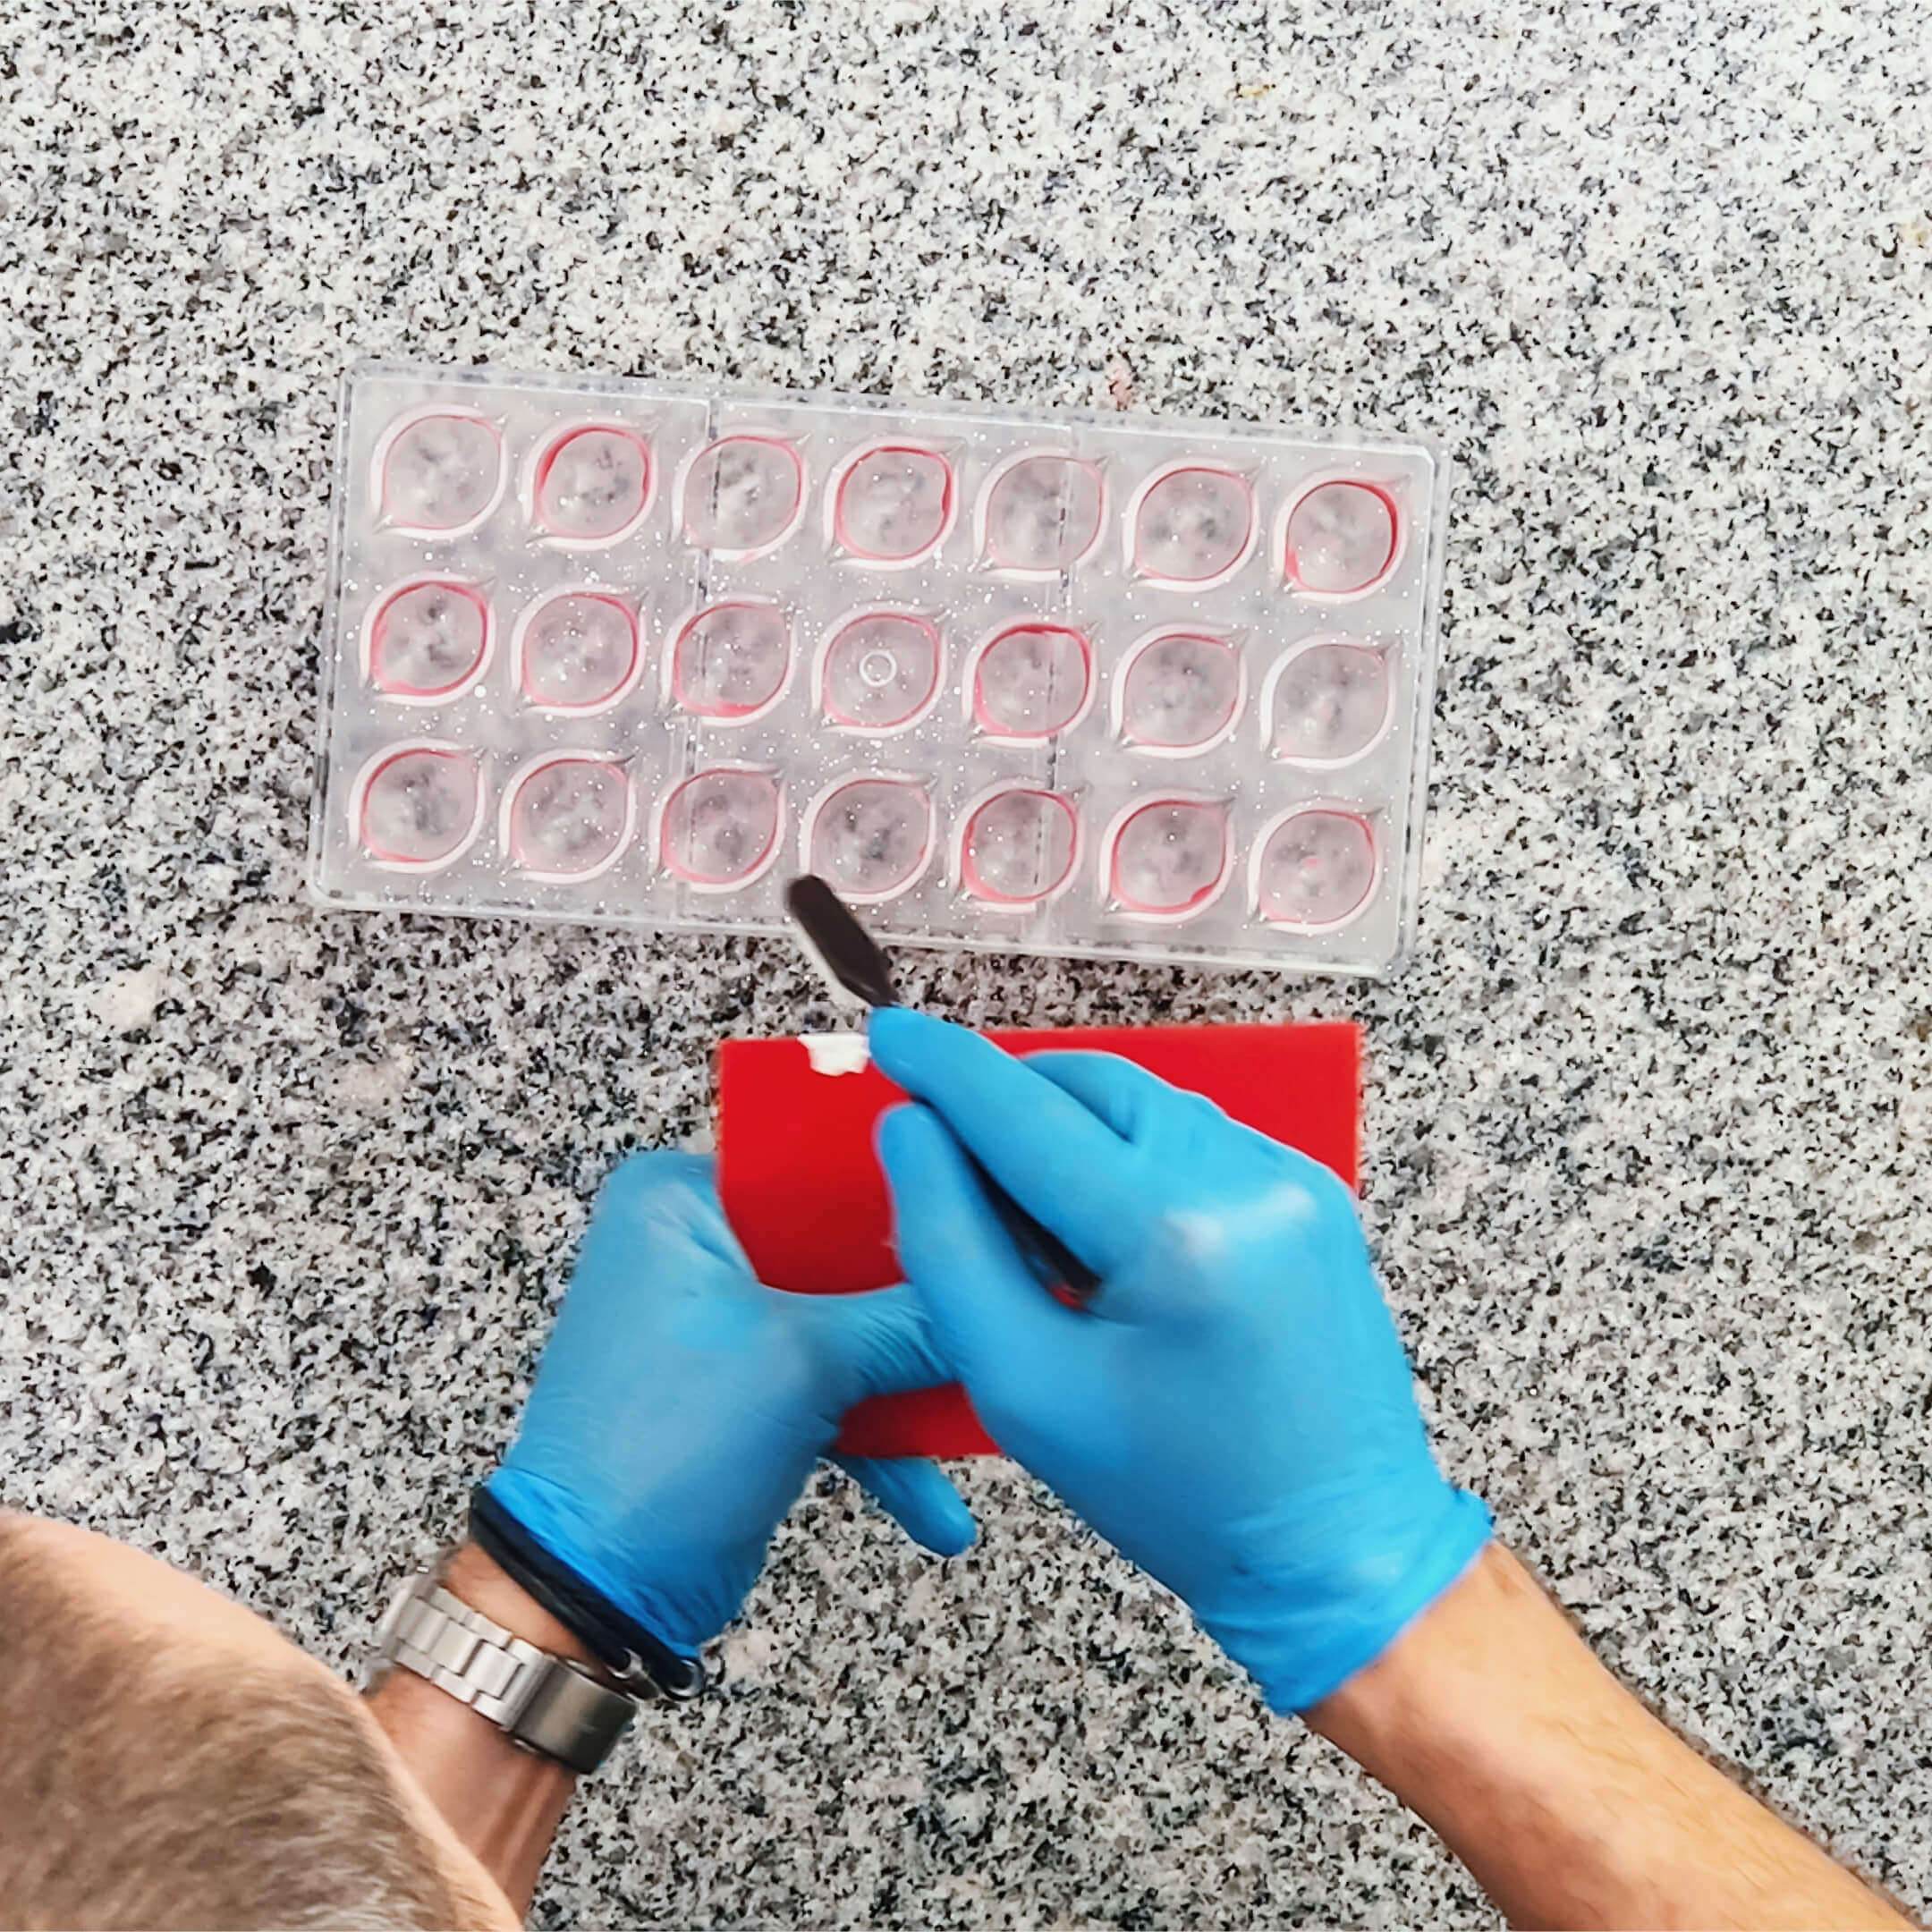
During Week 8, we will teach you to make bright circles on chocolates with a fan brush. One of the designs reminds us of outer space. We will also combine Week 6 techniques with a fan brush.
#Contents
01► 34:42 “FAN BRUSH” VIDEO-TUTORIAL 0
02“FAN BRUSH” STEP-BY-STEP GUIDE 26
03ASSIGNMENT 16

Week 9
“Airbrush as a Blowing Instrument”
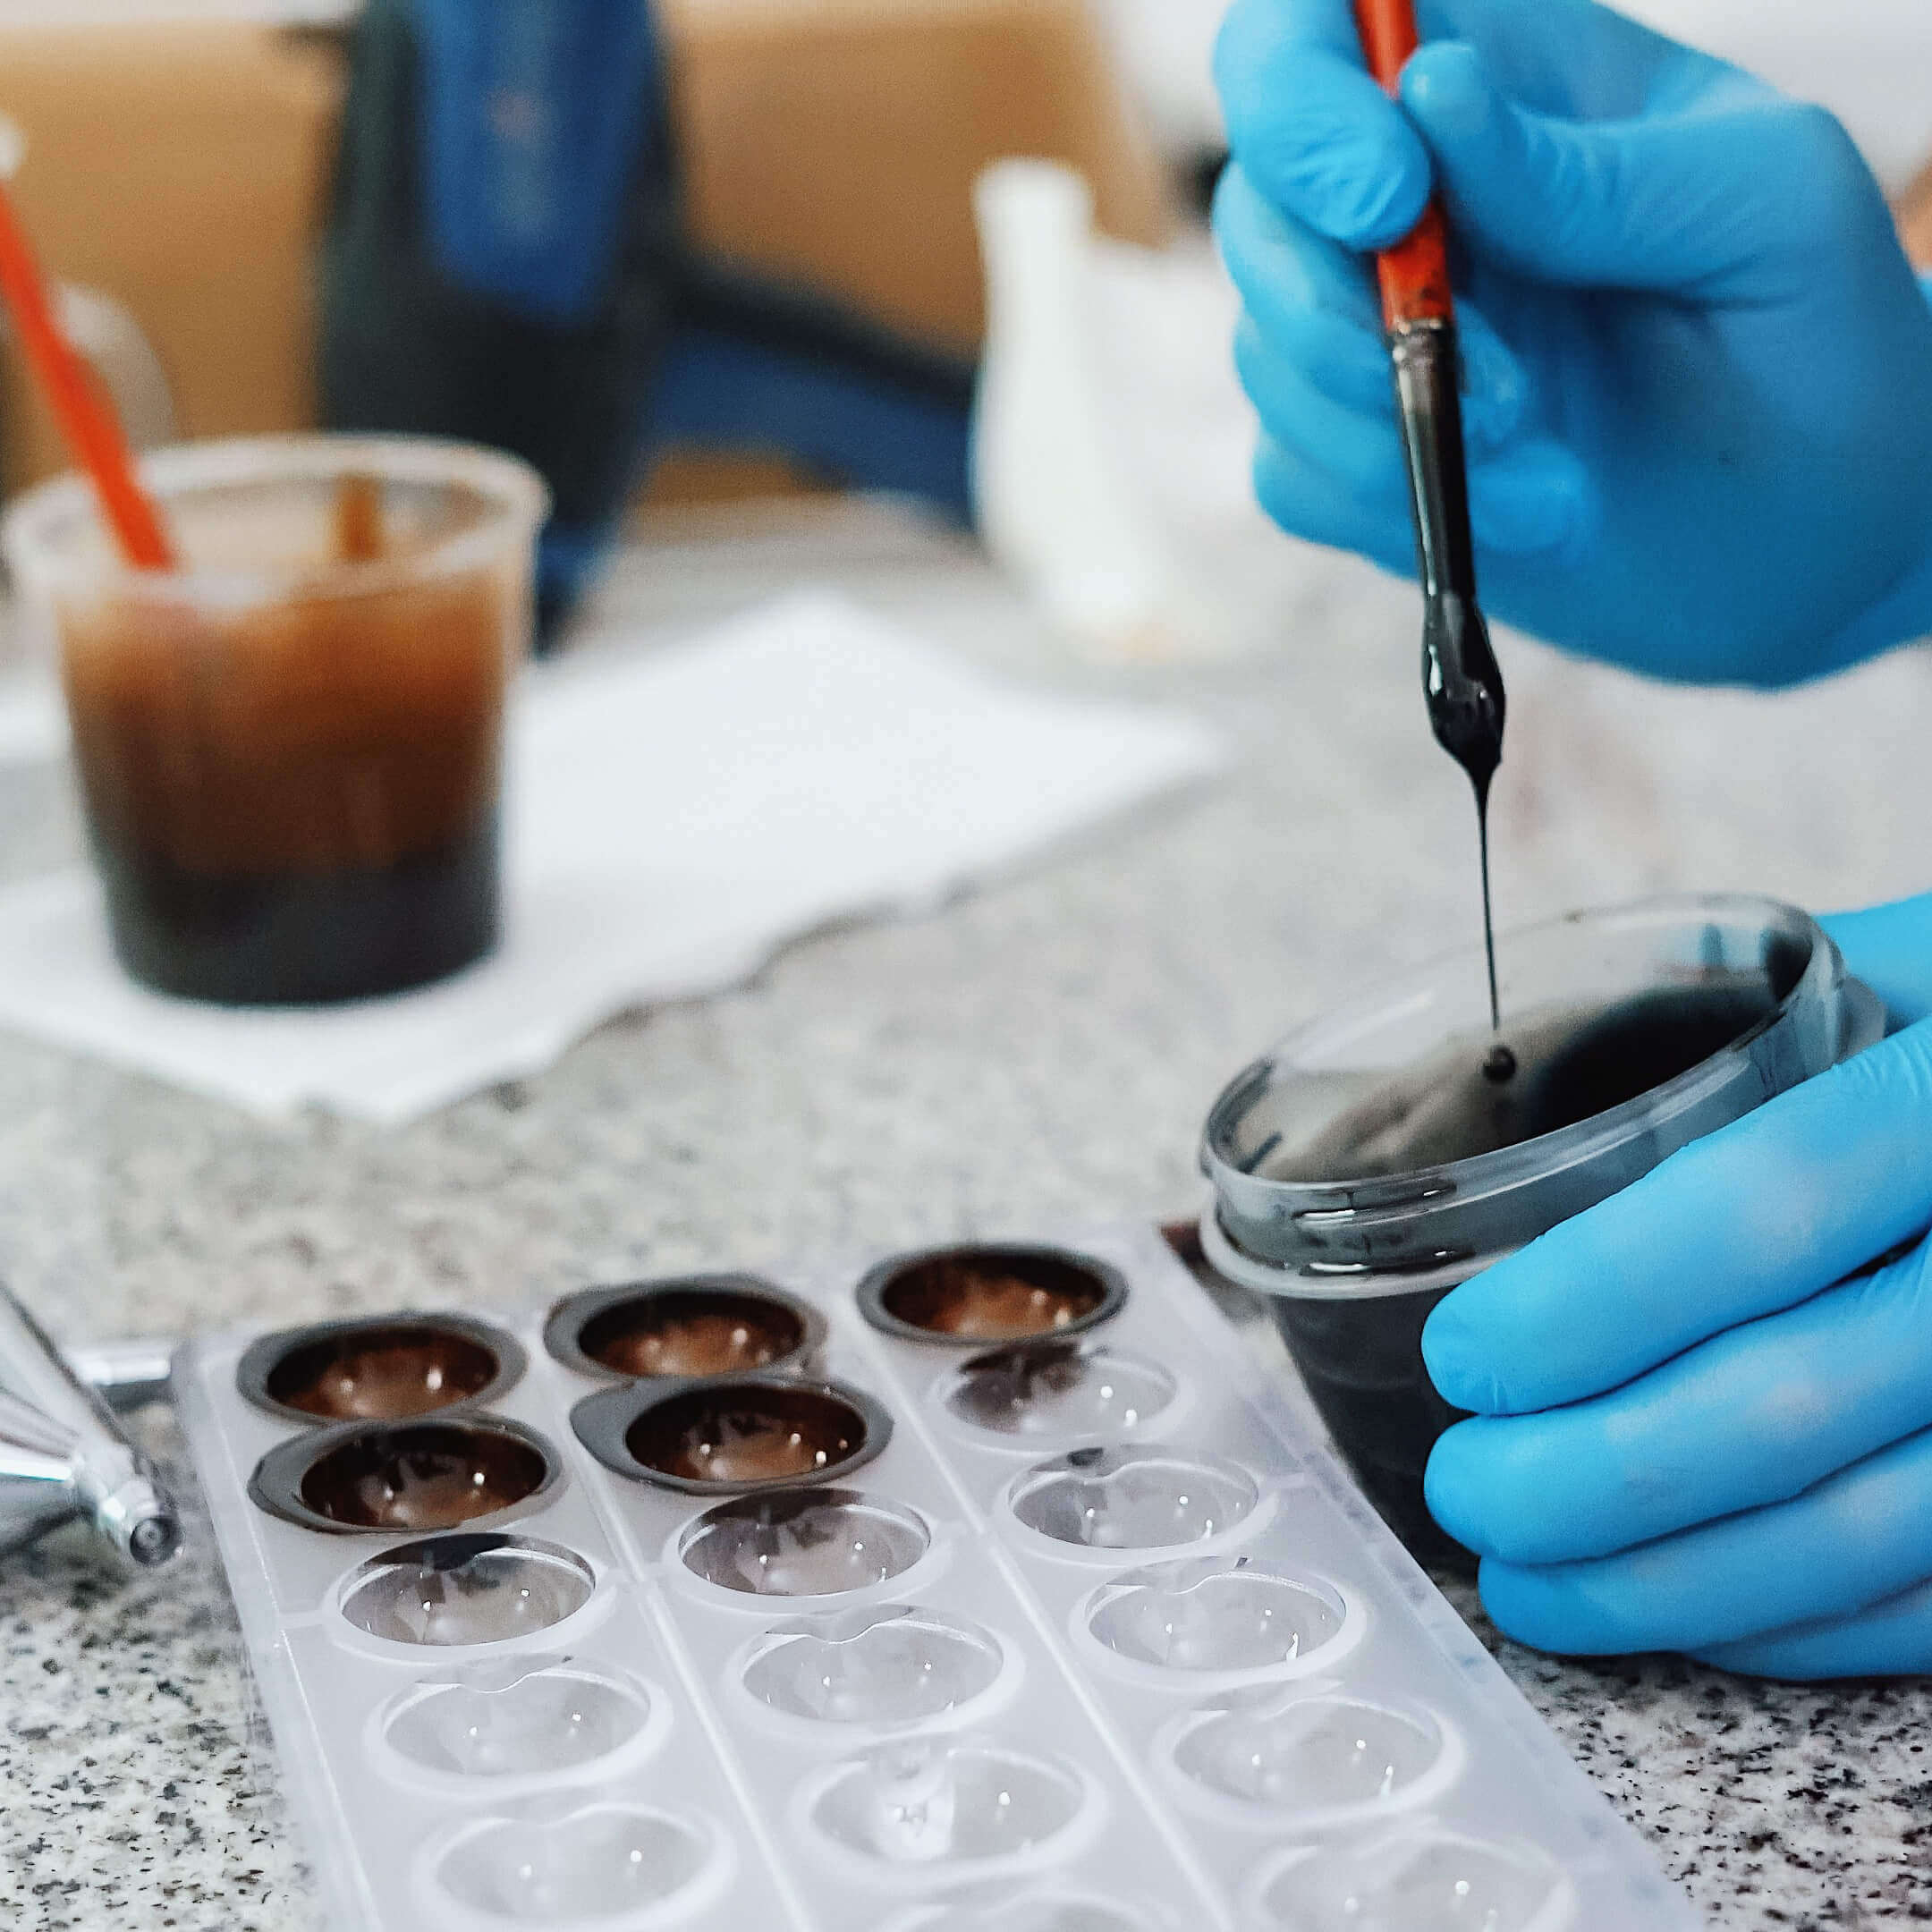
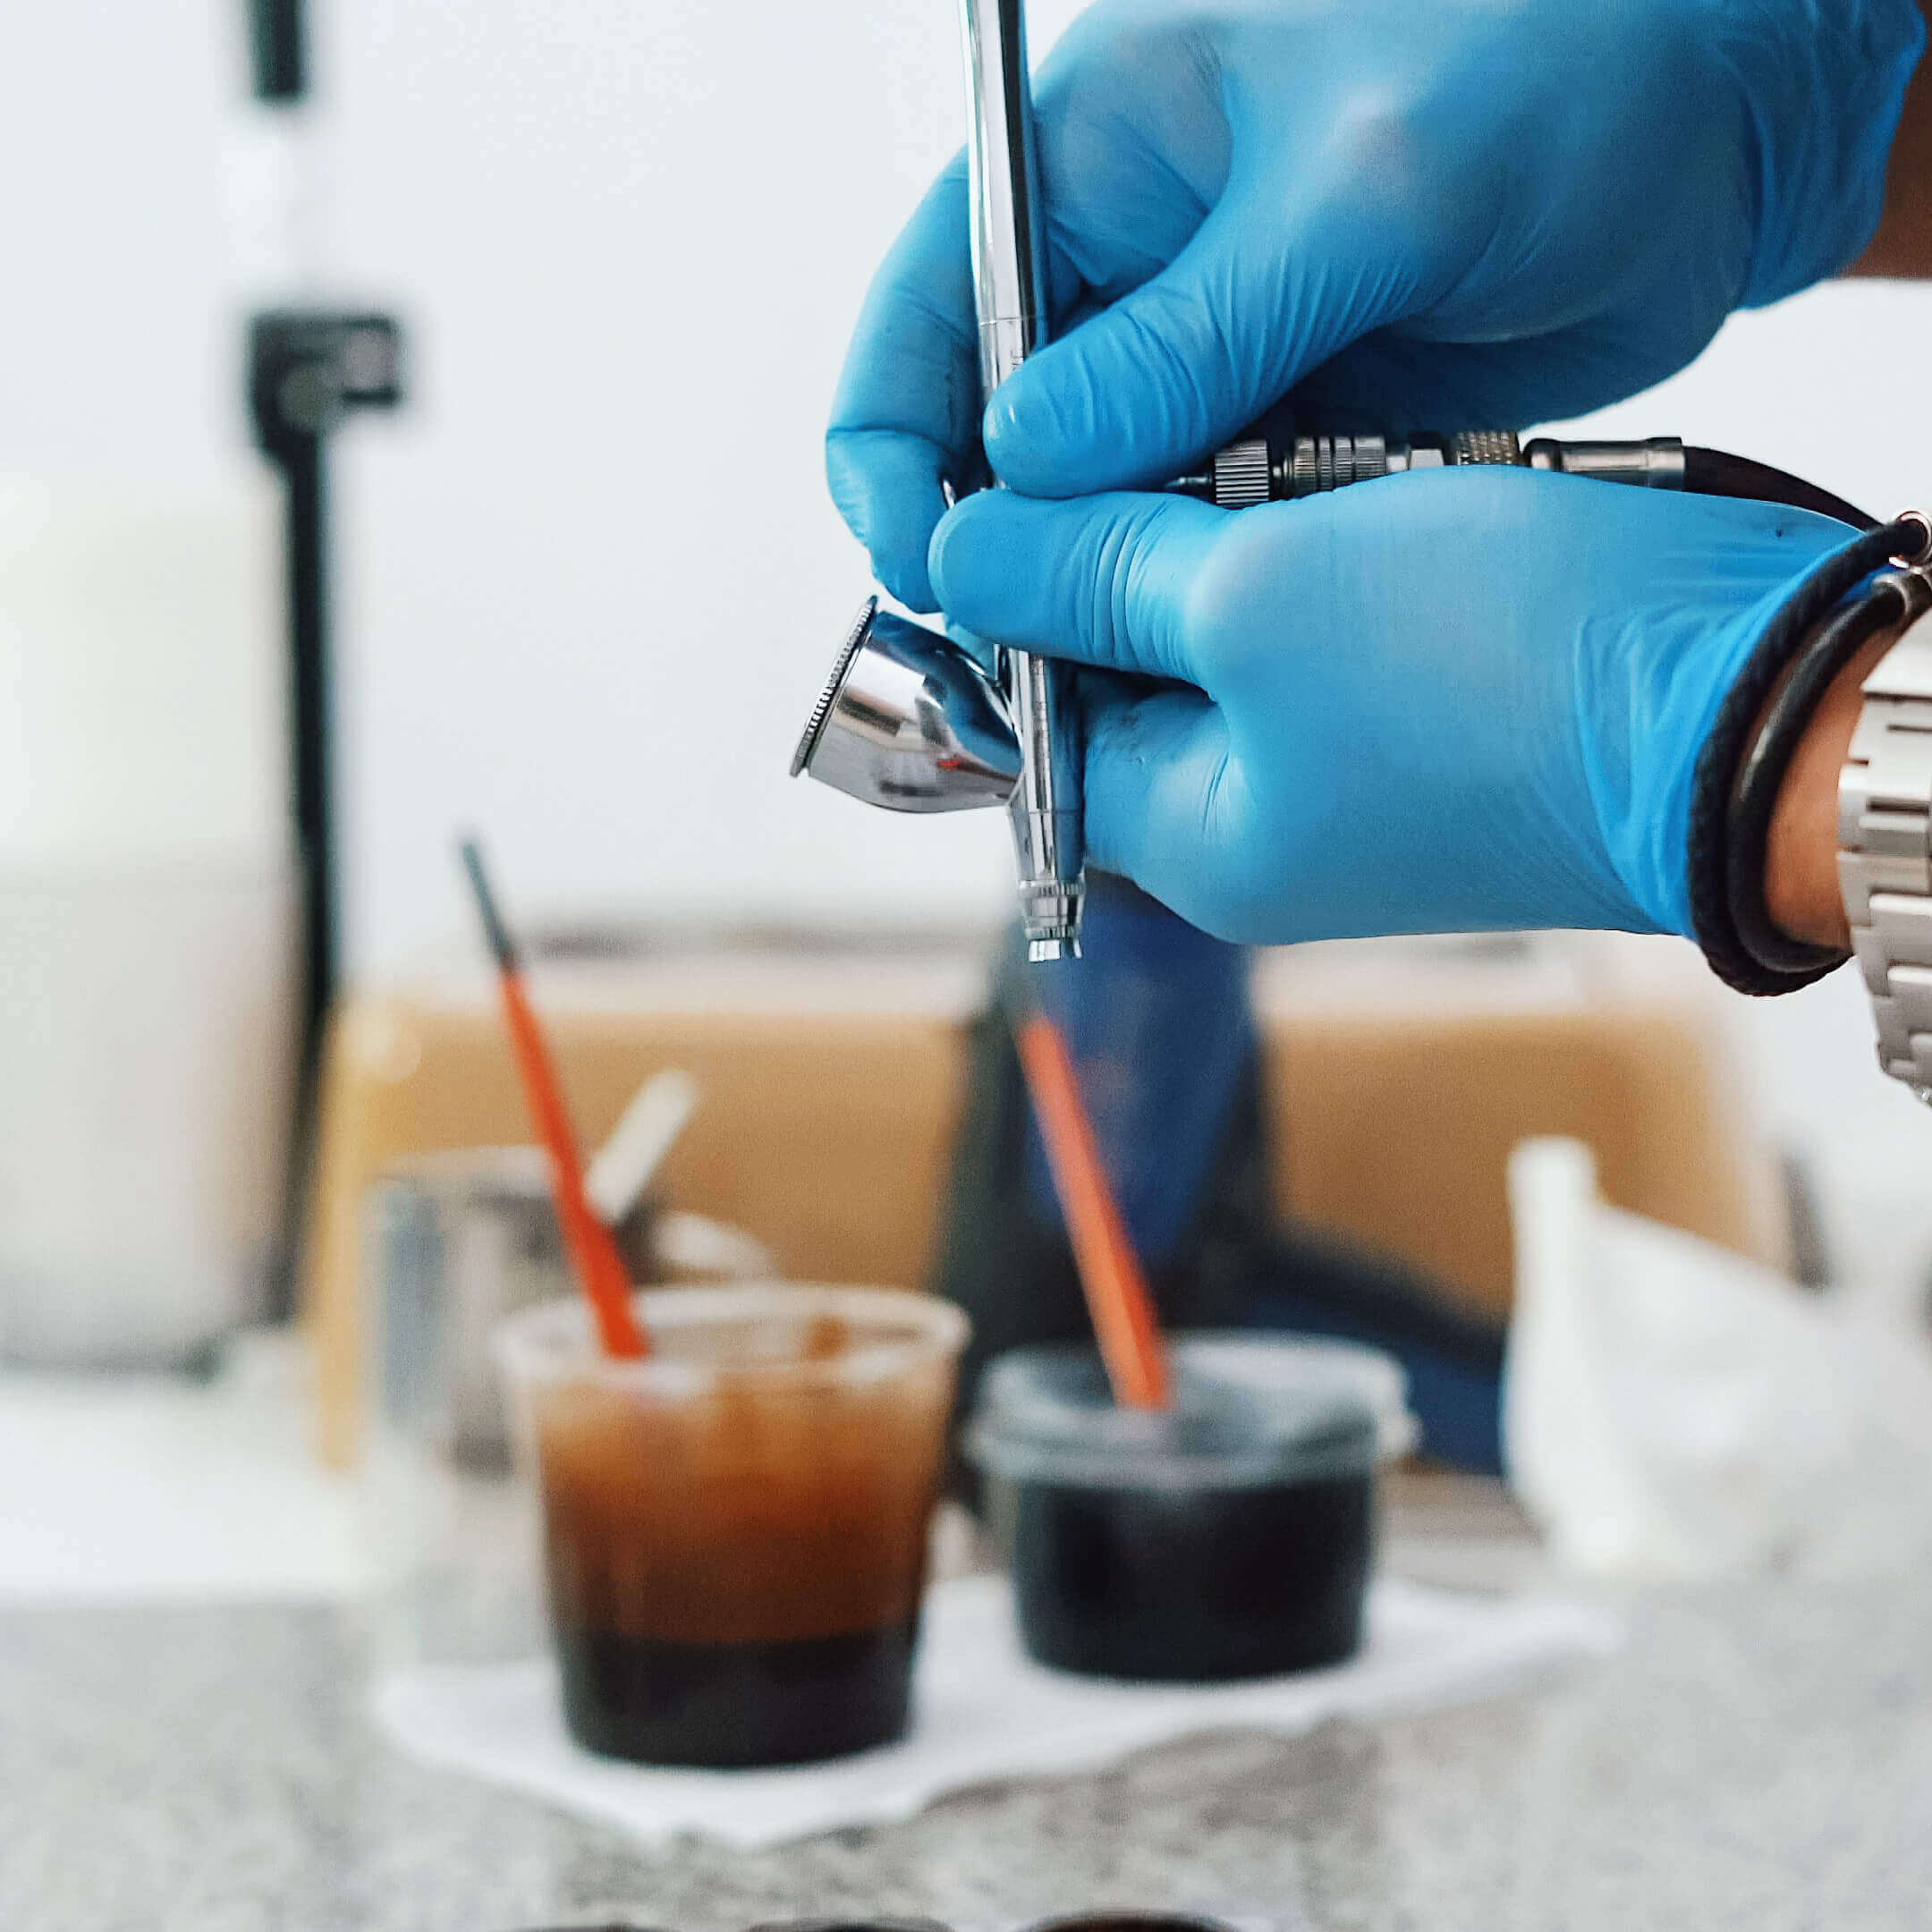
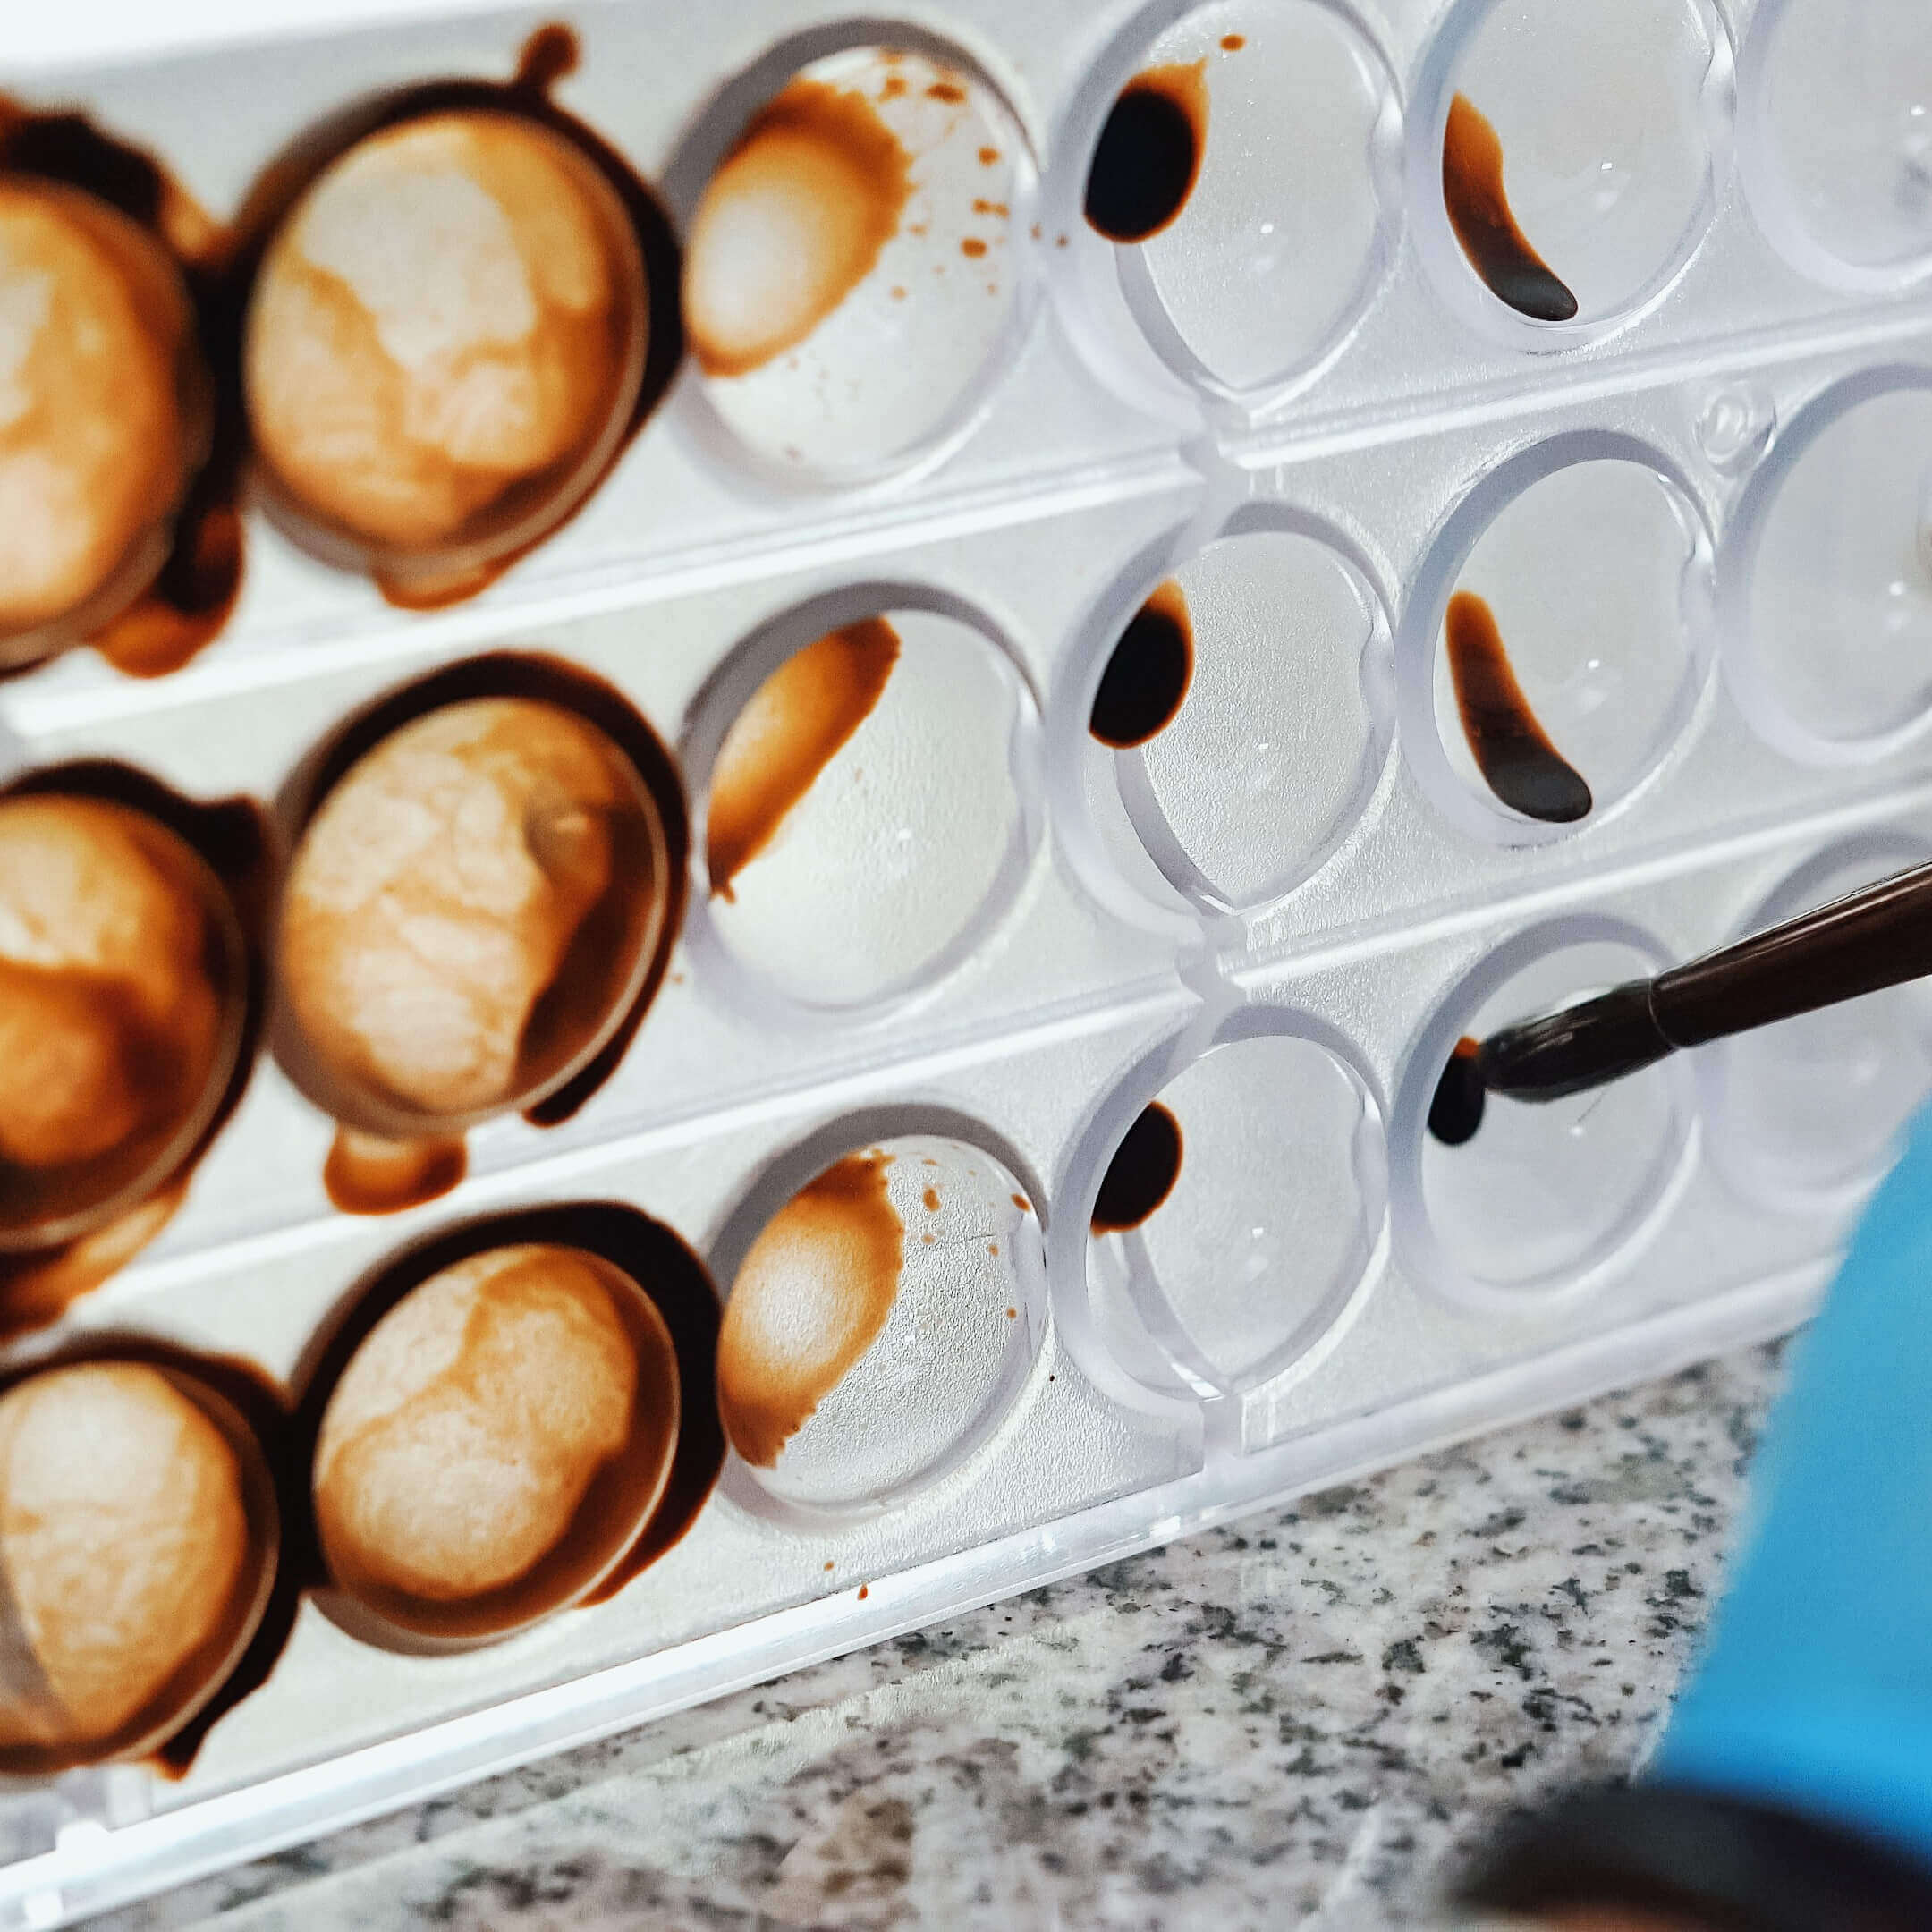
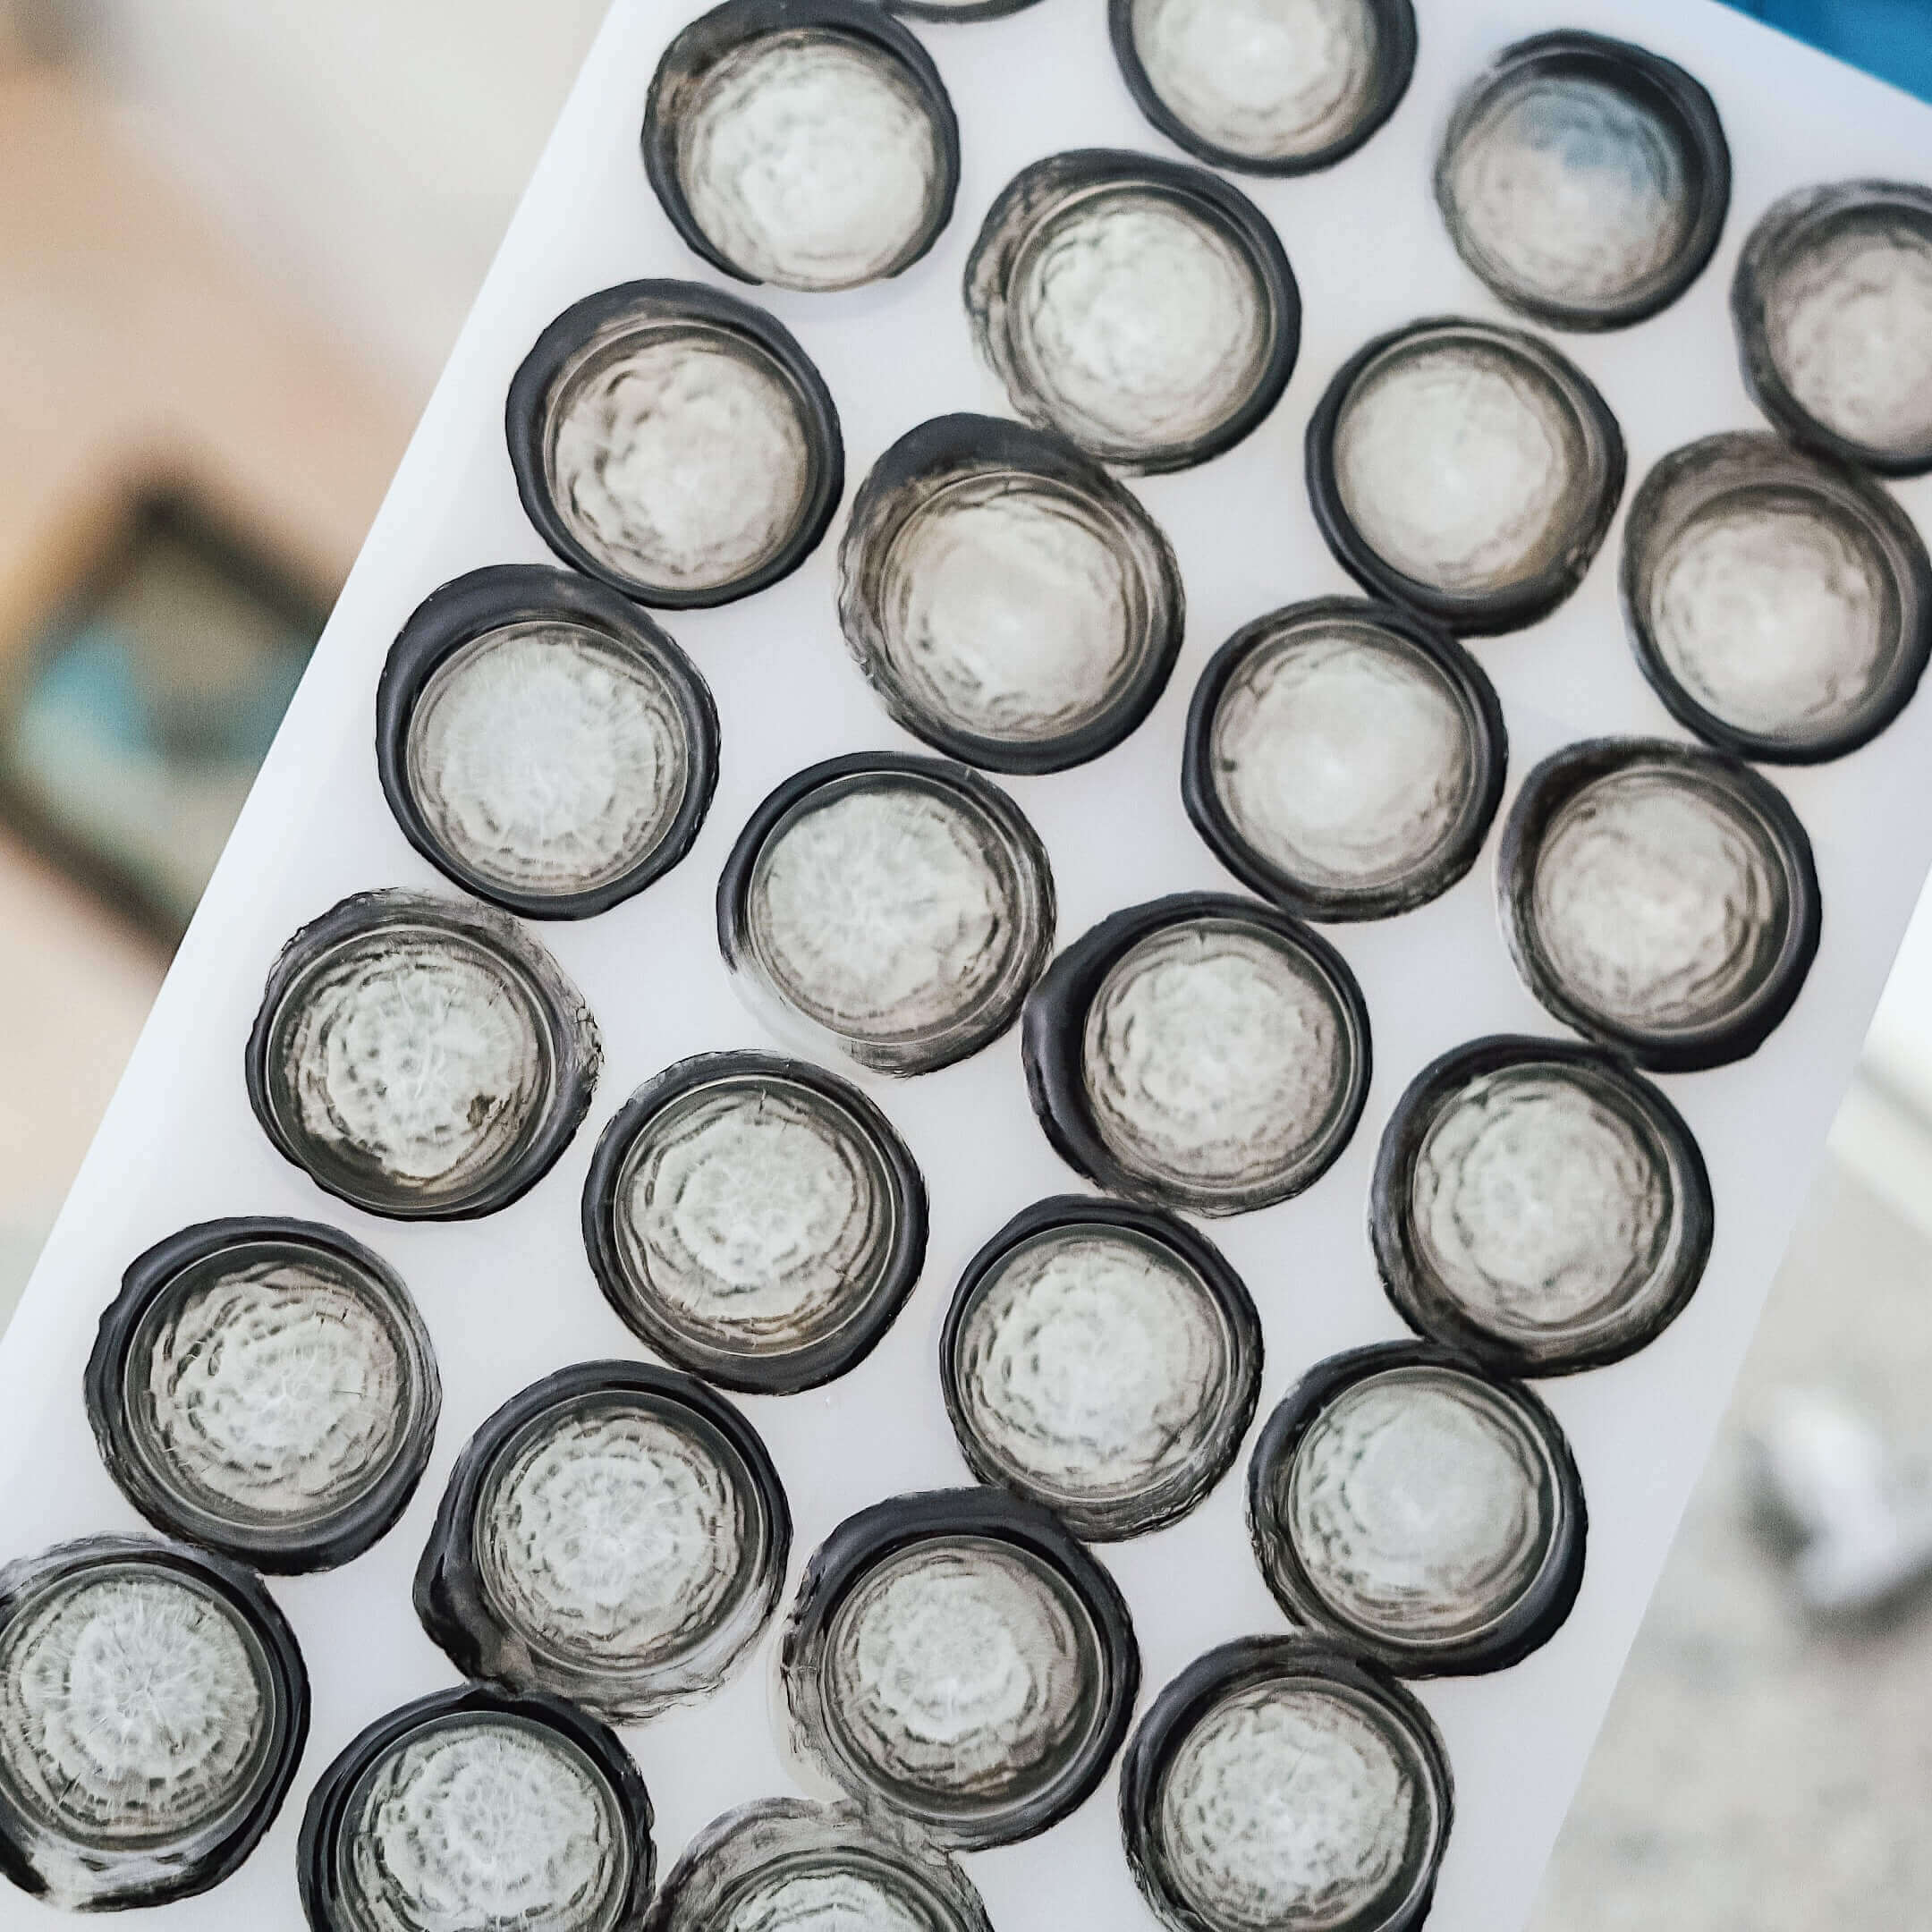
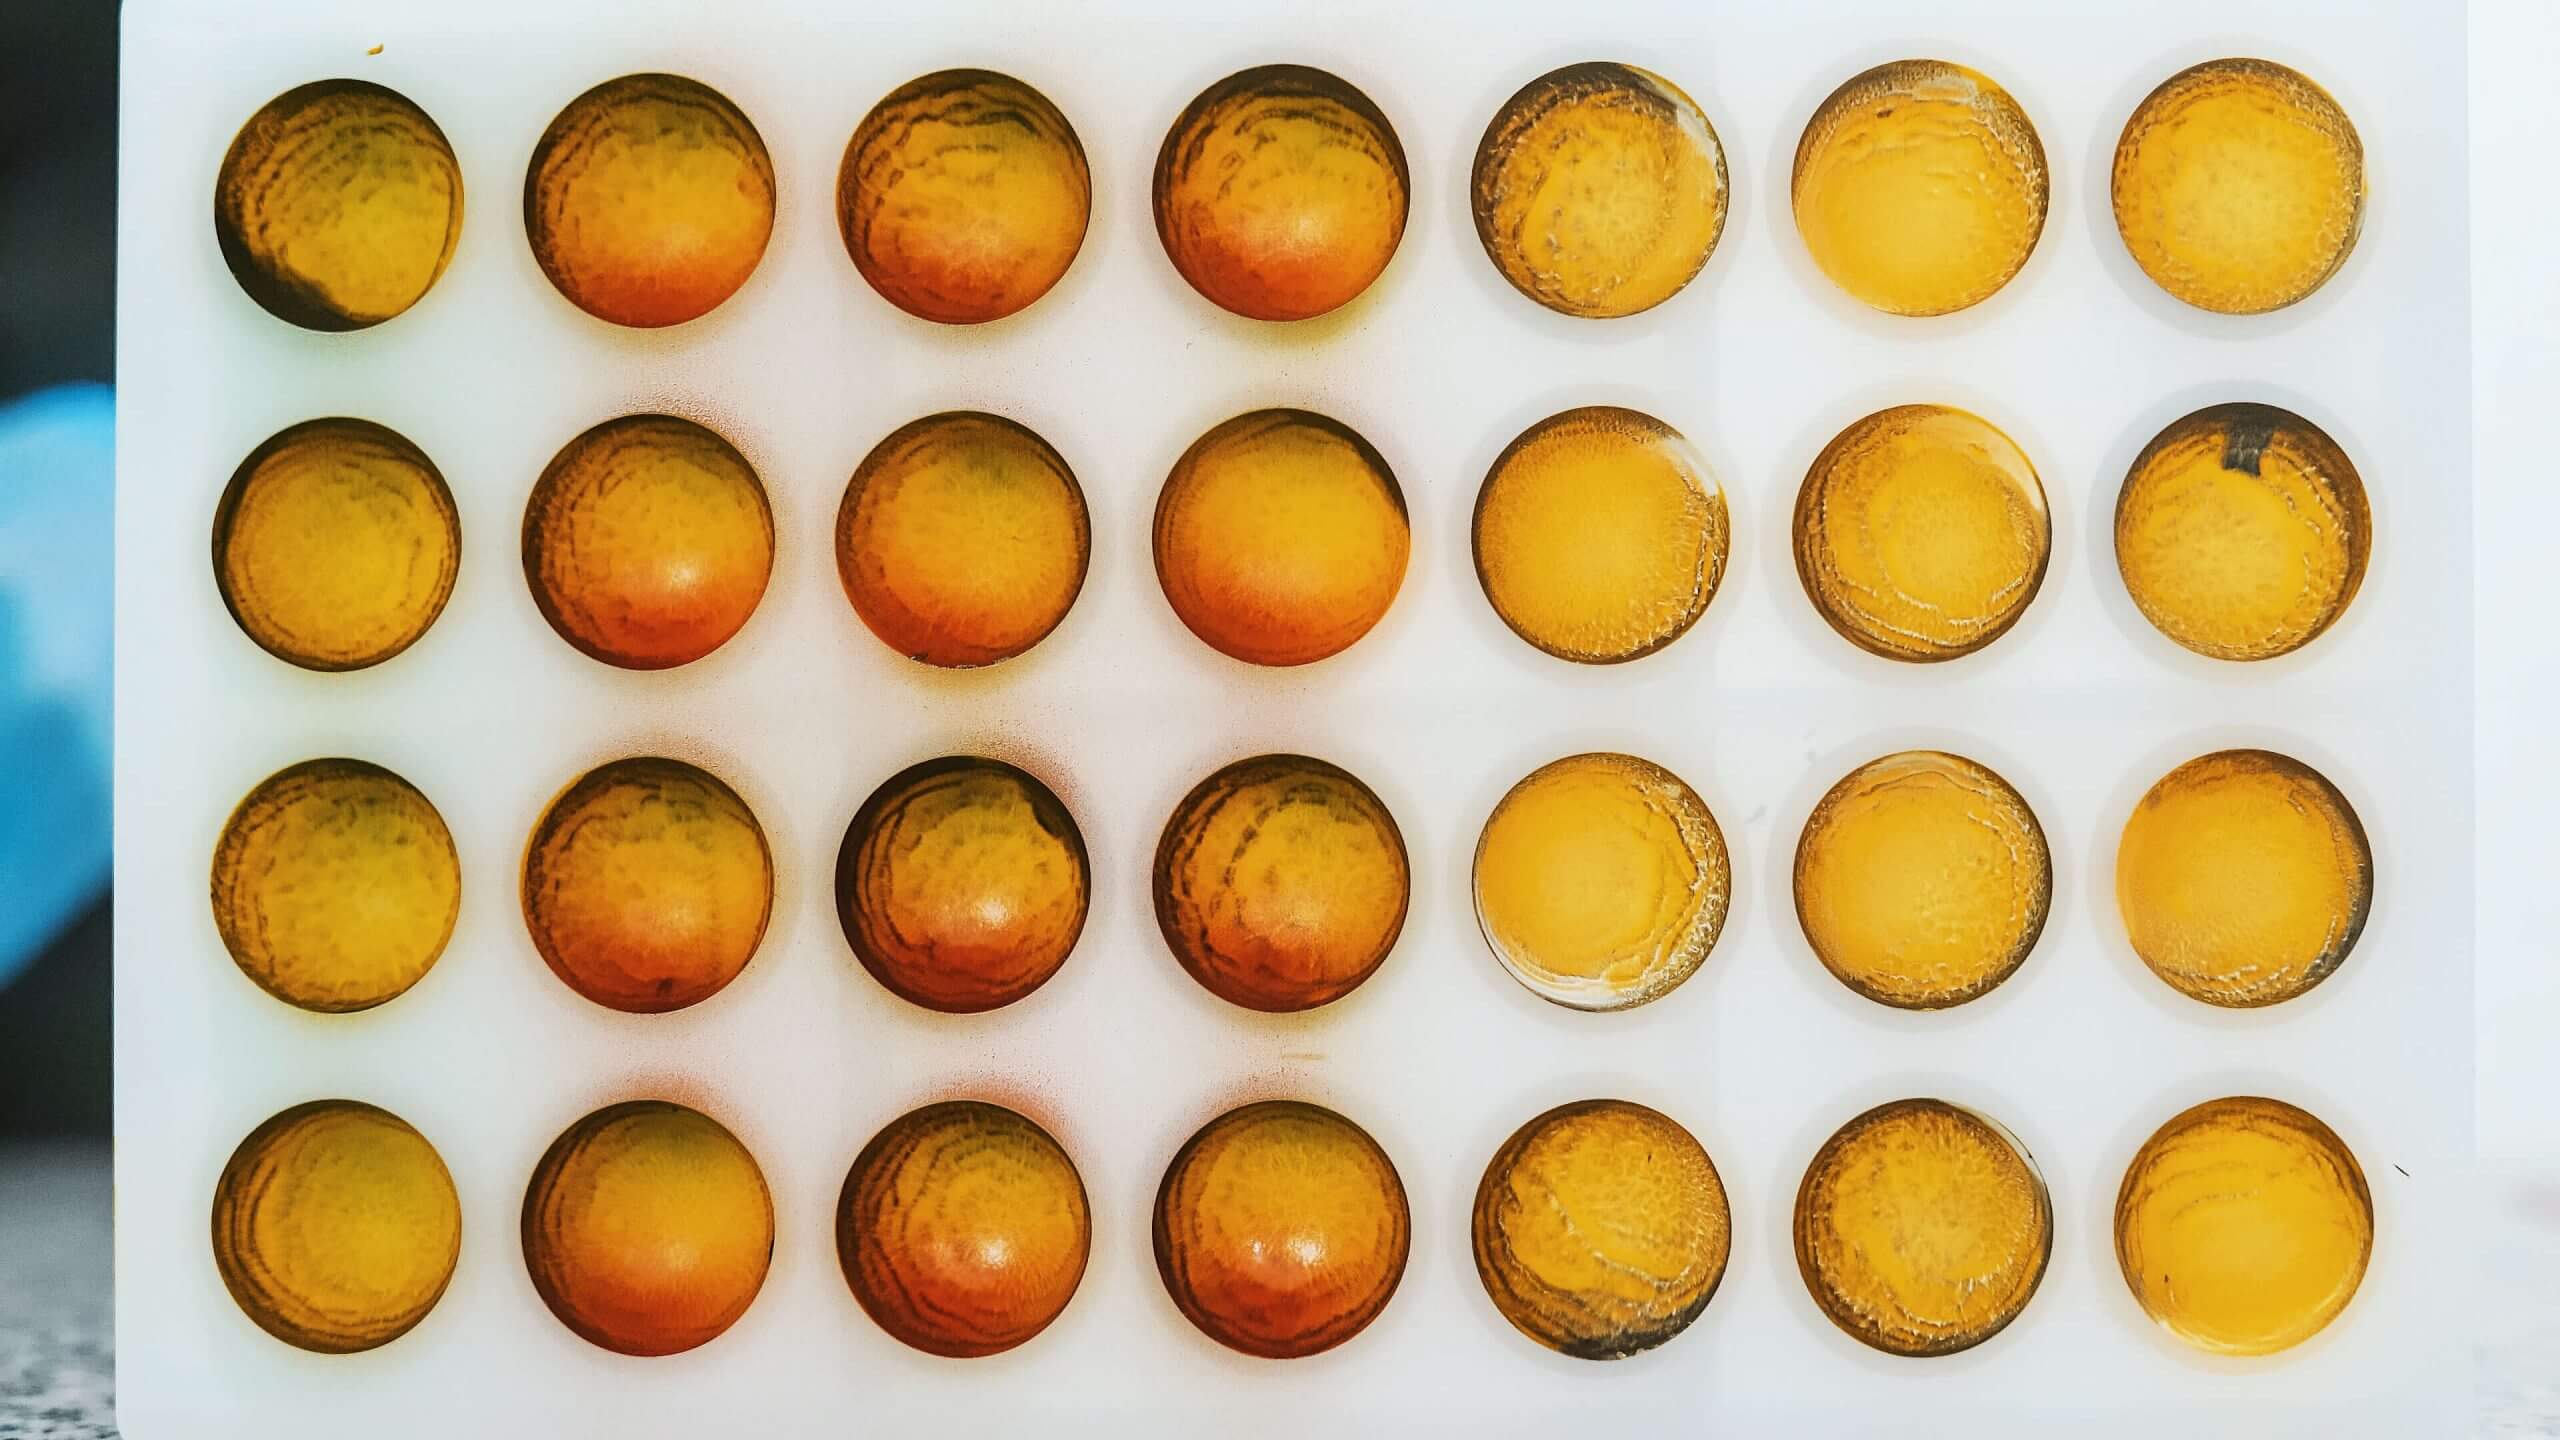
Starting from Week 9, you will use an airbrush not only as a tool for spraying, but also as a tool for blowing clean air. It is not a big secret that lots of Andrey’s designs are made by blowing, i.e. when he makes cocoa butter move in the cavities simply controlling an air stream supplied. During Week 9 you will learn the basics of this technique. You will create a collection of chocolates which shows the evolution of the technique used: from one coloured cavity to a complex design. This week is difficult, prepare to work hard.
#Contents
01► 34:42 “BLOWING” VIDEO-TUTORIAL 0
02“BLOWING” STEP-BY-STEP GUIDE 26
03ASSIGNMENT 16
Week 10
“Hardcore Blowing Practices”
The Week 10 module is about going ahead with the blowing technique. You will create more complex designs and work with a few colours at the same time. You will also create a black and white version of the design which looks quite simple, but in order to recreate it you should really conquer the technique. You will make the same design once again but with no colourings at all. So, as you see this week is again devoted to blowing, but kinda hardcore blowing.
#Contents
01► 34:42 “BLOWING II” VIDEO-TUTORIAL 0
02“BLOWING II” STEP-BY-STEP GUIDE 26
03ASSIGNMENT 16

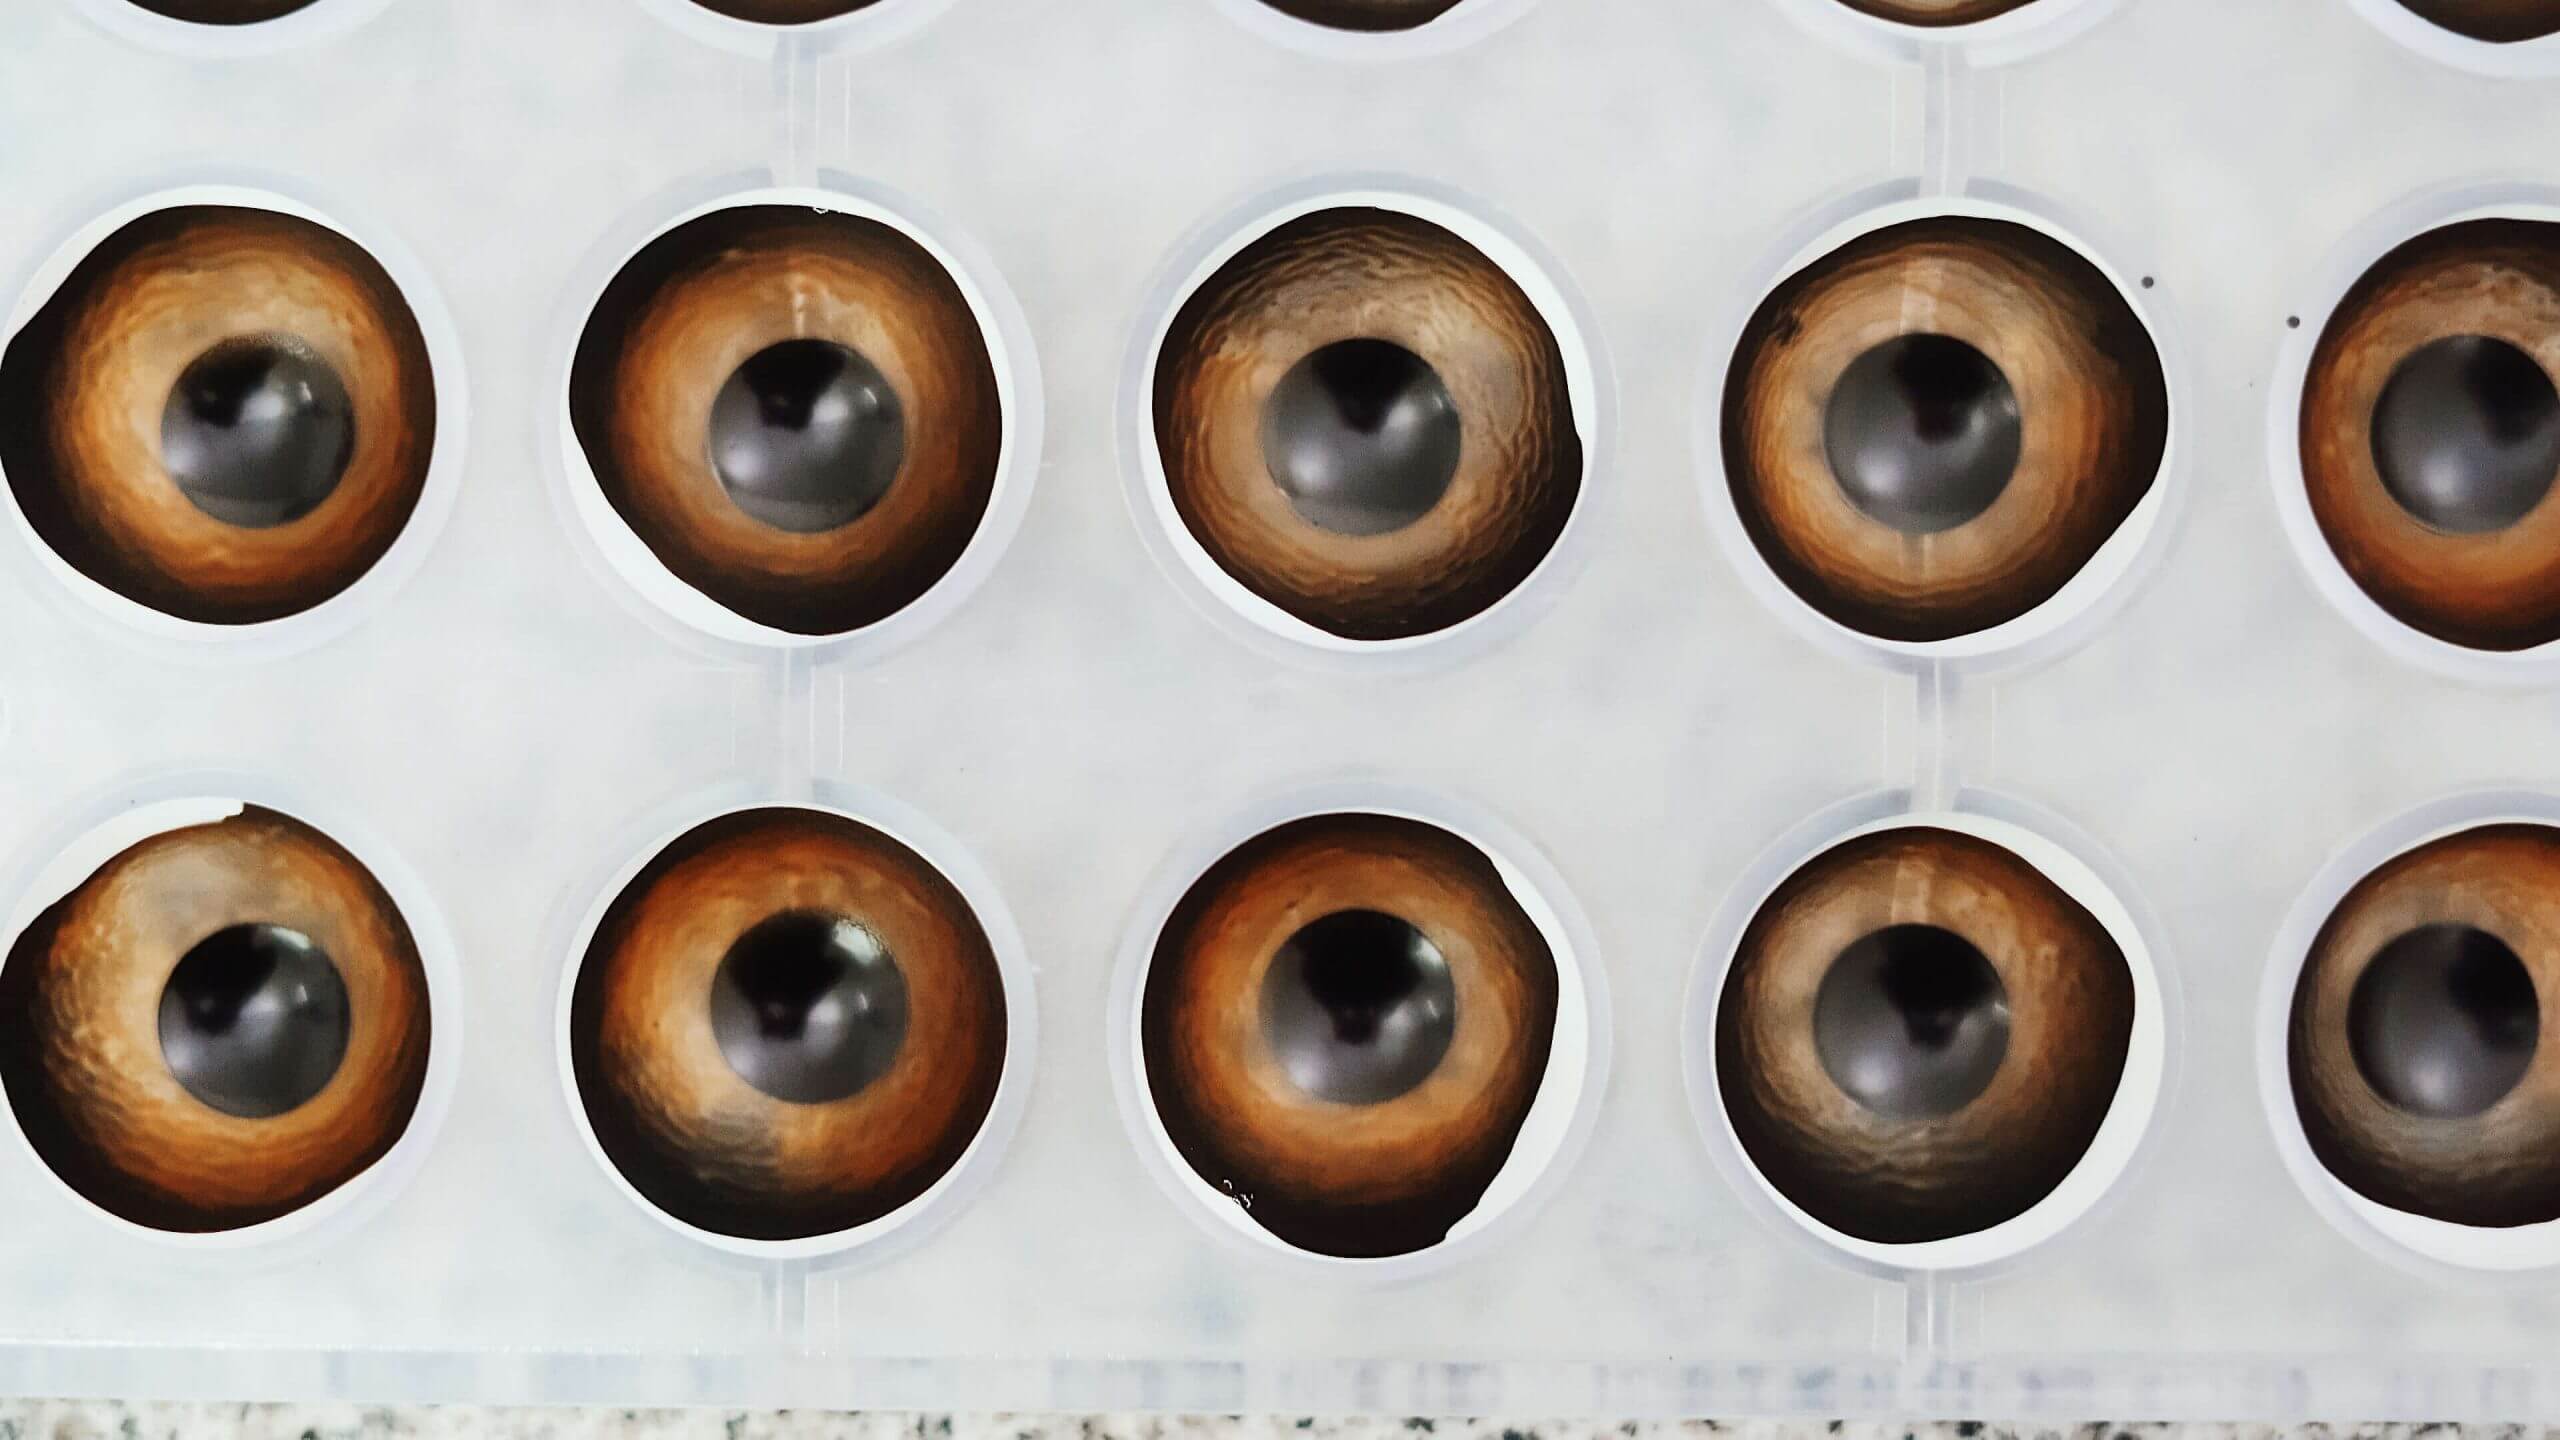
Week 11
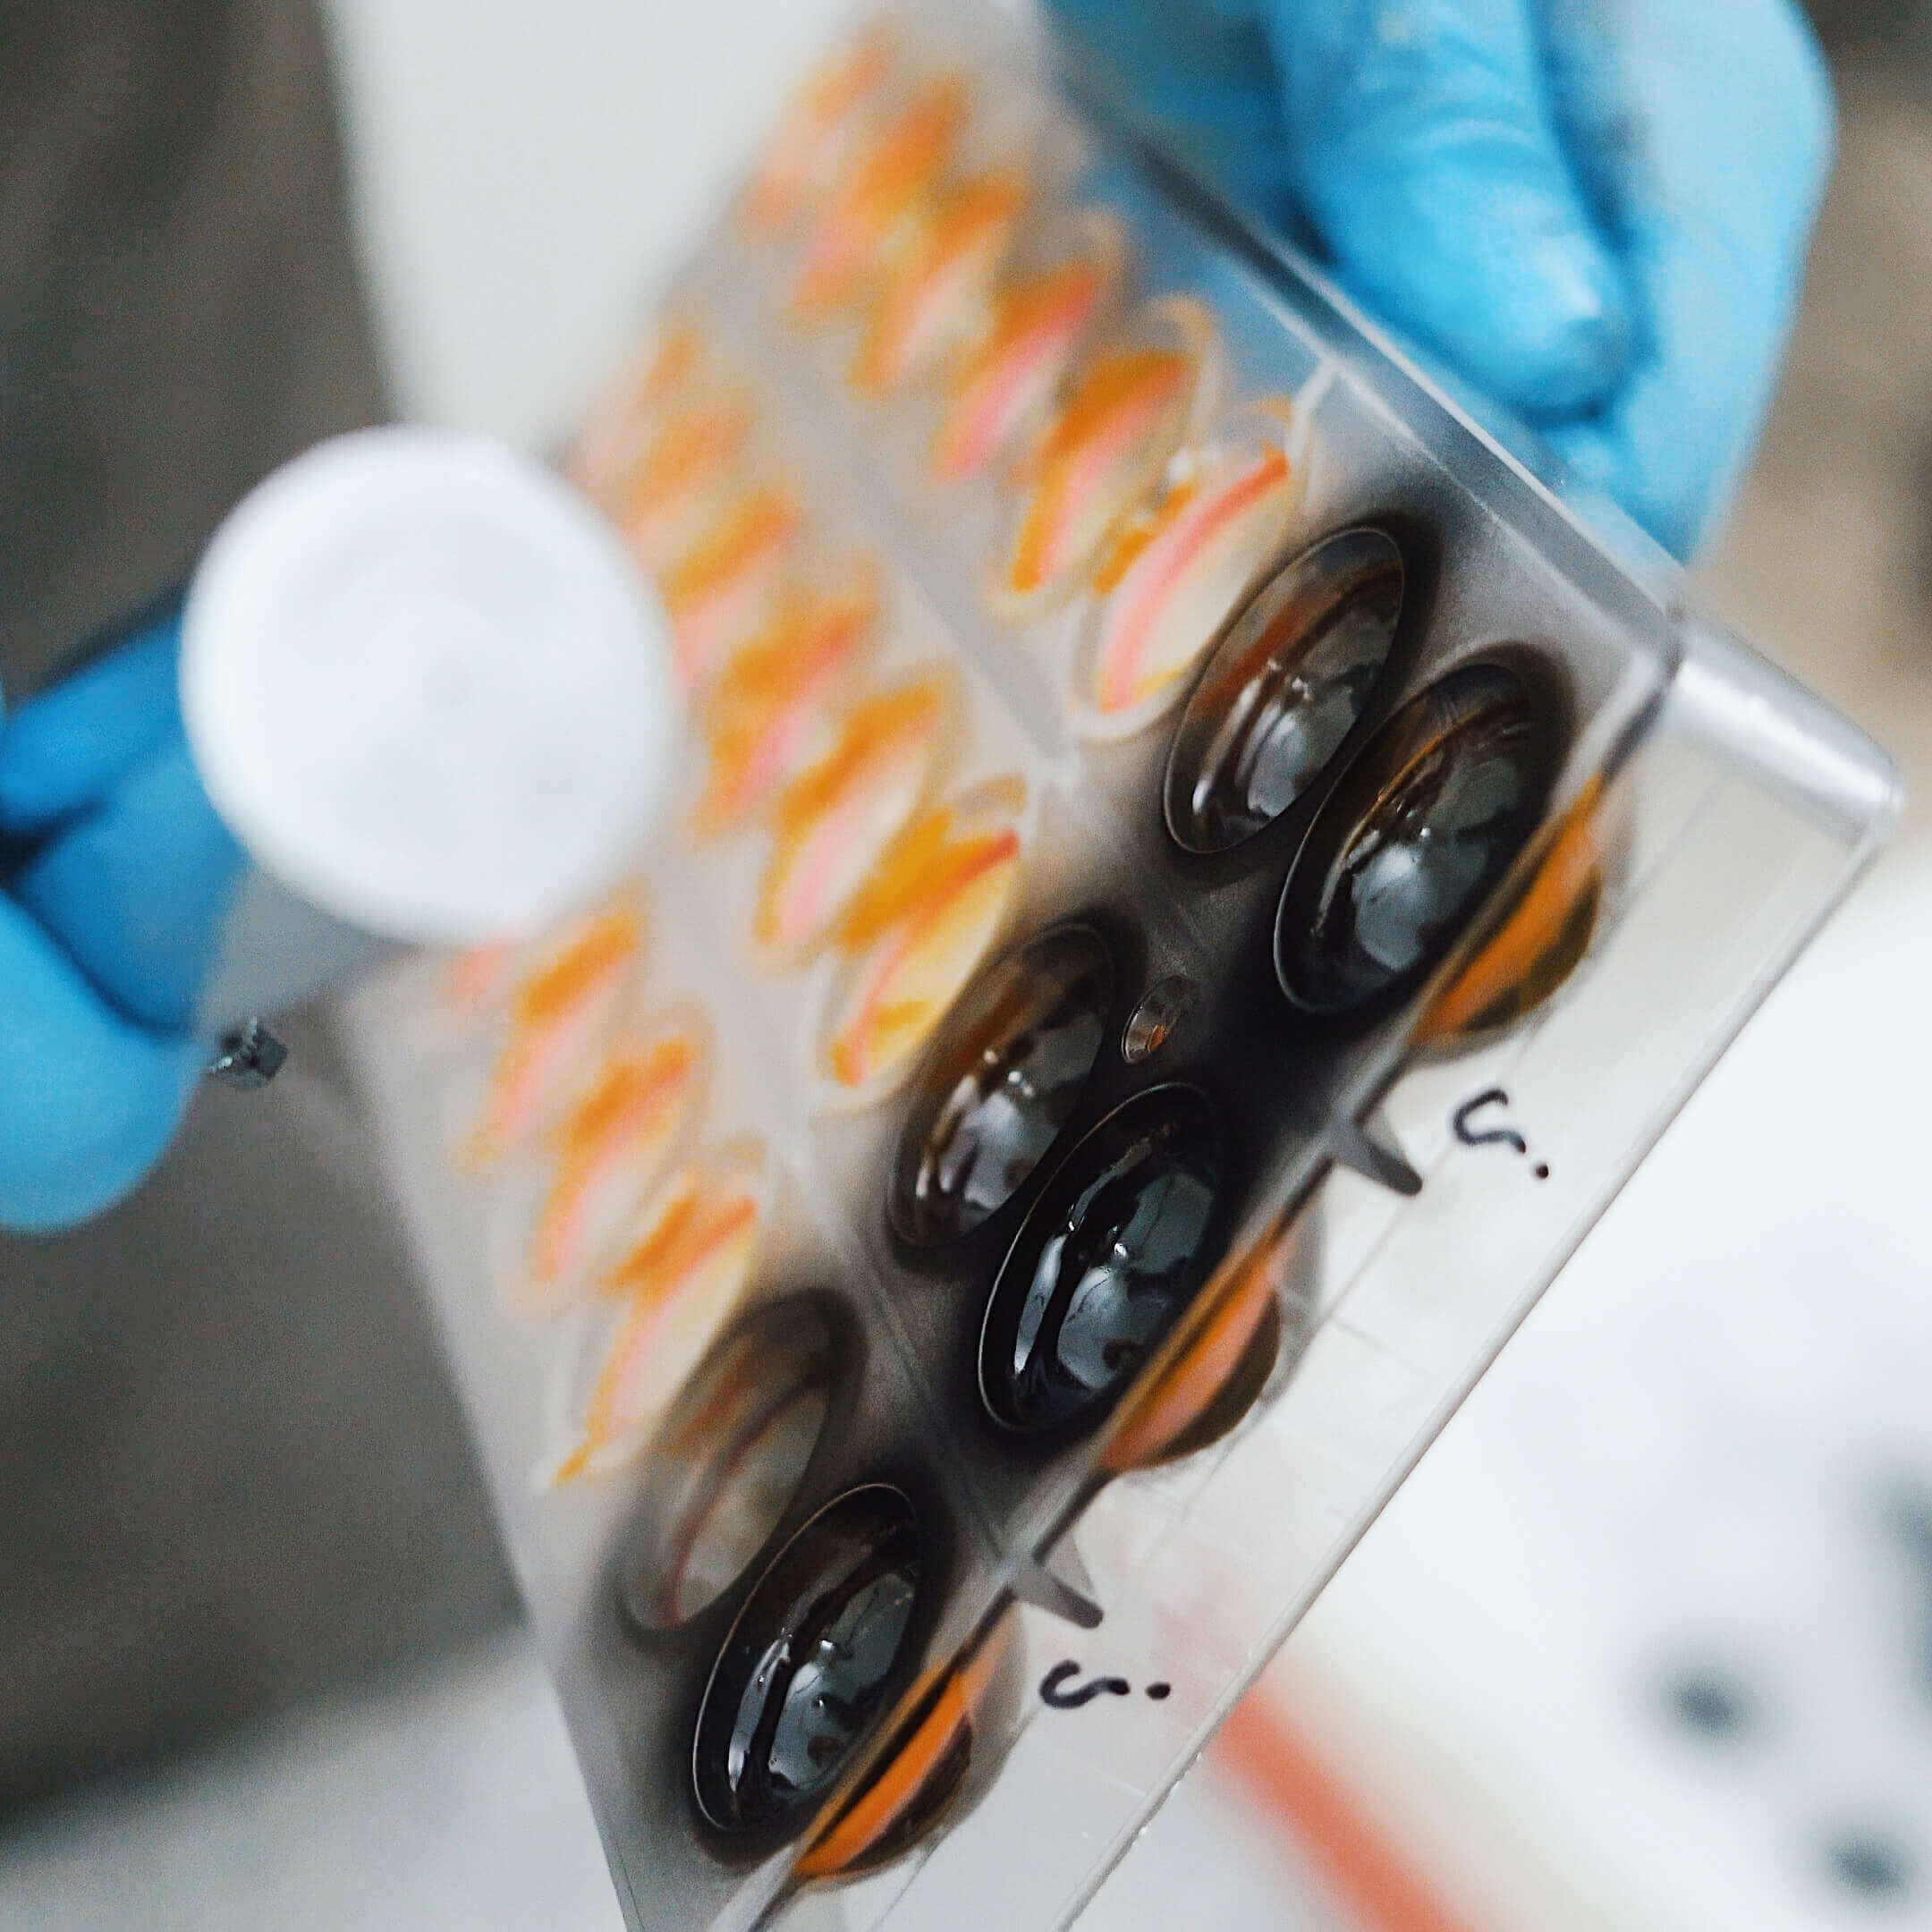
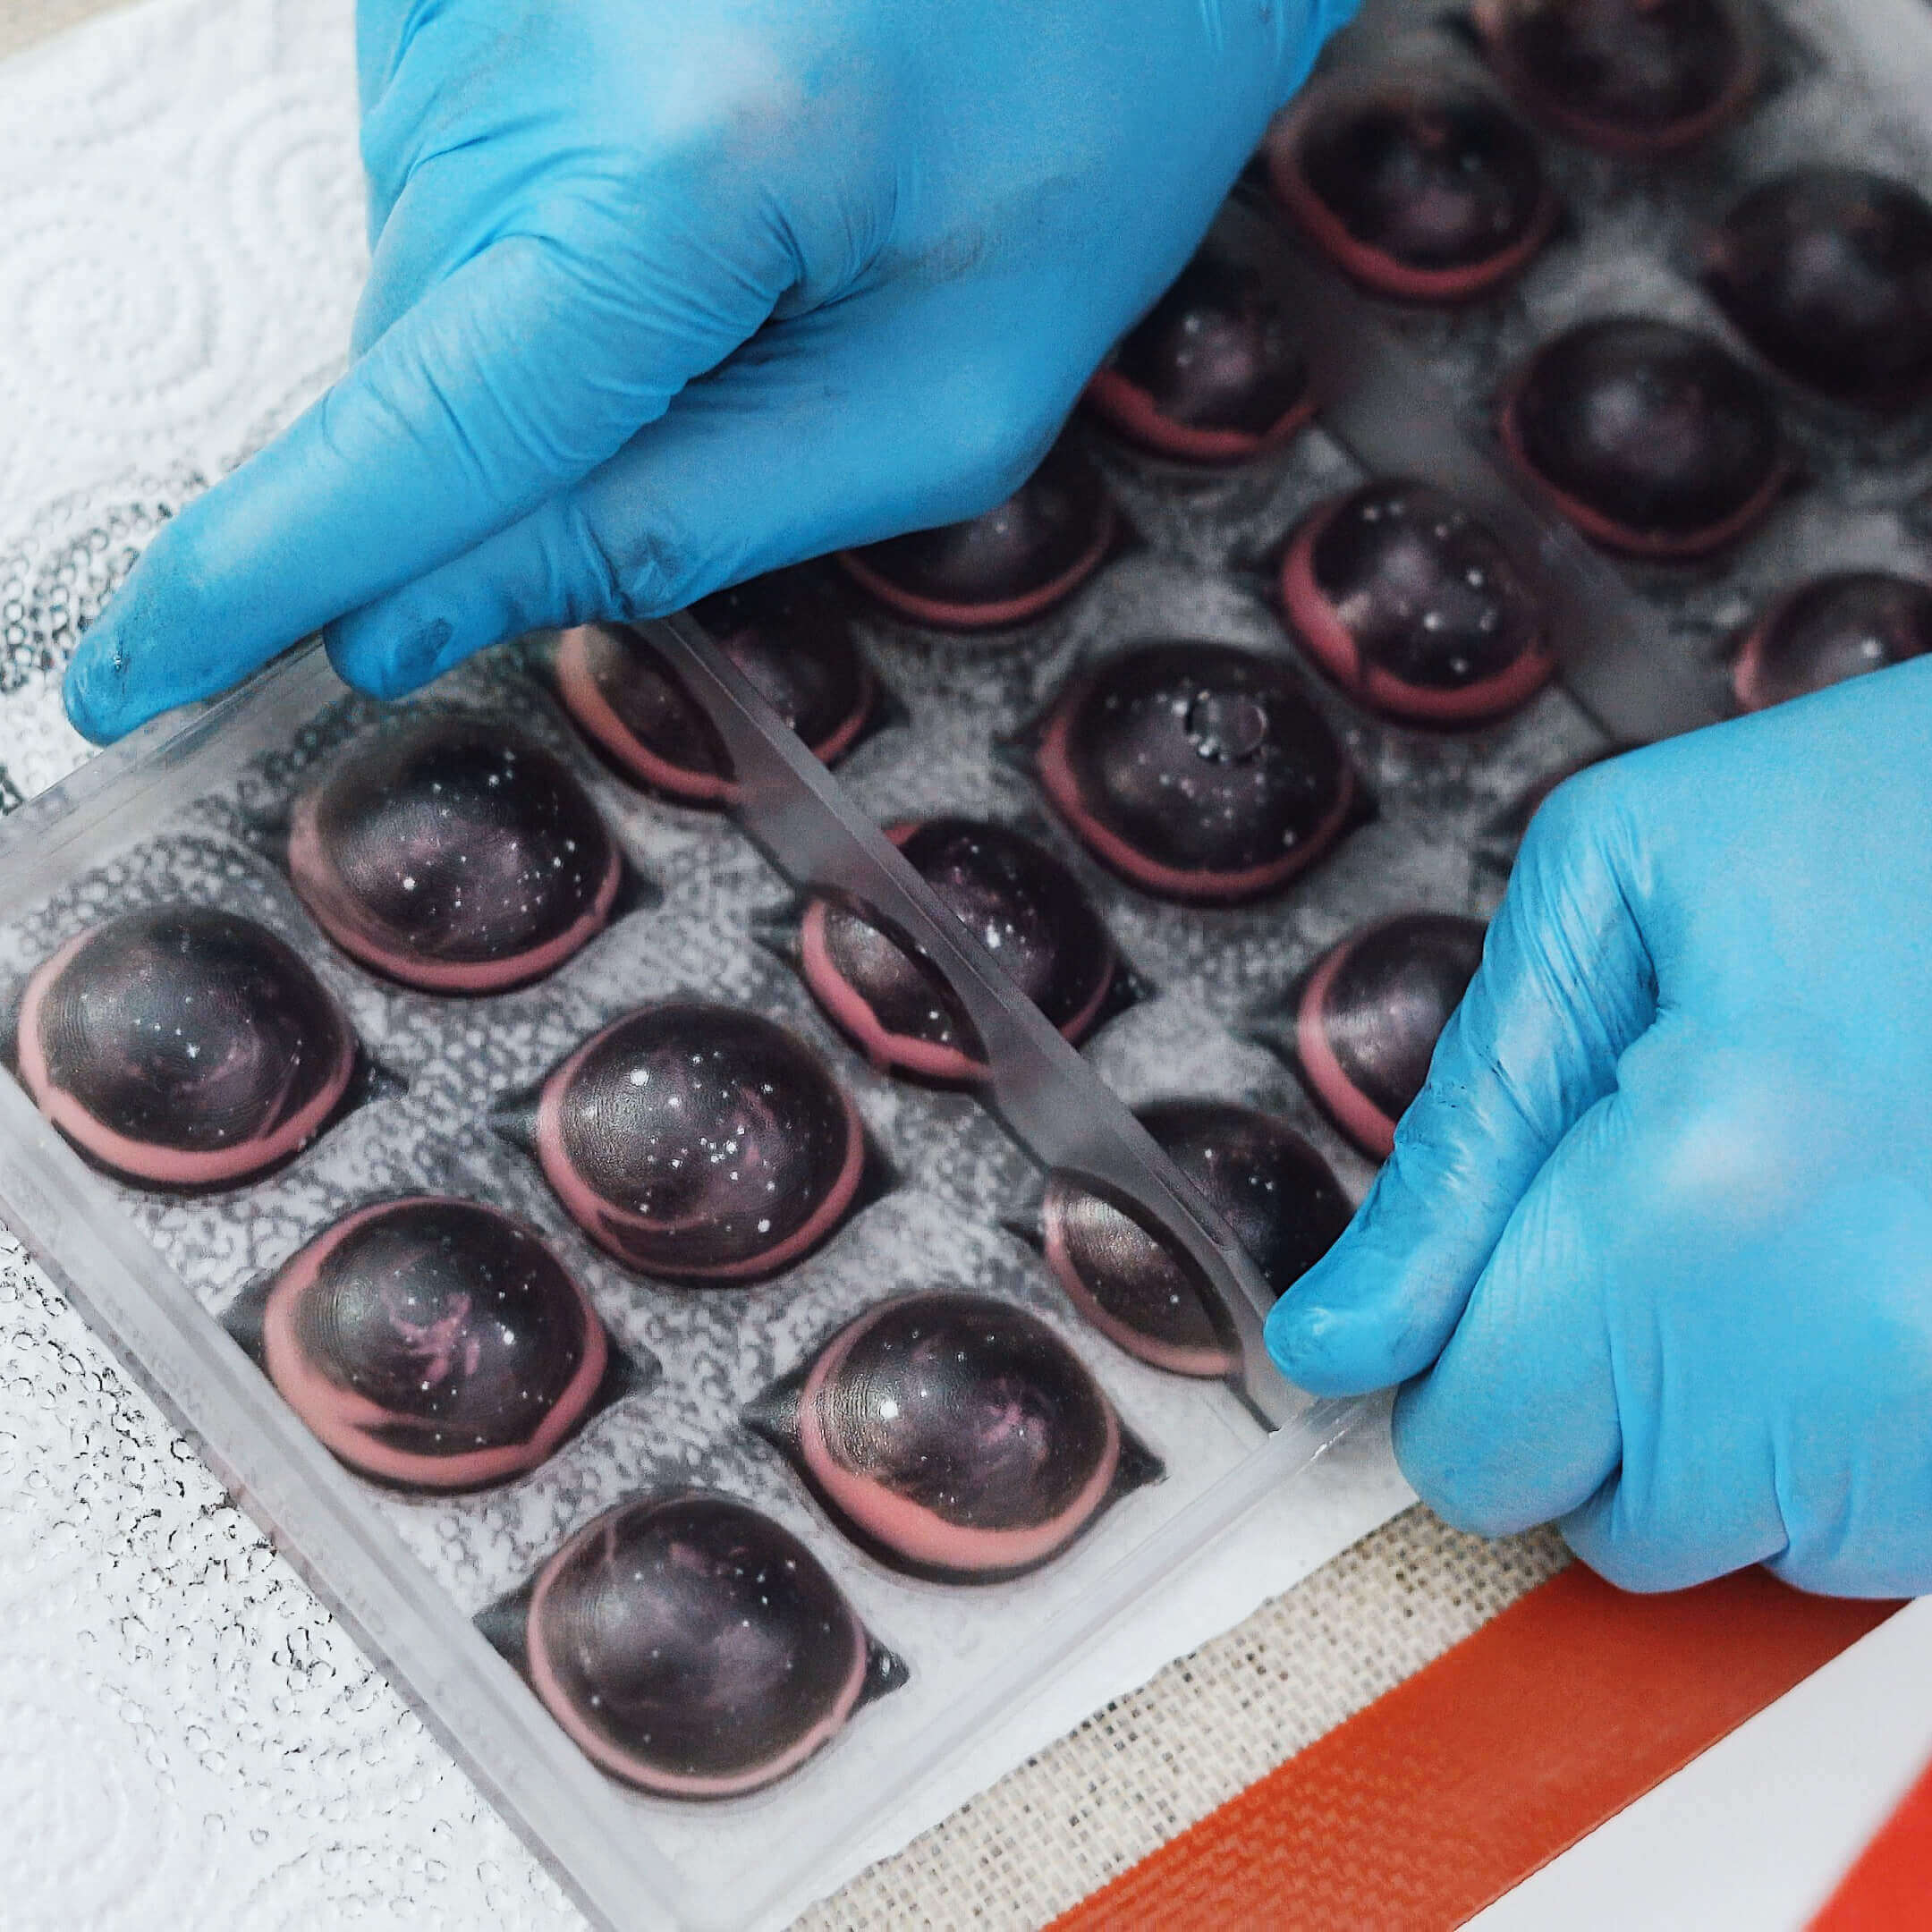
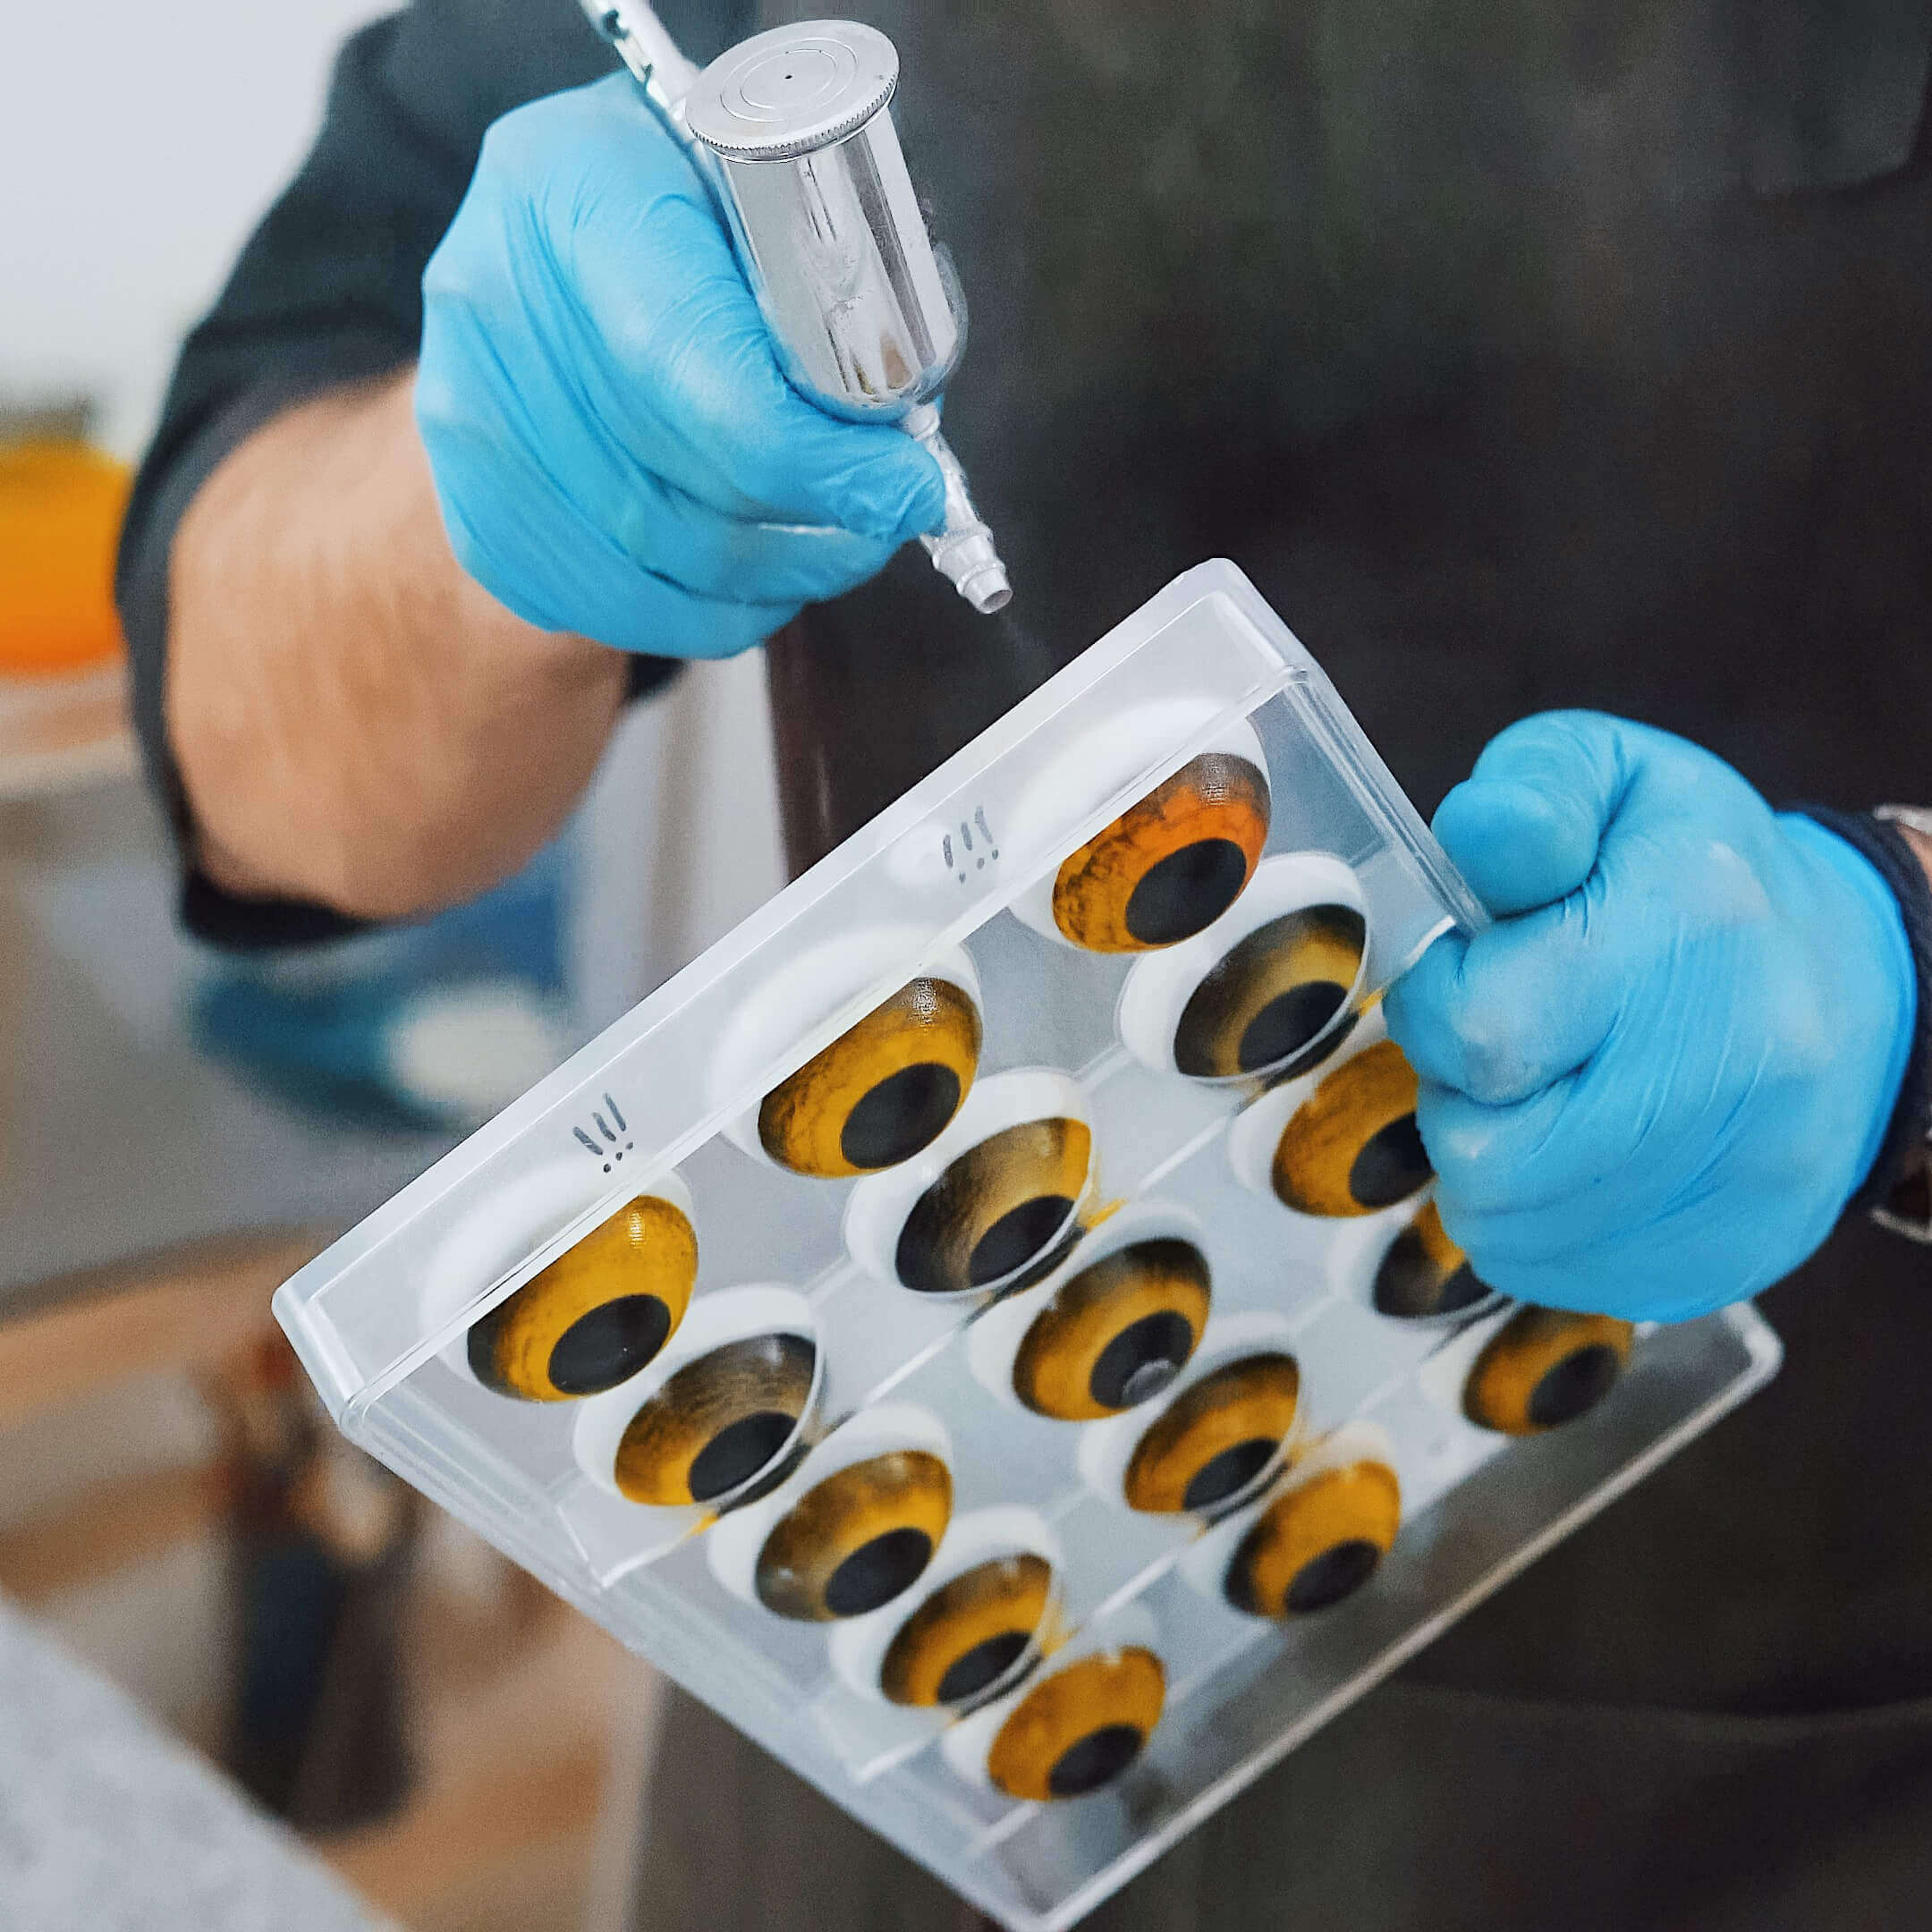
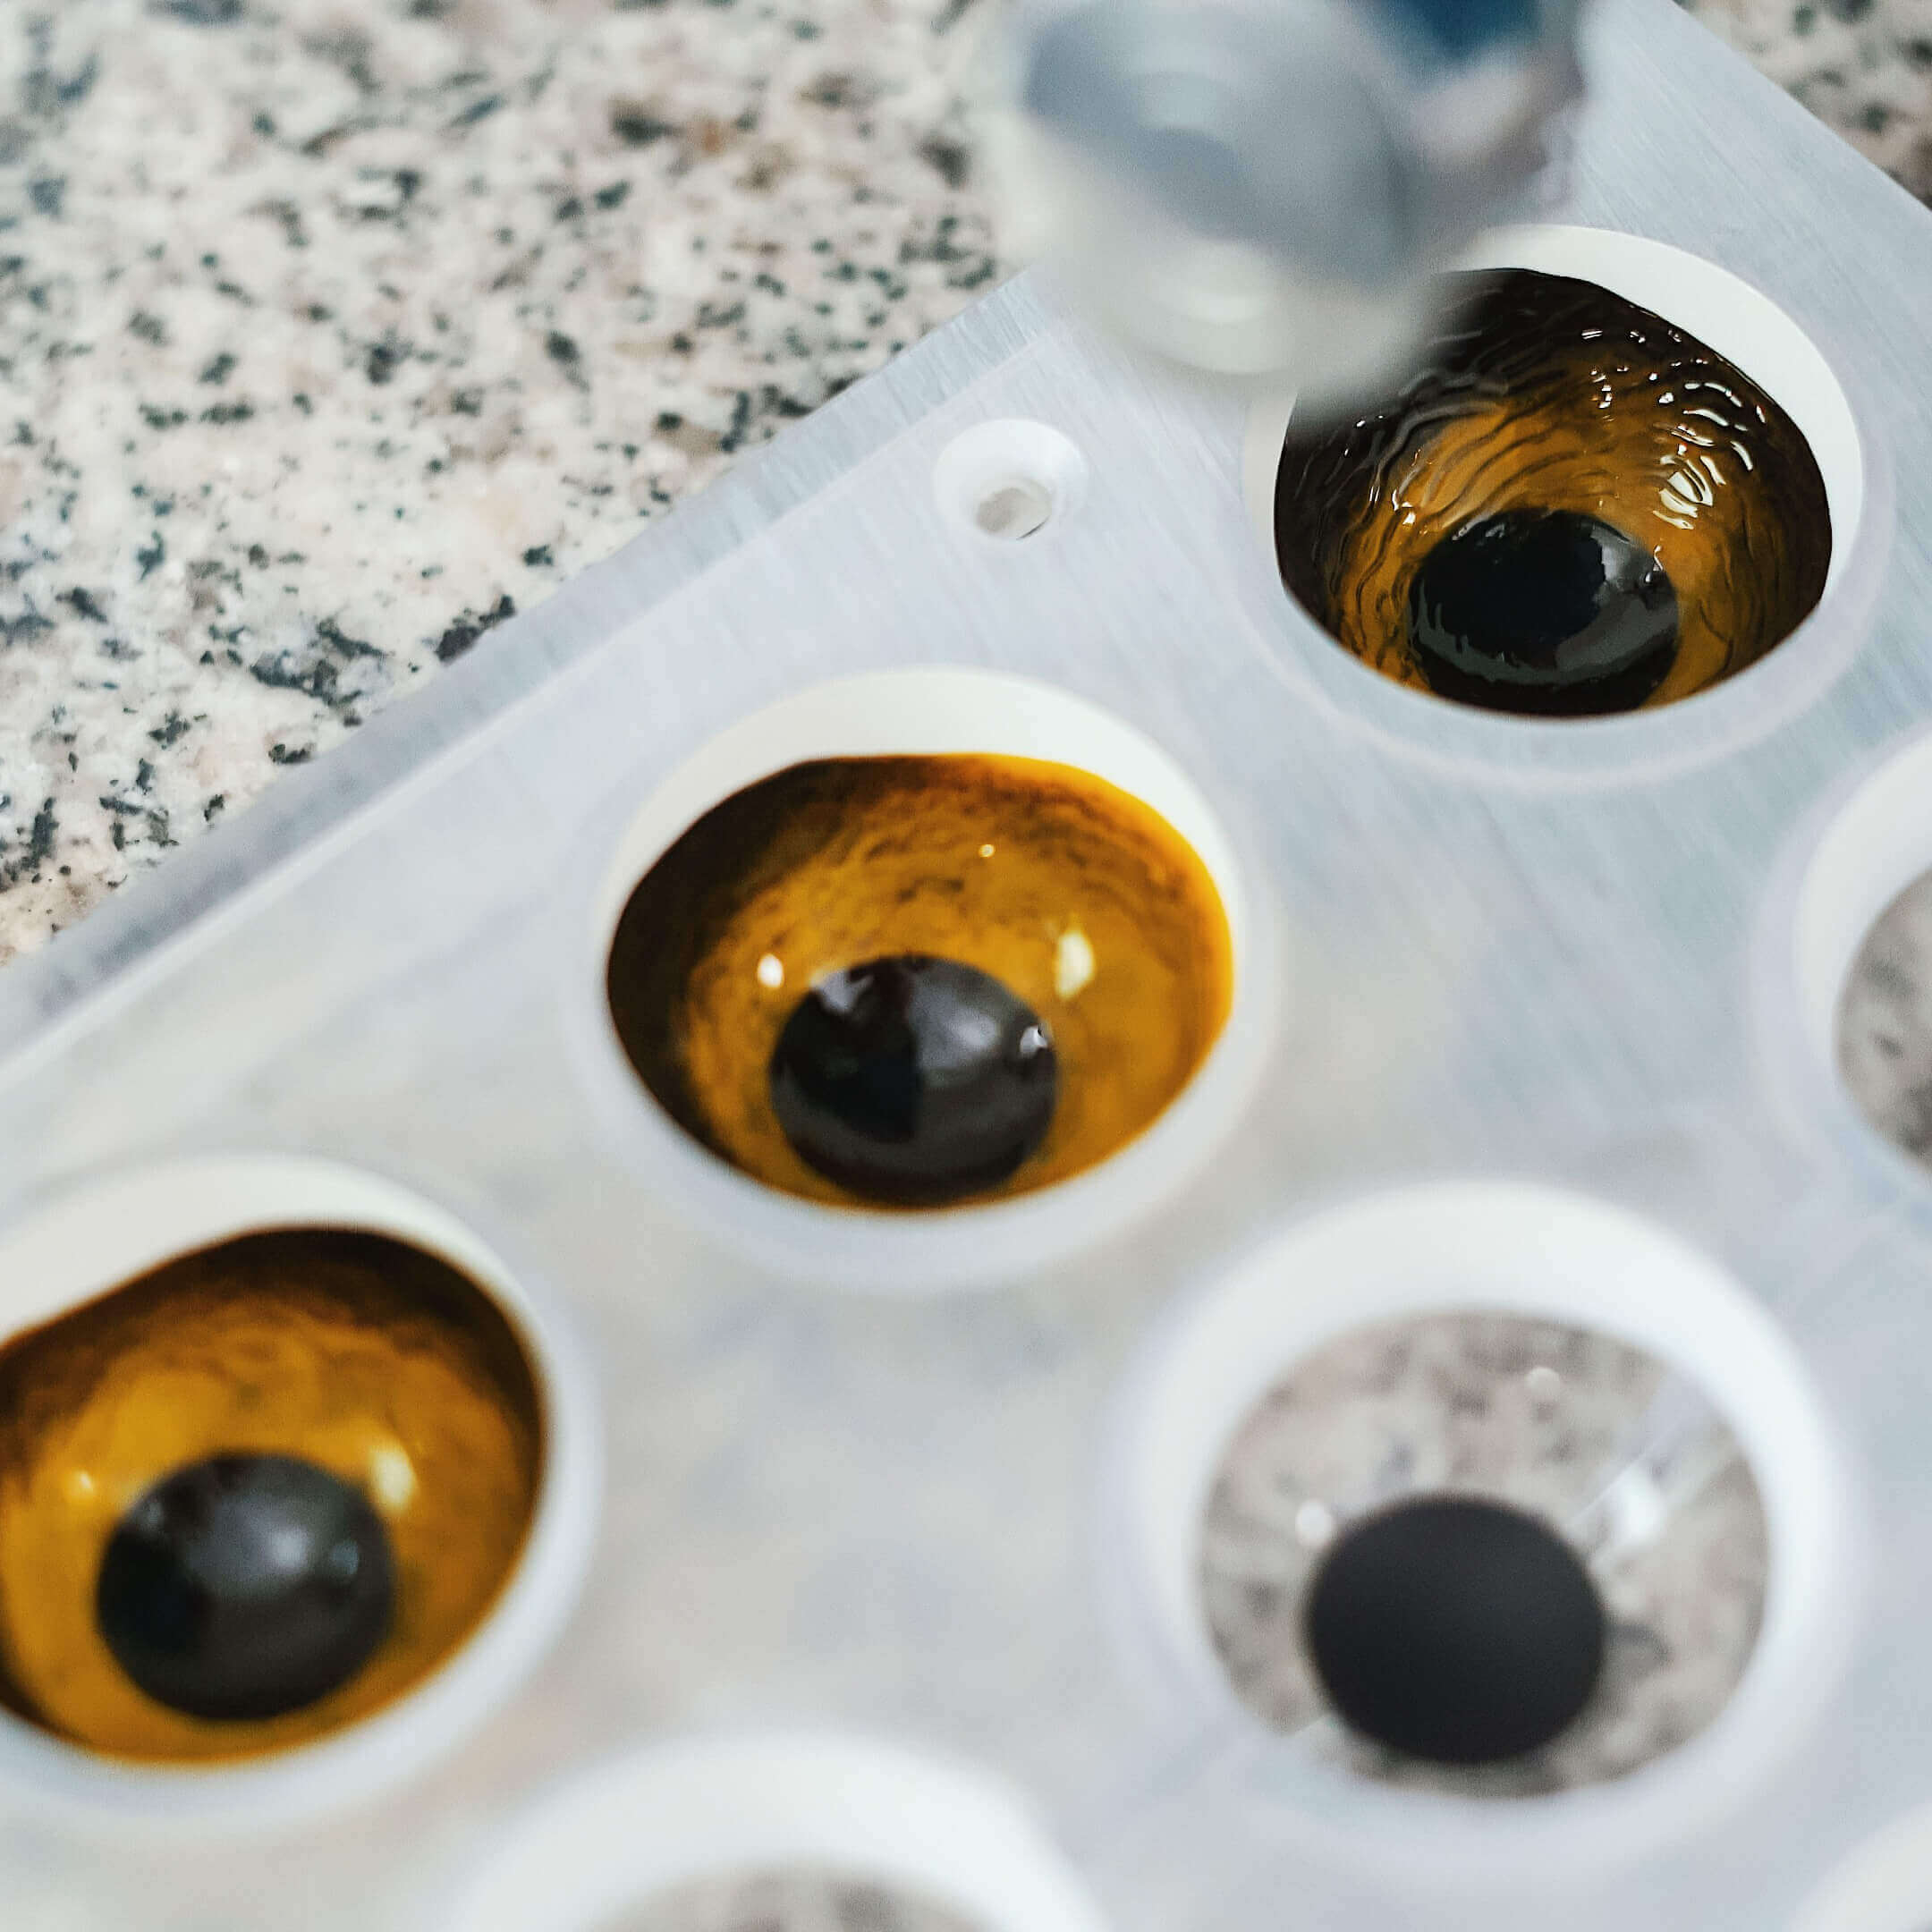
“Eye Design”
During Week 11, you will work on the design we call the Eye. It’s is one of our signature designs in the whole course. Using the techniques you’ve been learning for these 10 weeks, you will make three different variants of one and the same design. We will show different approaches to making the same design. It’s a difficult lesson, but if you have been working hard for the past 10 weeks, it will be easy for you.
#Contents
01► 34:42 “EYE” VIDEO-TUTORIAL 0
02“EYE” STEP-BY-STEP GUIDE 26
03ASSIGNMENT 16
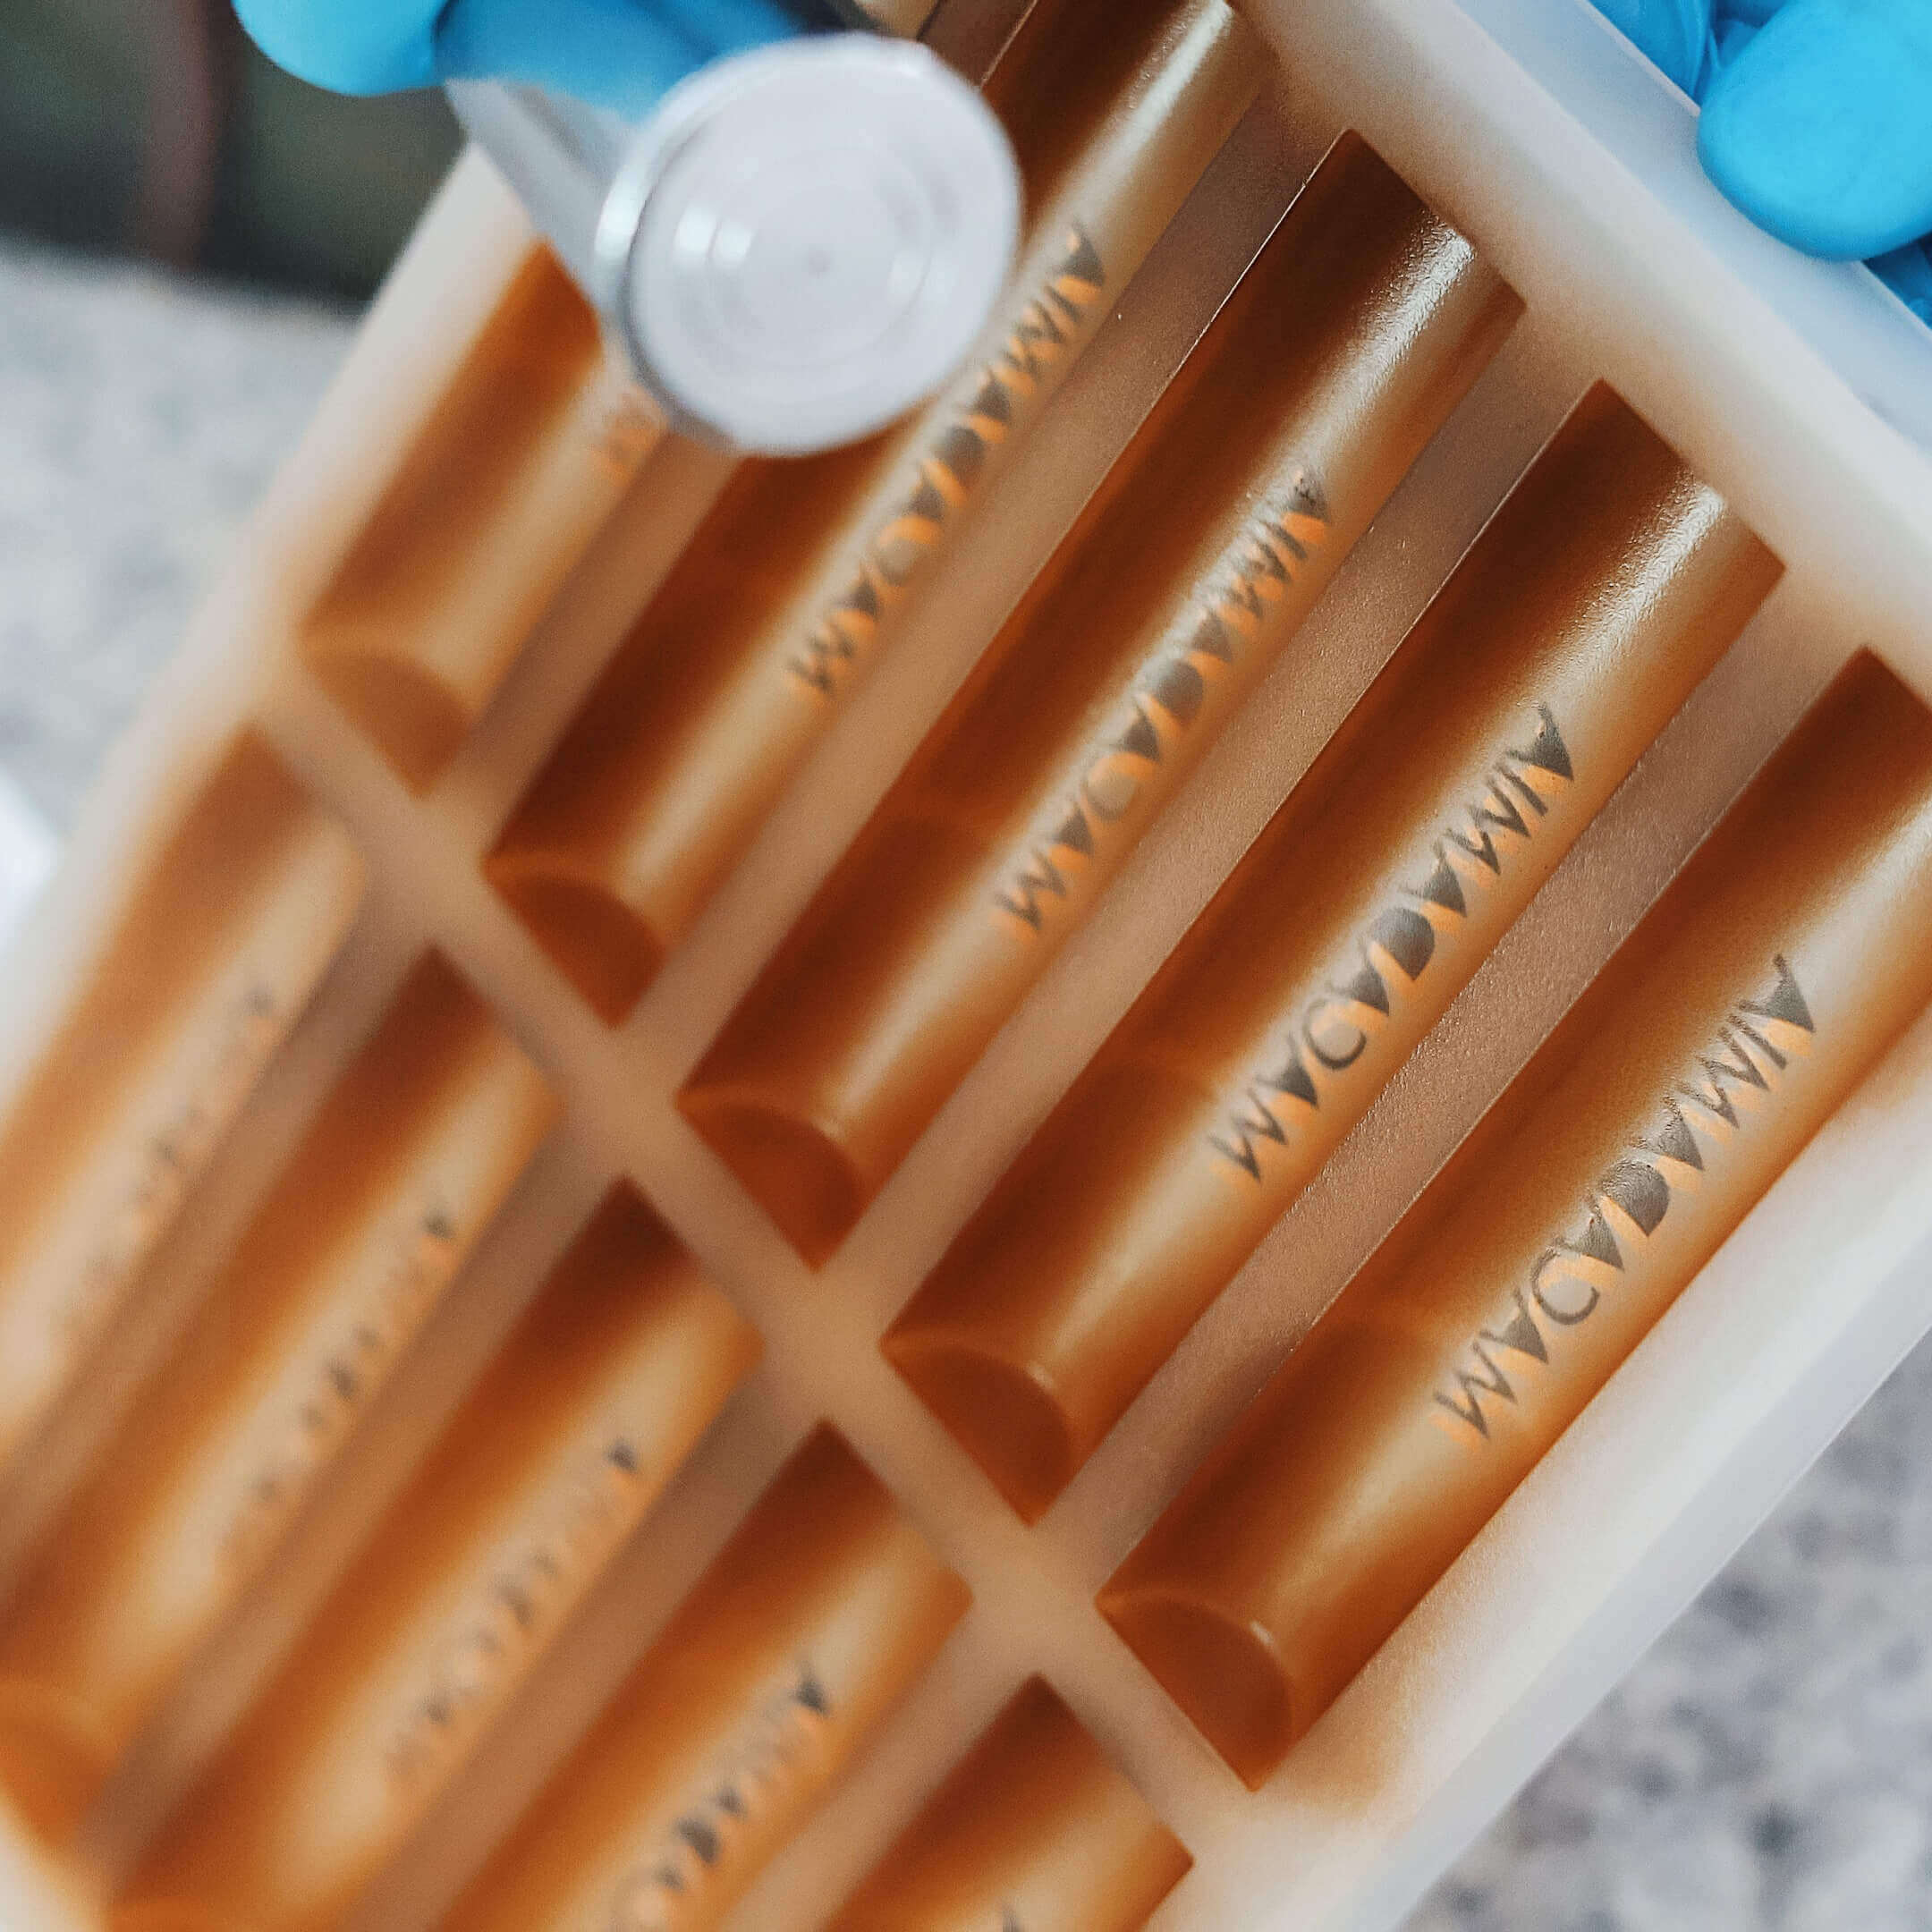
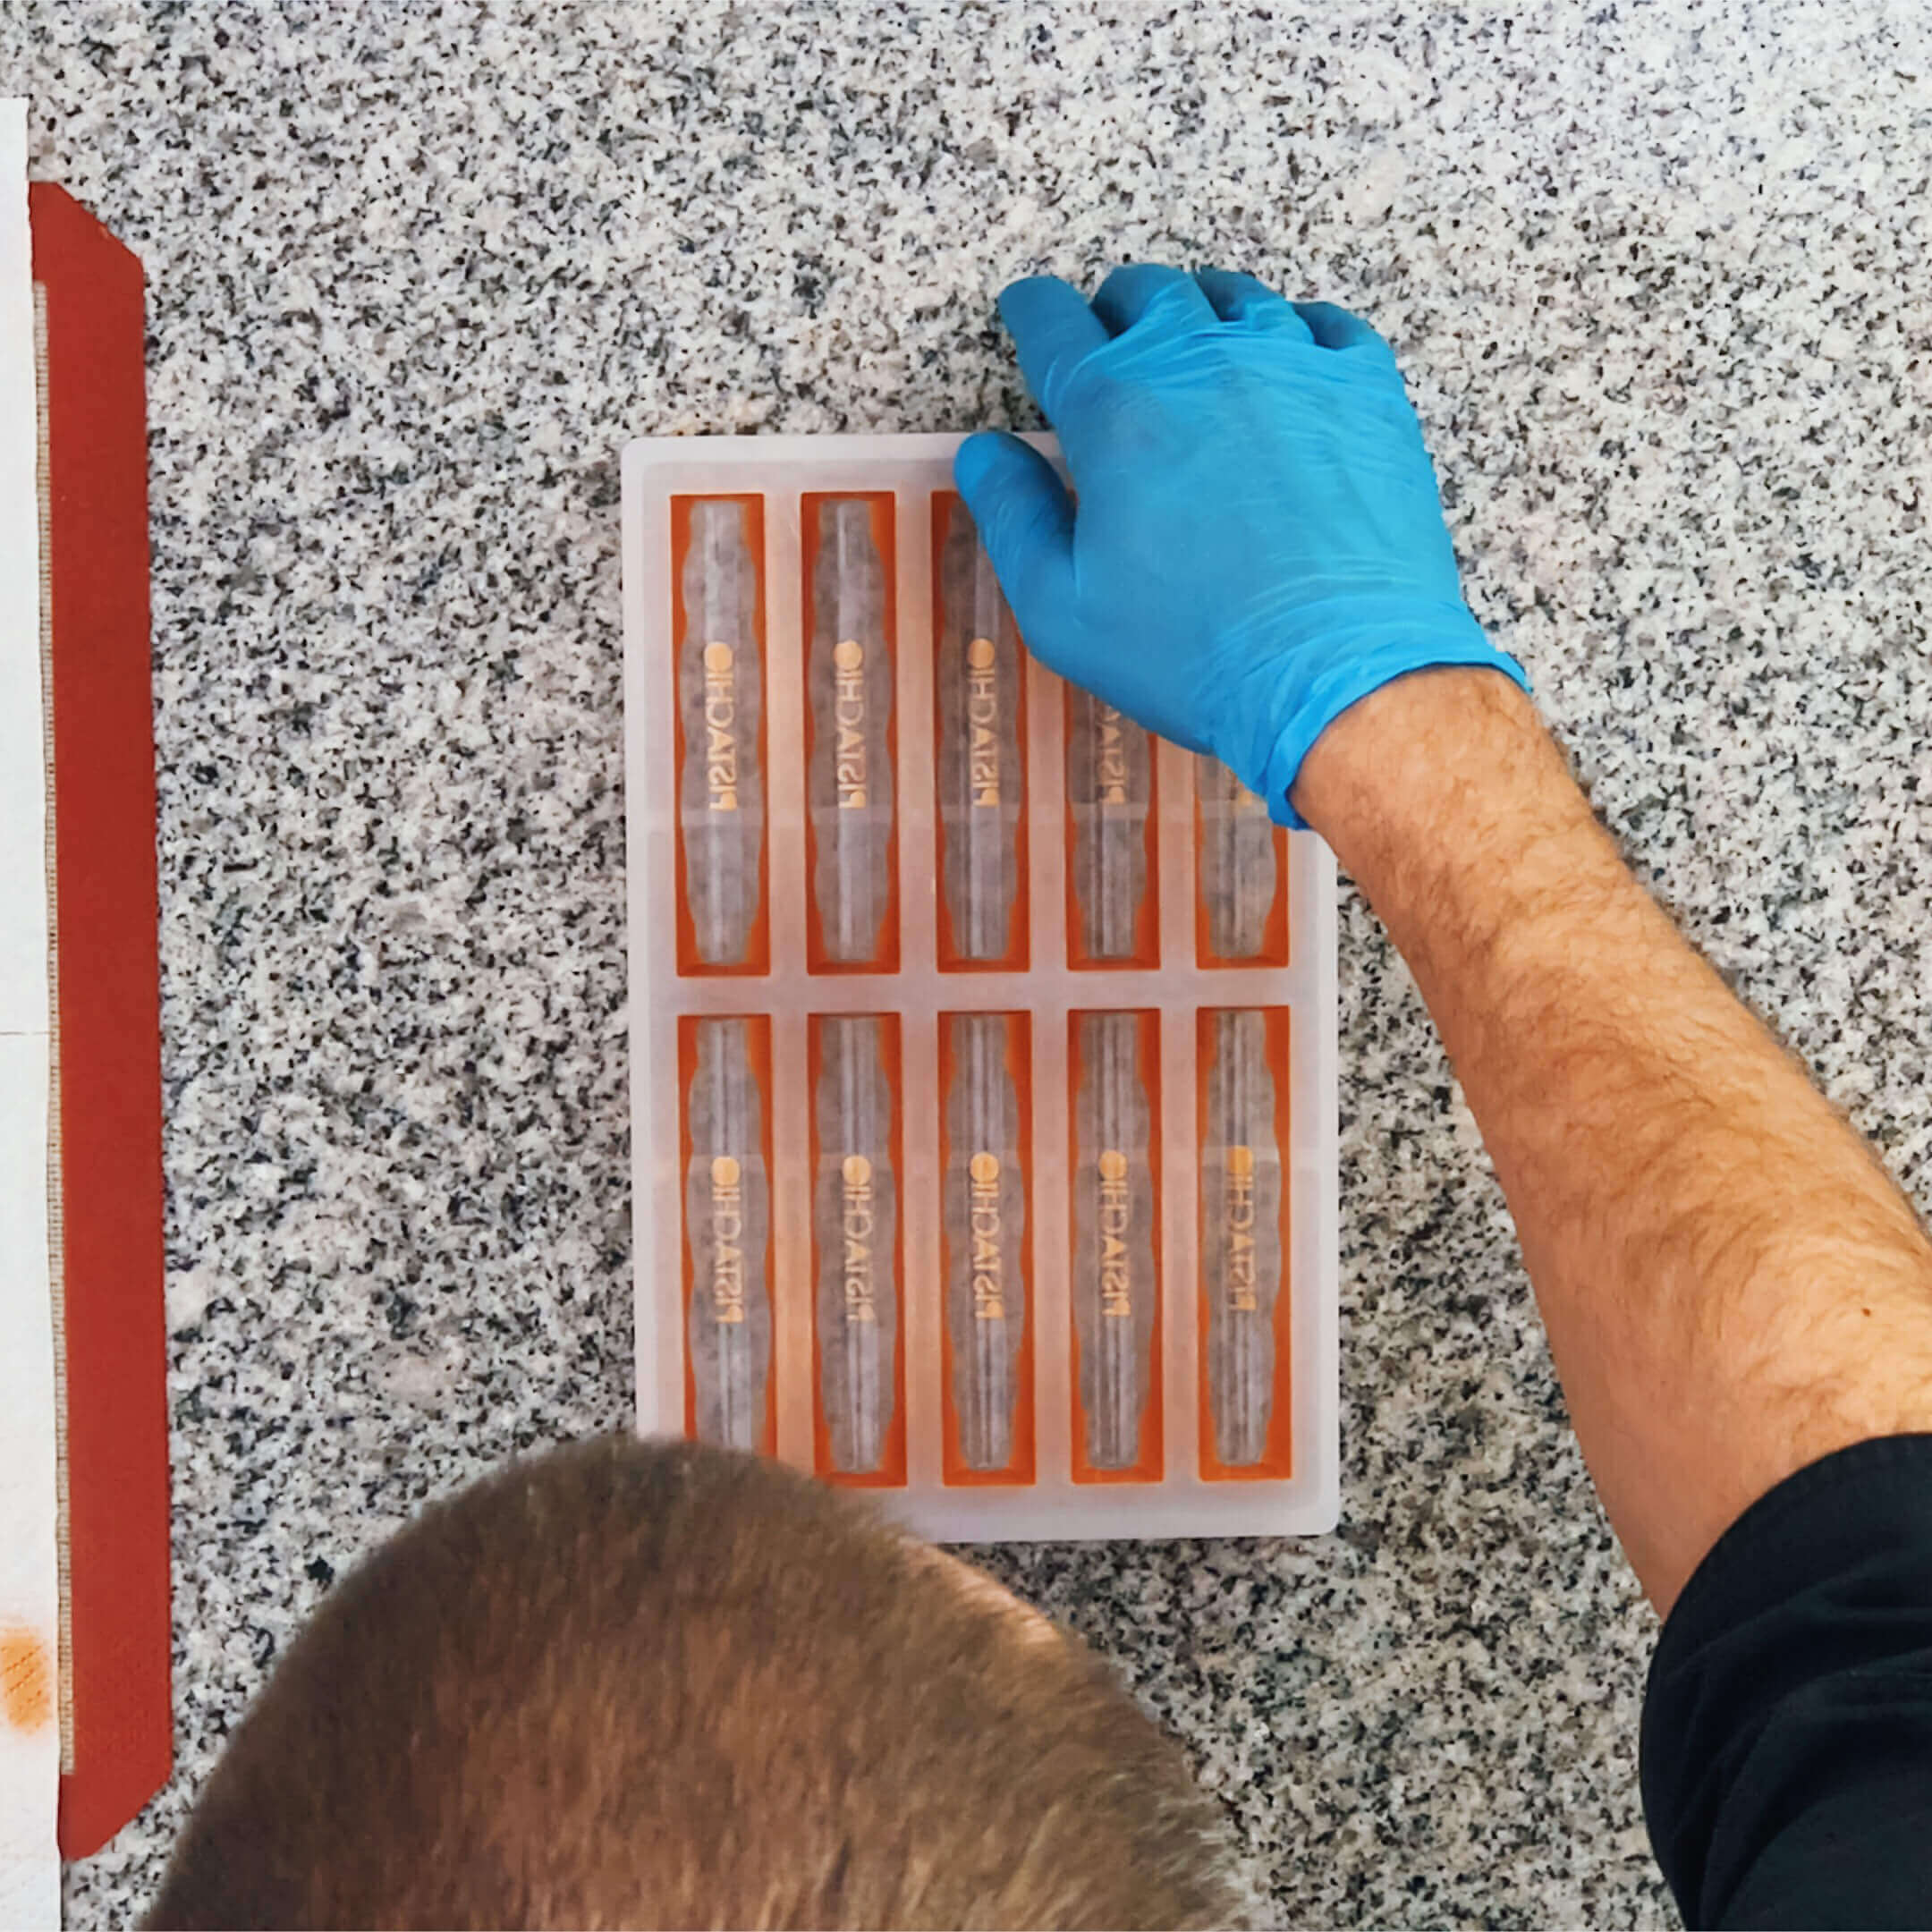
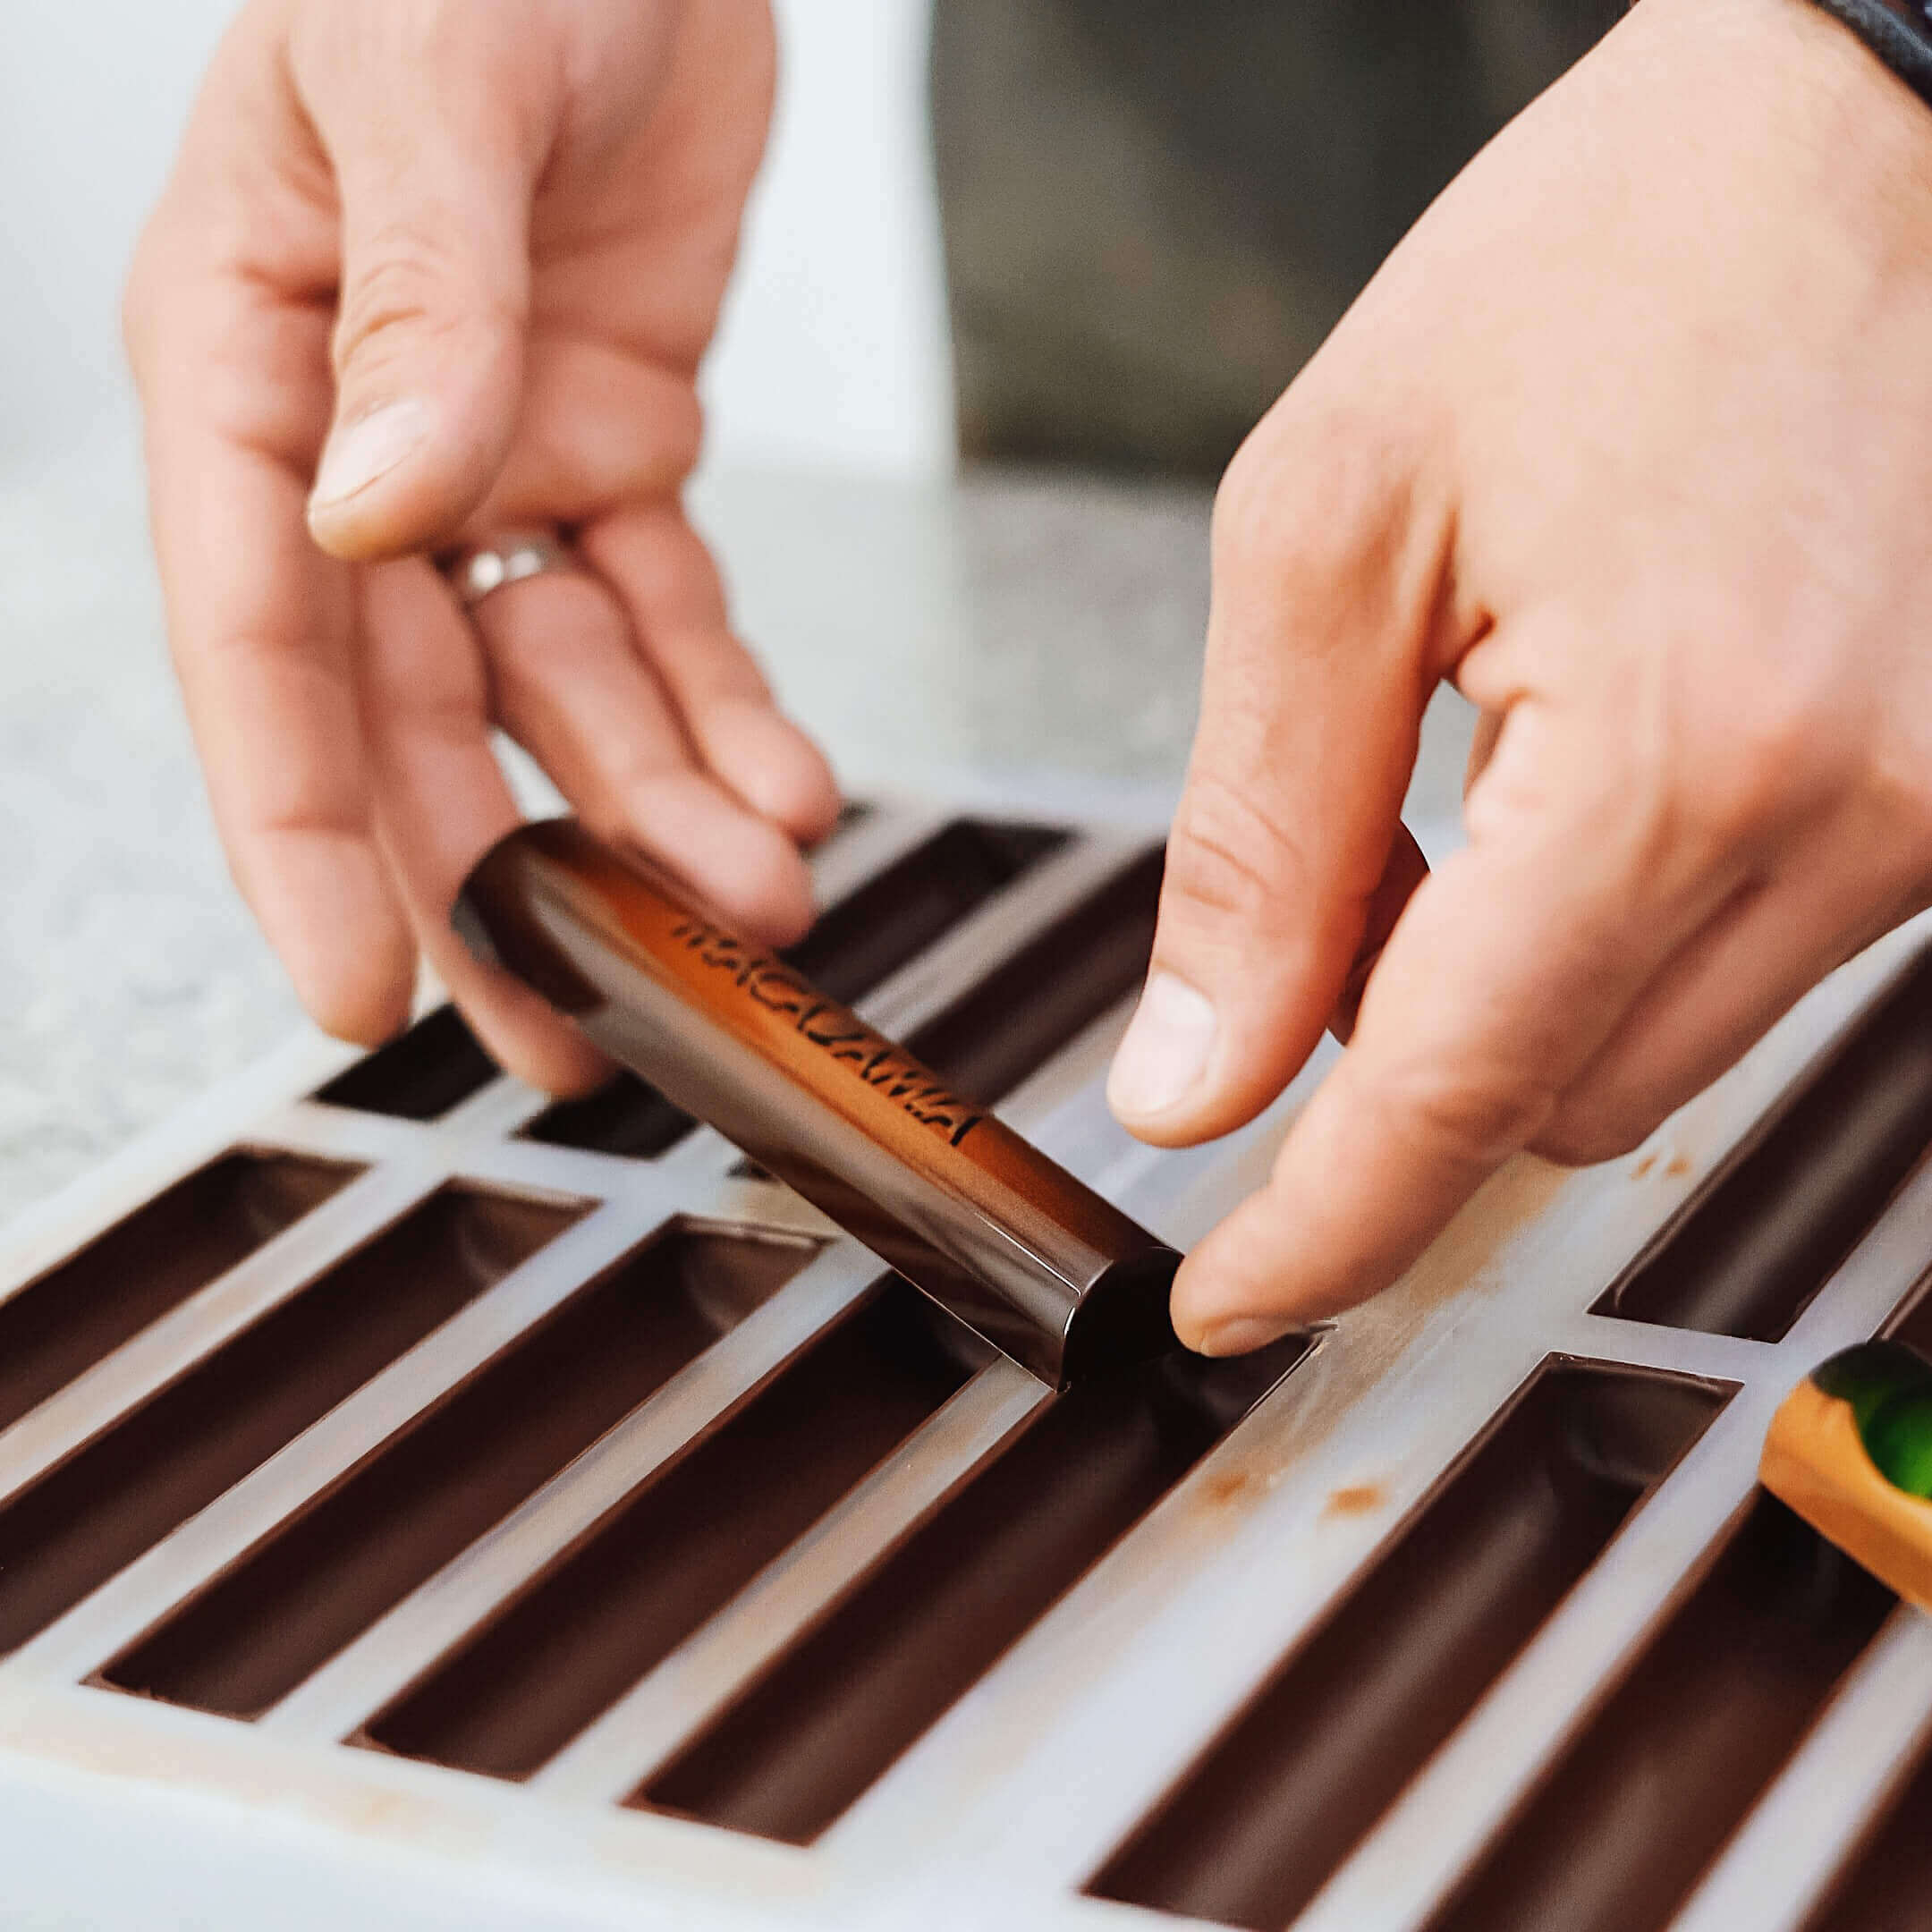
Week 12
“Custom-Made Stencils and a Text on Chocolates”
During Week 12, you will learn in details how to make bars and use stencils to write texts inside the cavities. It is also one of our signatures designs in the course. It requires the understanding and implementation of all the techniques showed in the course. Your goal is to recreate three different designs of chocolate bars using proposed stencils or your own custom-made stencils with any texts.
#Contents
01► 34:42 “TEXT” VIDEO-TUTORIAL 0
02“TEXT” STEP-BY-STEP GUIDE 26
03ASSIGNMENT 16
Week 13
“Andrey’s Signature Mould CW1921”
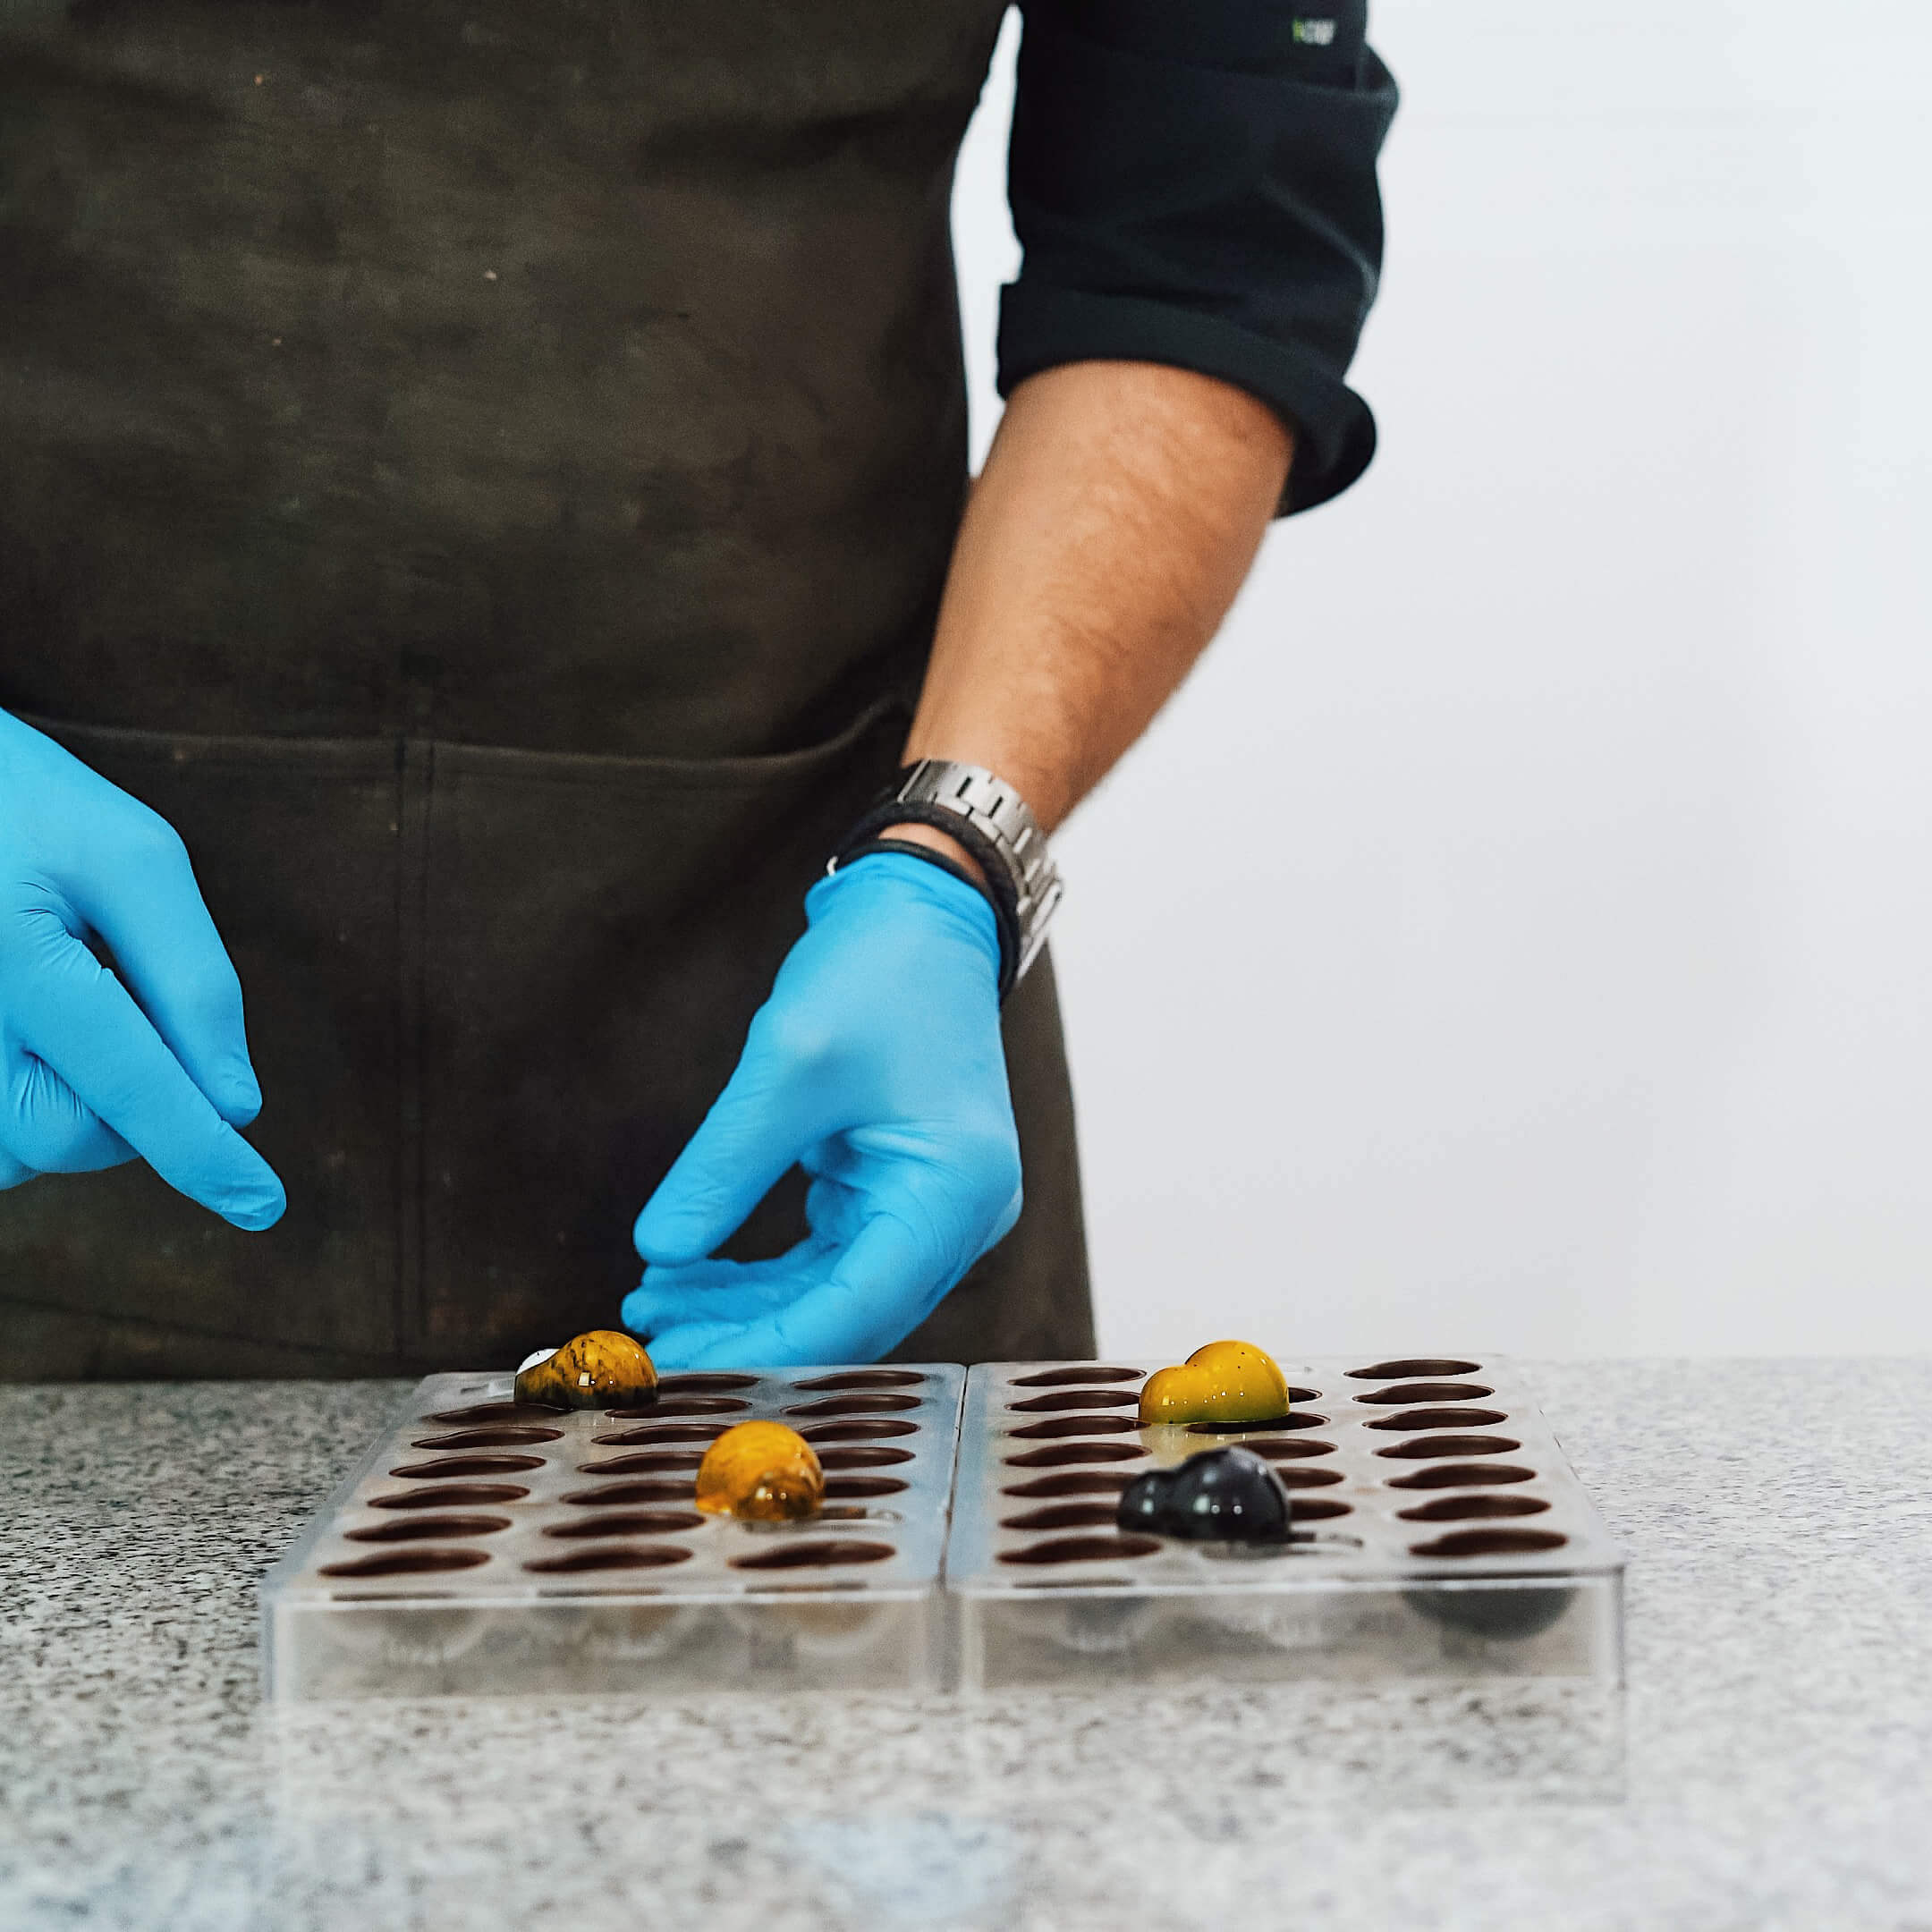
The Week 13 module is devoted to the work with Andrey’s signature mould CW1921. As the author of the mould design, he will share his approach to the work with it. He will show you unusual designs, including black and coloured in different ways pears, Russian dolls and other cool things. After passing this module, you will most probably feel like a jewellery designer.
#Contents
01► 34:42 “SIGNATURE” VIDEO-TUTORIAL 0
02“SIGNATURE” STEP-BY-STEP GUIDE 26
03ASSIGNMENT 16

Week 14
“Velveting of the Finished Chocolates”
During Week 14, you will learn how to create a velvet effect on chocolates. We will cover finished bonbons and two different types of bars with a velvet mixture . This module has encapsulated all the techniques: stencils, textures, custom moulding. Week 14 is the last week when you work on moulded chocolates and is the last obligatory week to pass the course. The next two weeks are optional and are mainly for those interested in practicing with different kind of chocolates. But as we have just mentioned, you can pass the course by submitting only 14 assignments for the first 14 weeks of the course.
#Contents
01► 34:42 “VELVET” VIDEO-TUTORIAL 0
02“VELVET” STEP-BY-STEP GUIDE 26
03ASSIGNMENT 16
Week 15
“Optional Week on Hand-Dipped and Enrobed Chocolates”
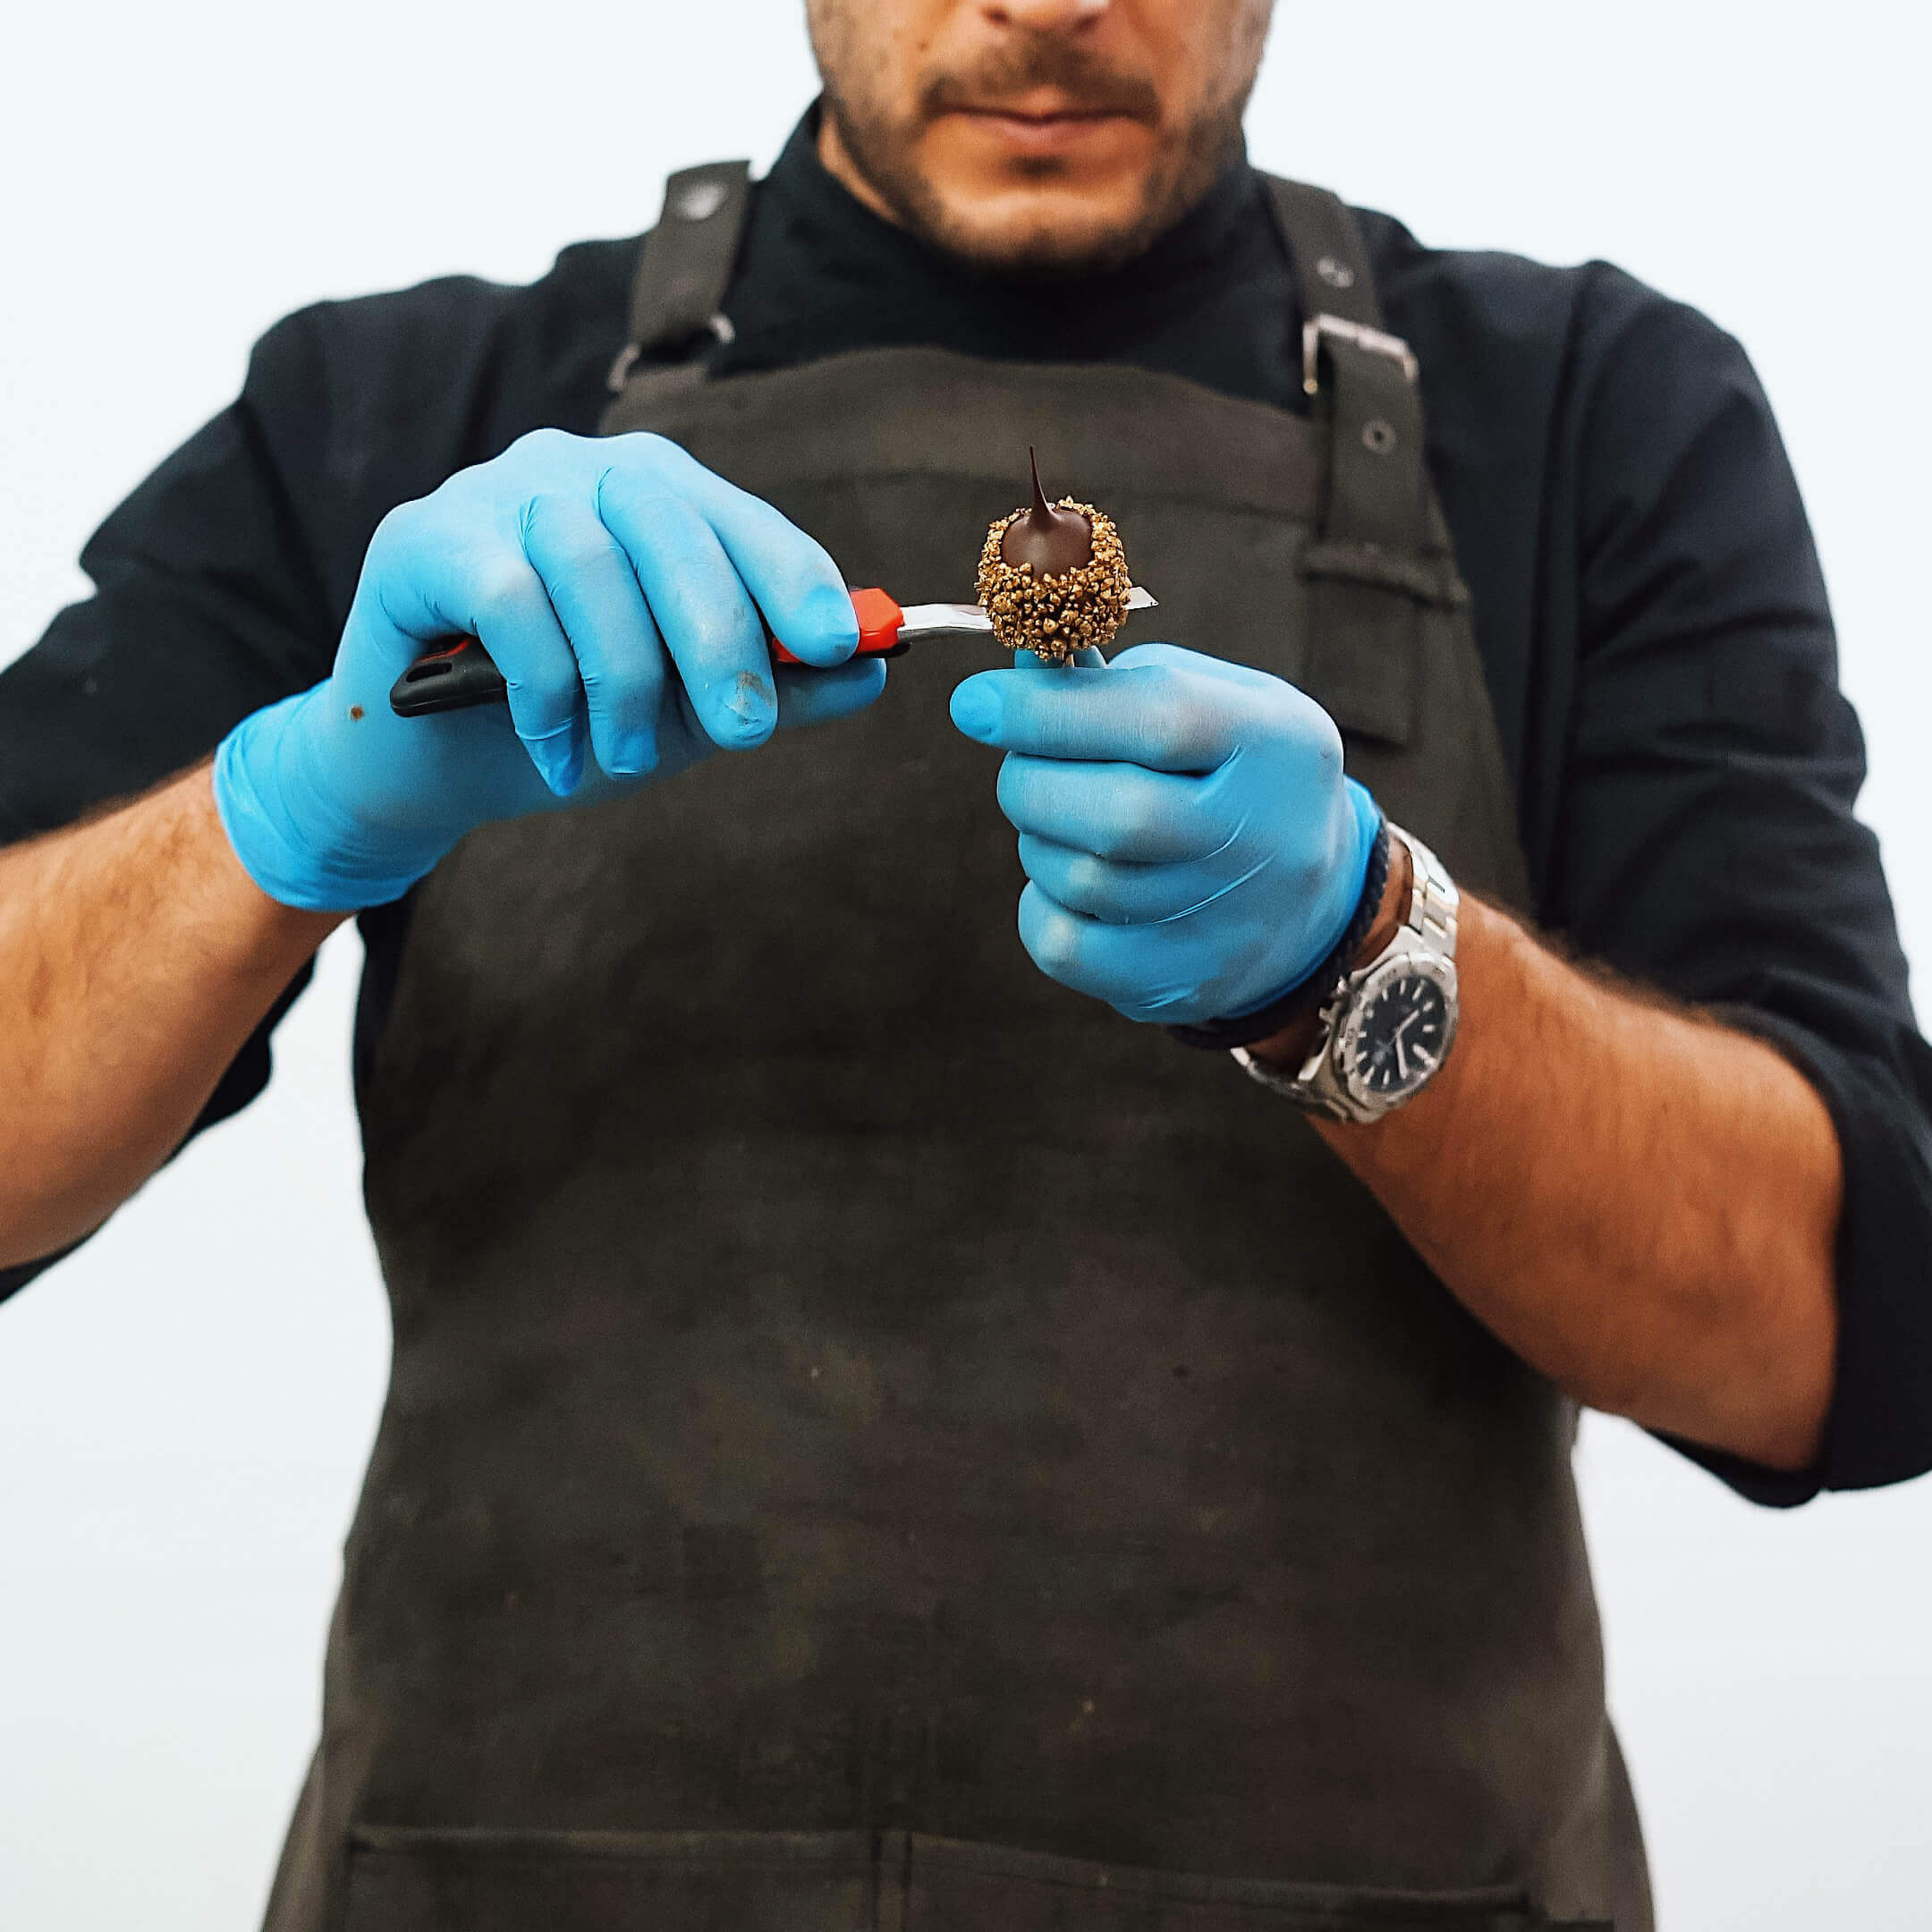
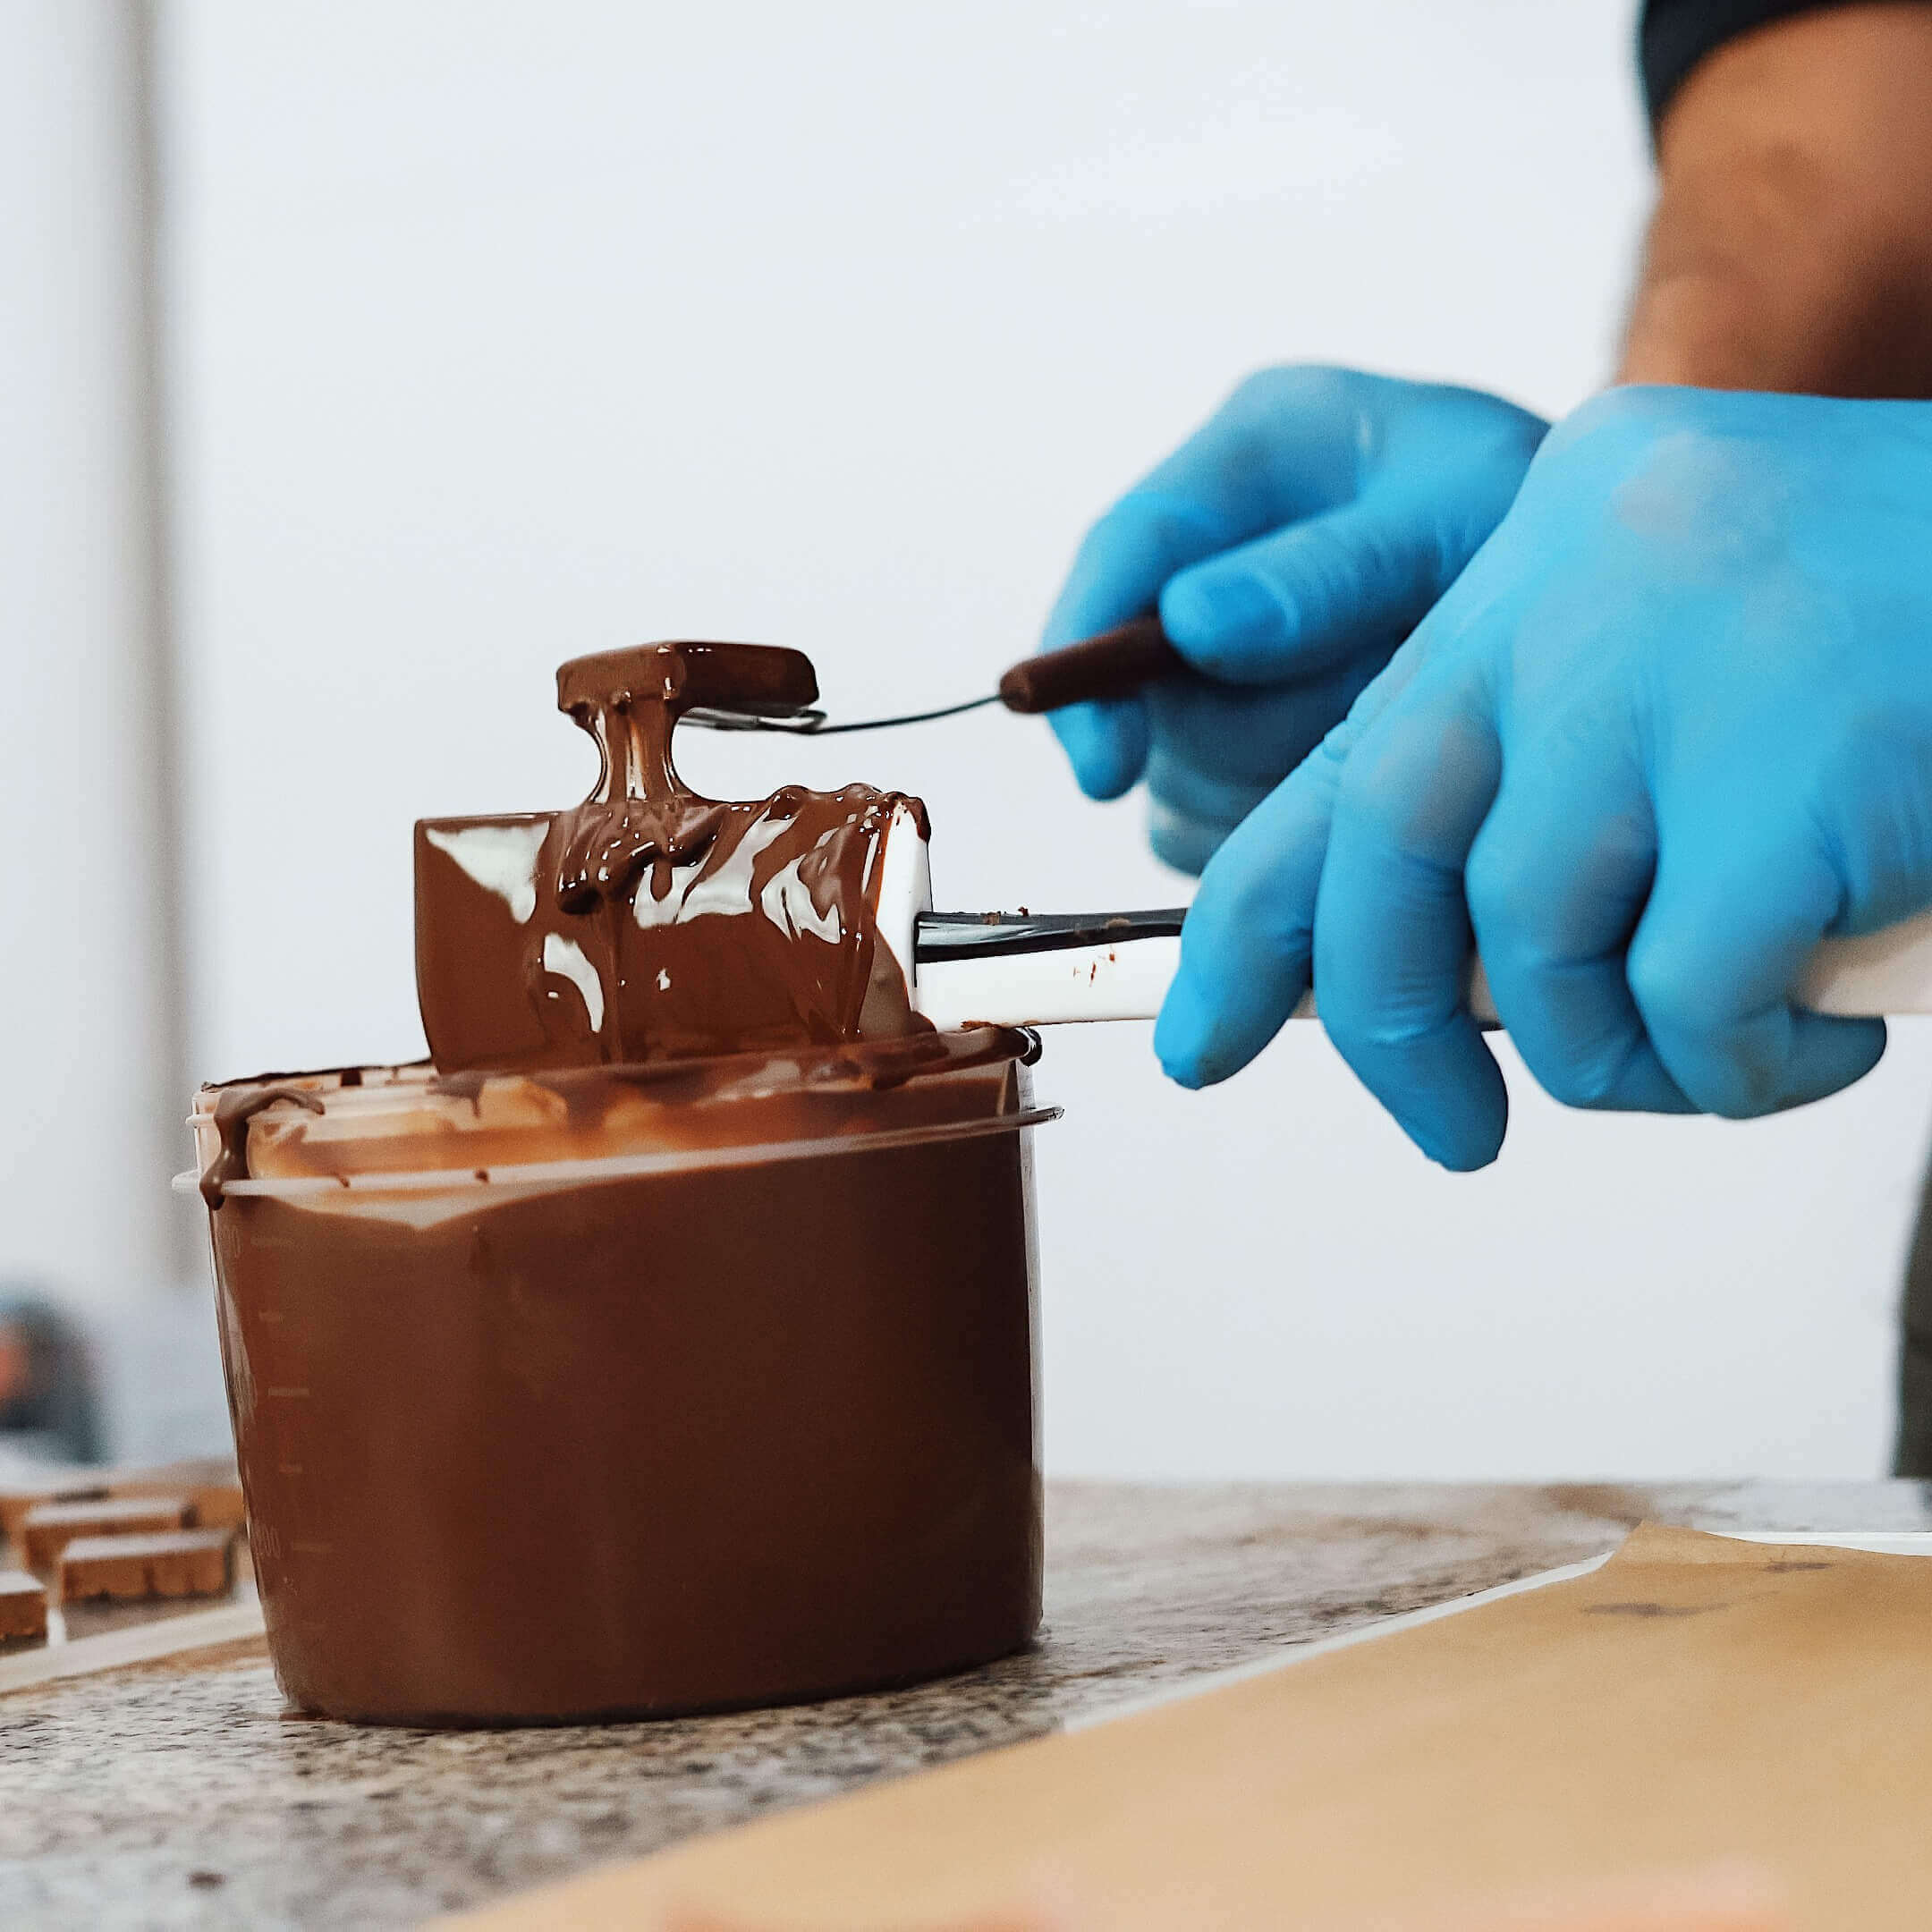
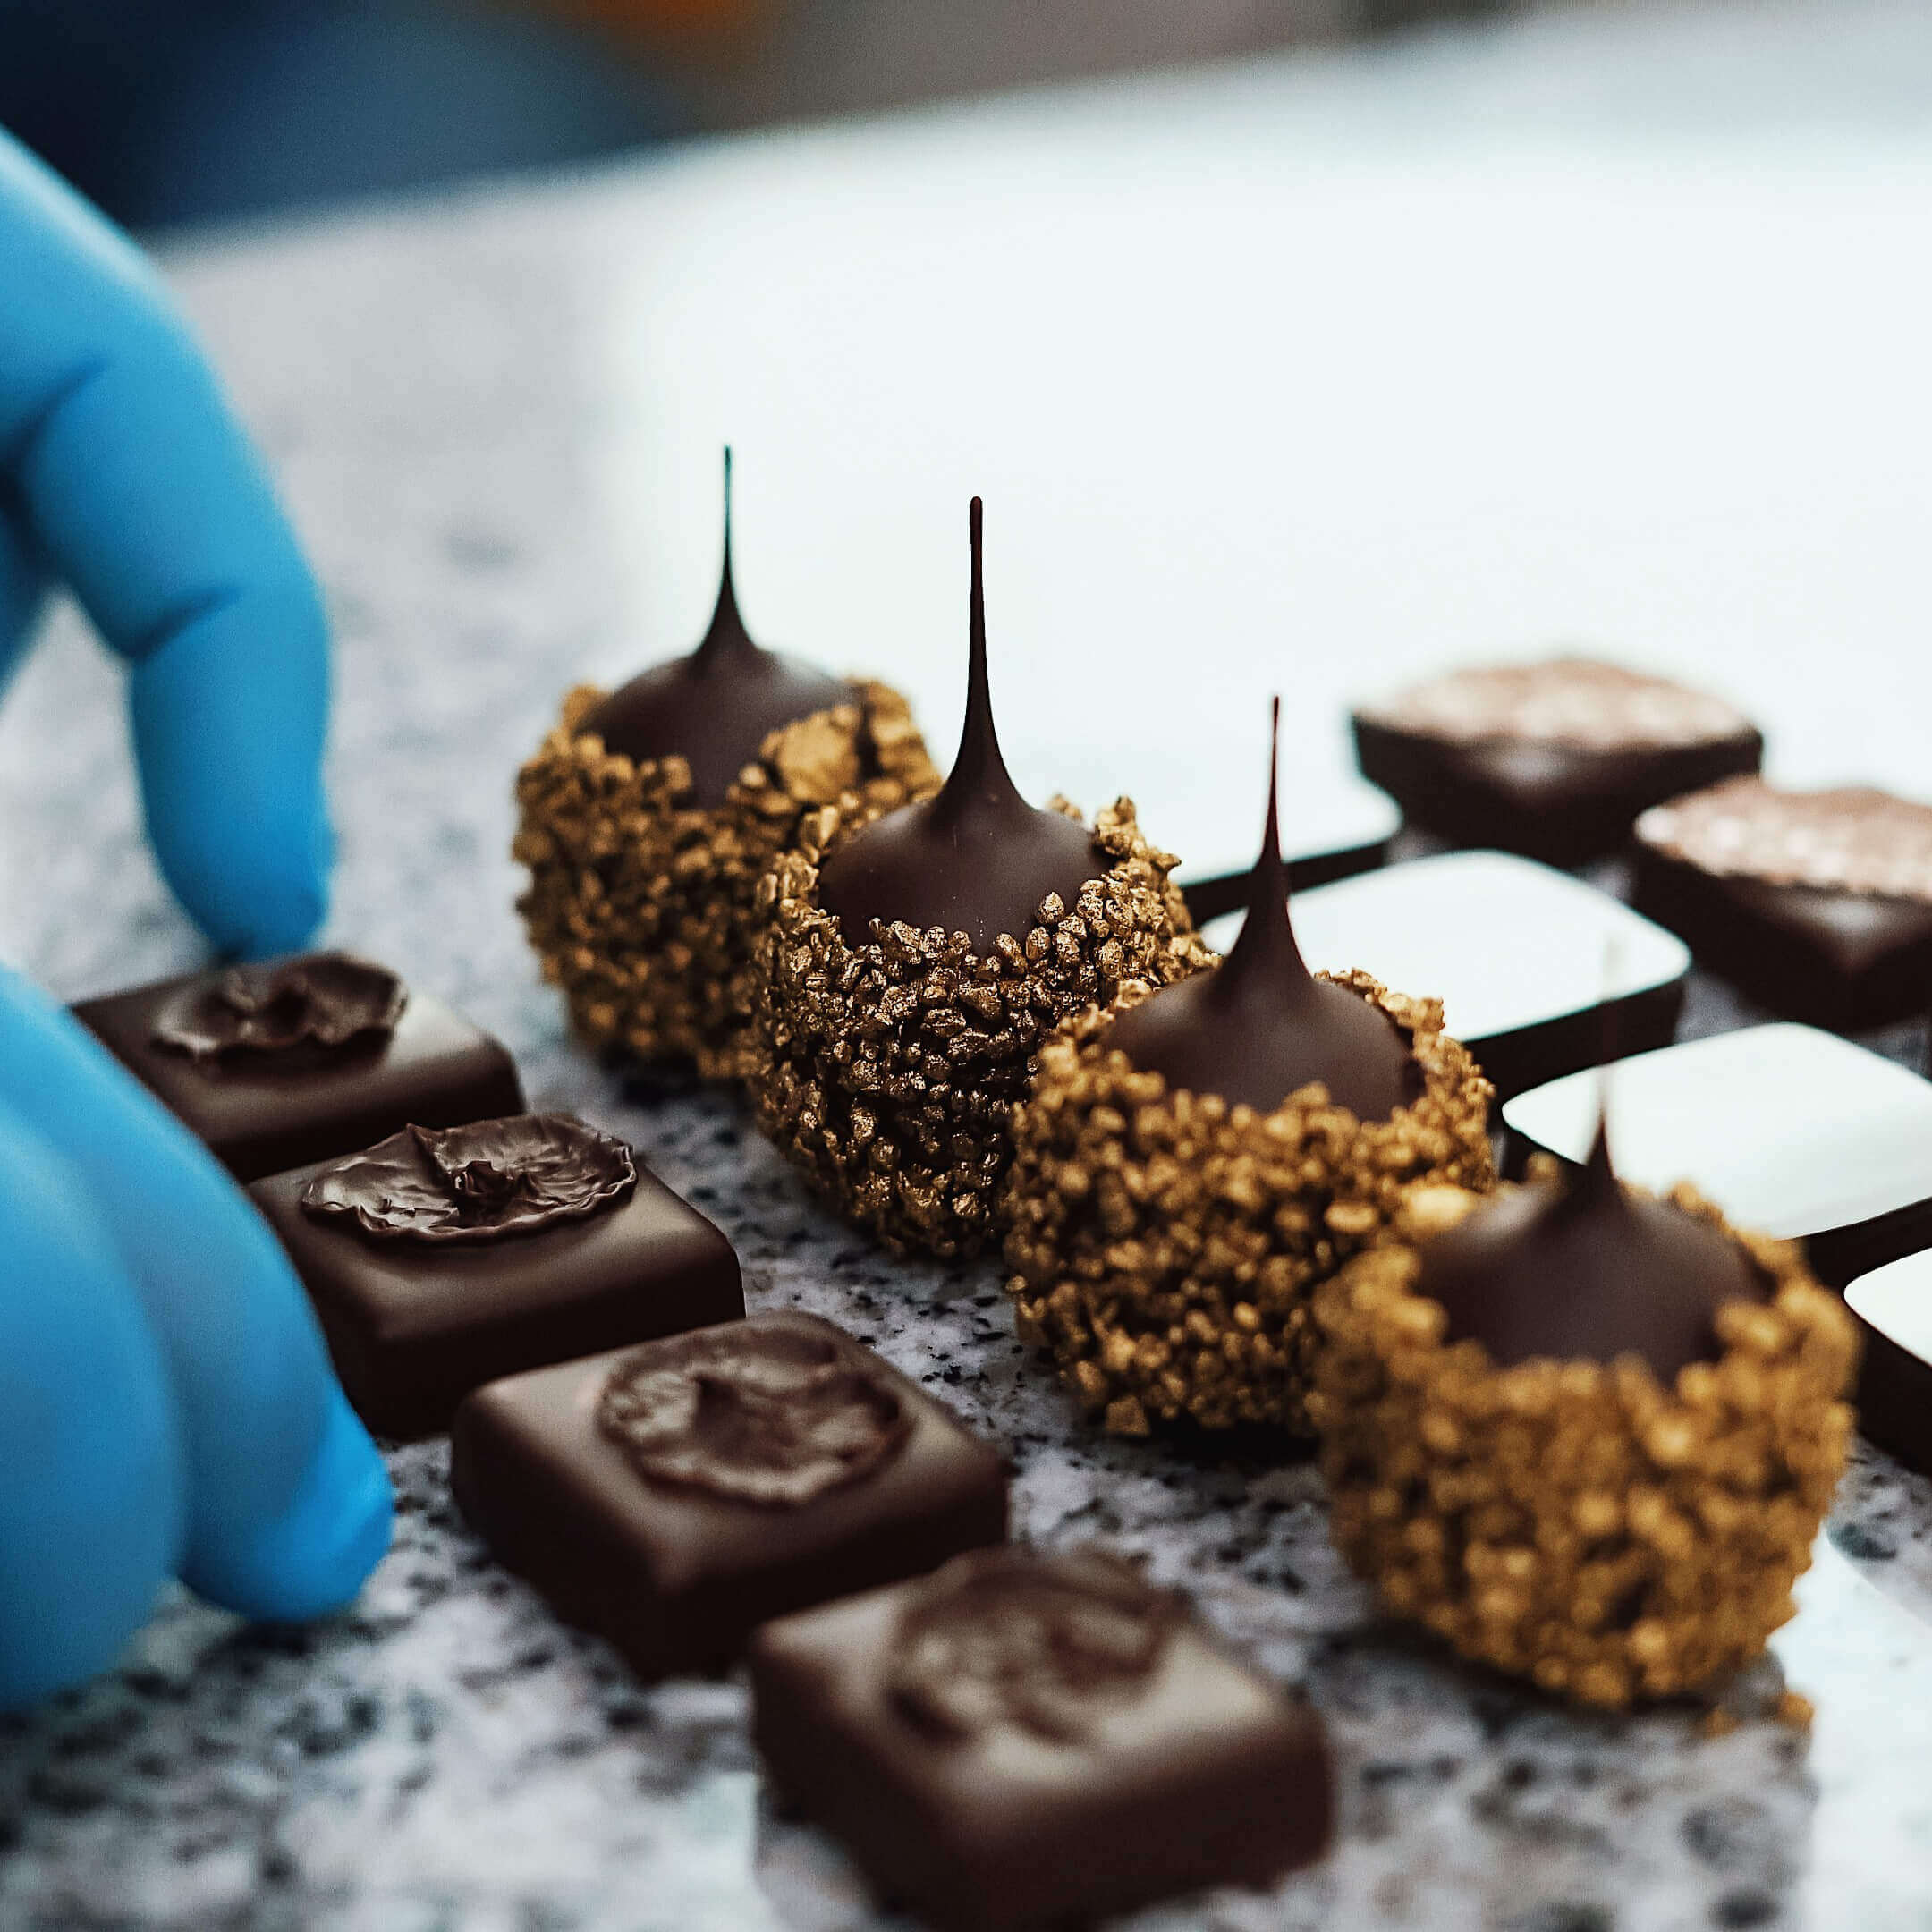
This week is optional and are for those who want to learn how to make hand-dipped and enrobed chocolates. You will see all the ins and outs of the process. We will show you the process in a, so to speak, homey environment without using special equipment and not for a large scale production. We will make 3 different designs of hand-dipped chocolates and one design of enrobed chocolates. This week’s assignment is optional, but we would be glad to receive your results. But again, it is up to you.
For those of you who don’t want to move on with the course, you can use the last two weeks to improve the results of the course. You can contact us for help, to resolve the issues left and receive support.
#Contents
01► 34:42 VIDEO-TUTORIAL 0
02STEP-BY-STEP GUIDE 26
03ASSIGNMENT (OPTIONAL) 16
Week 16
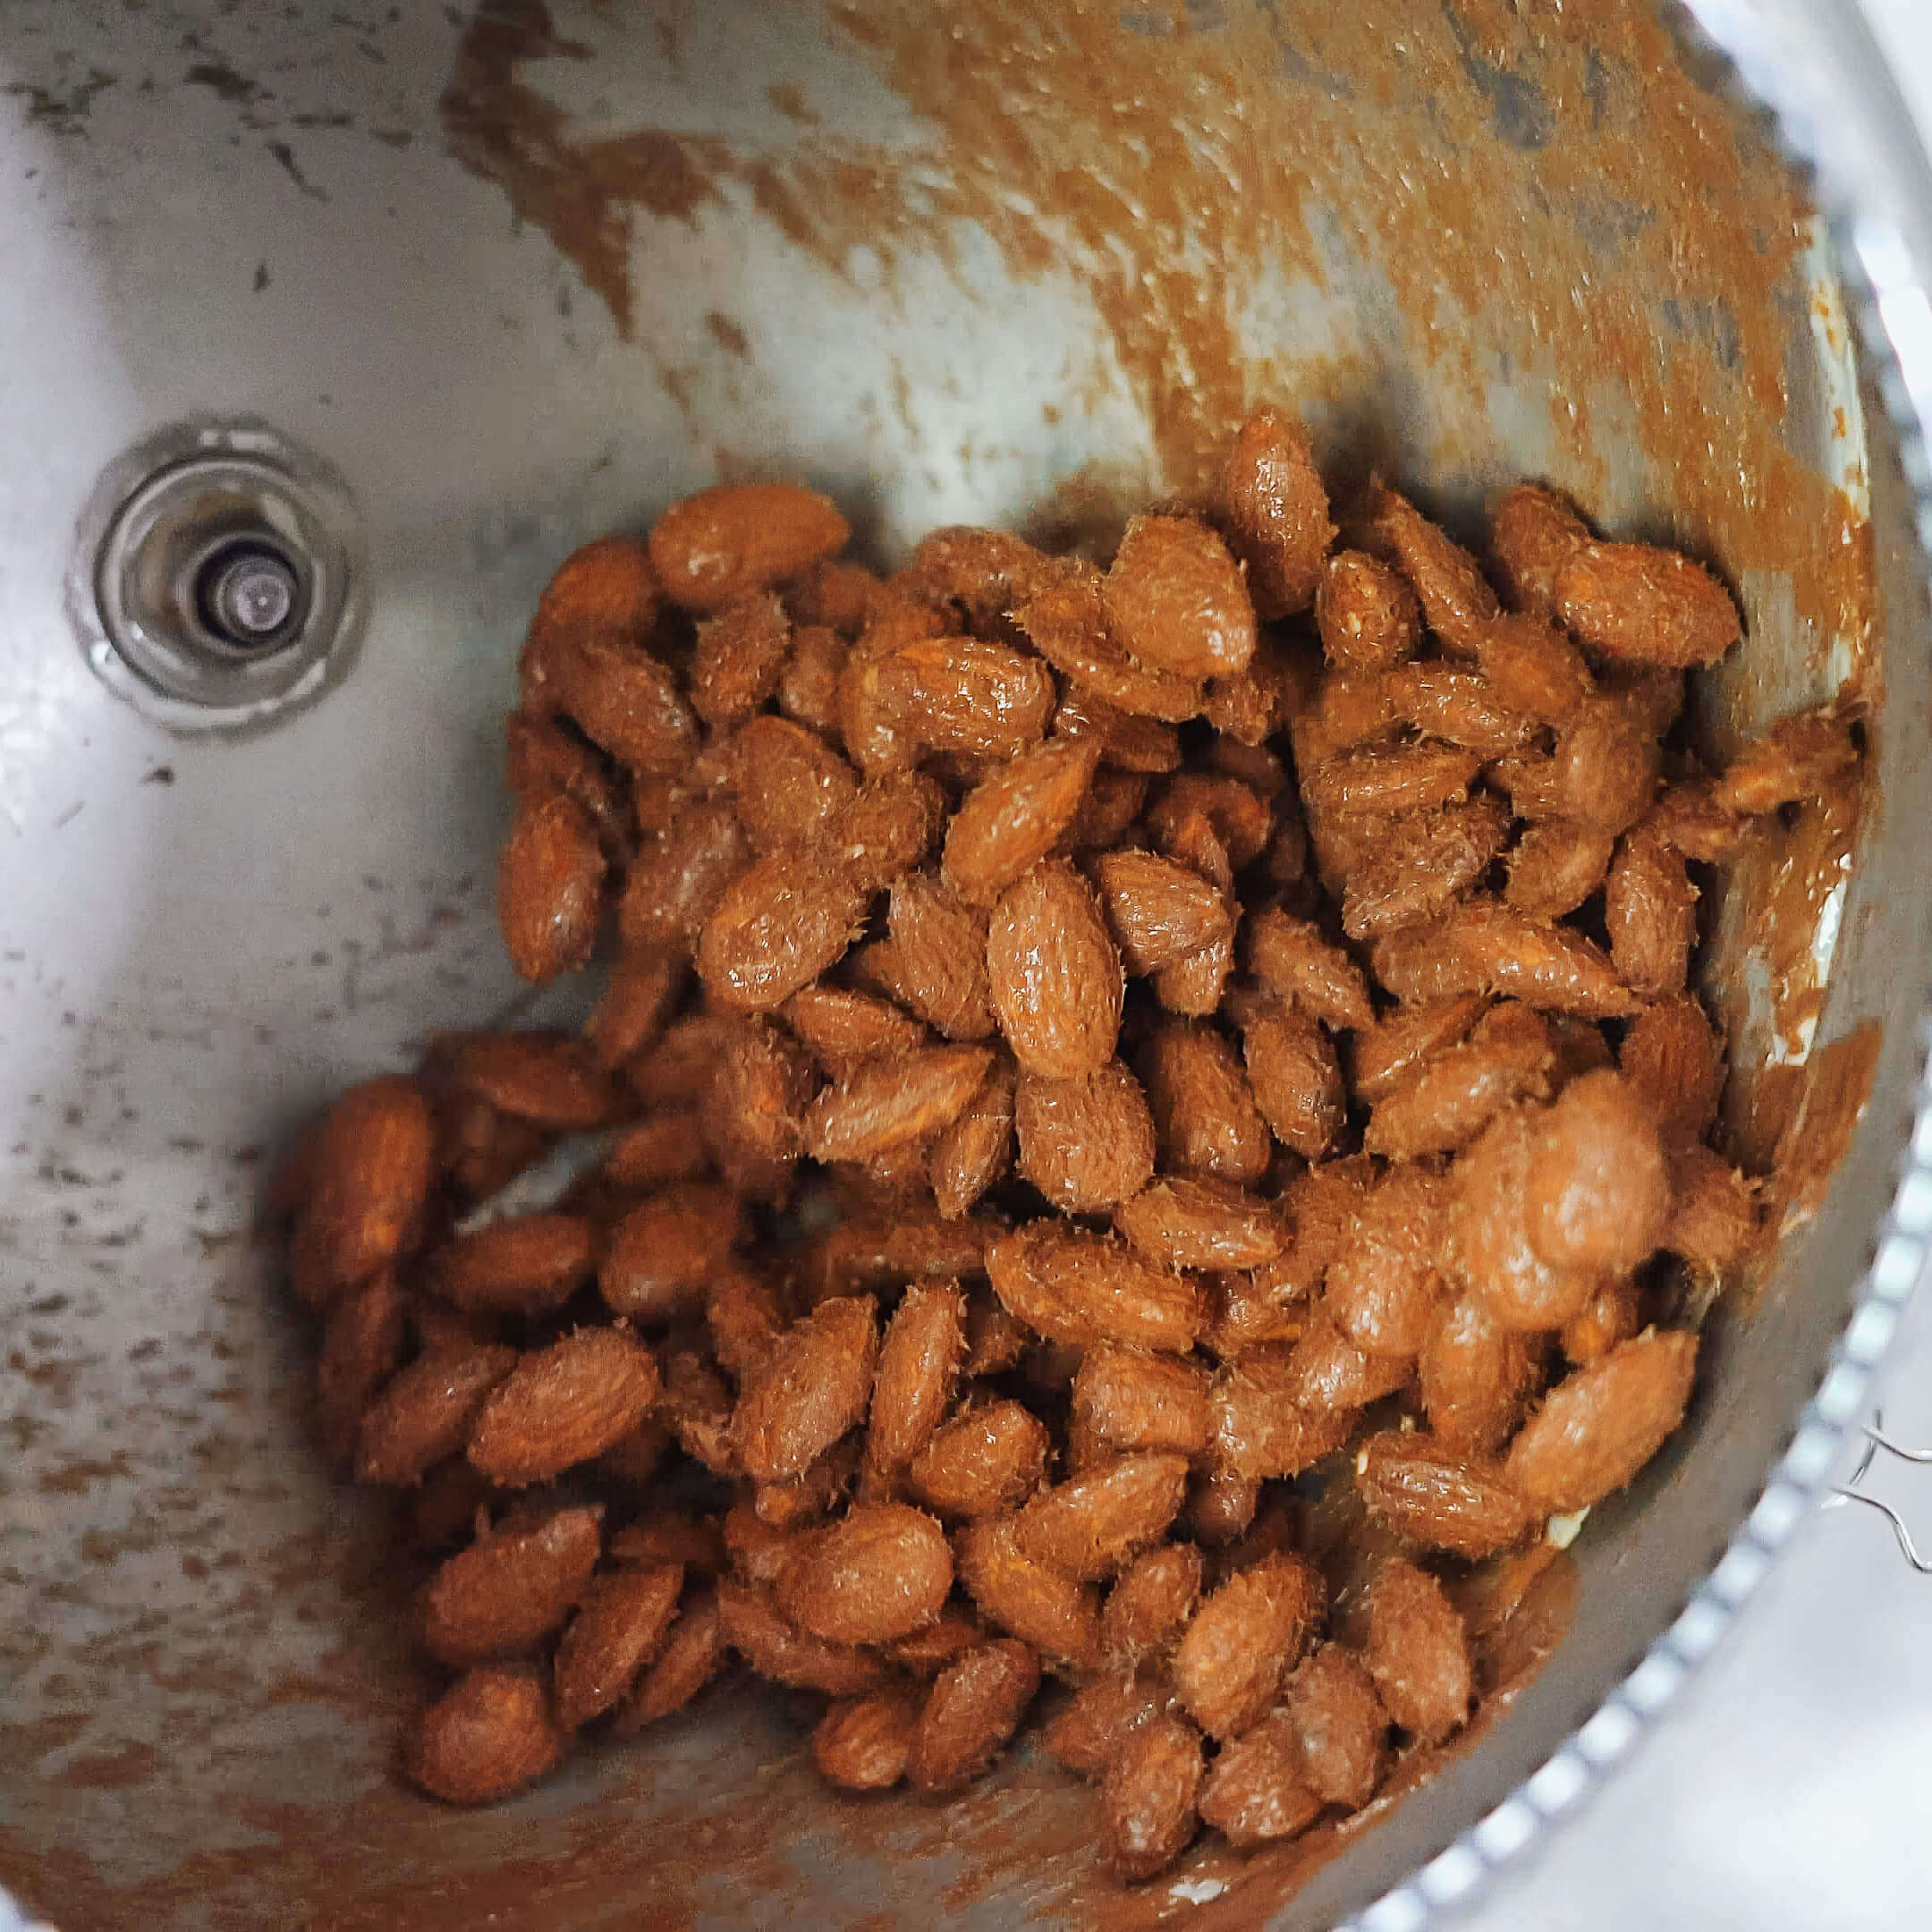
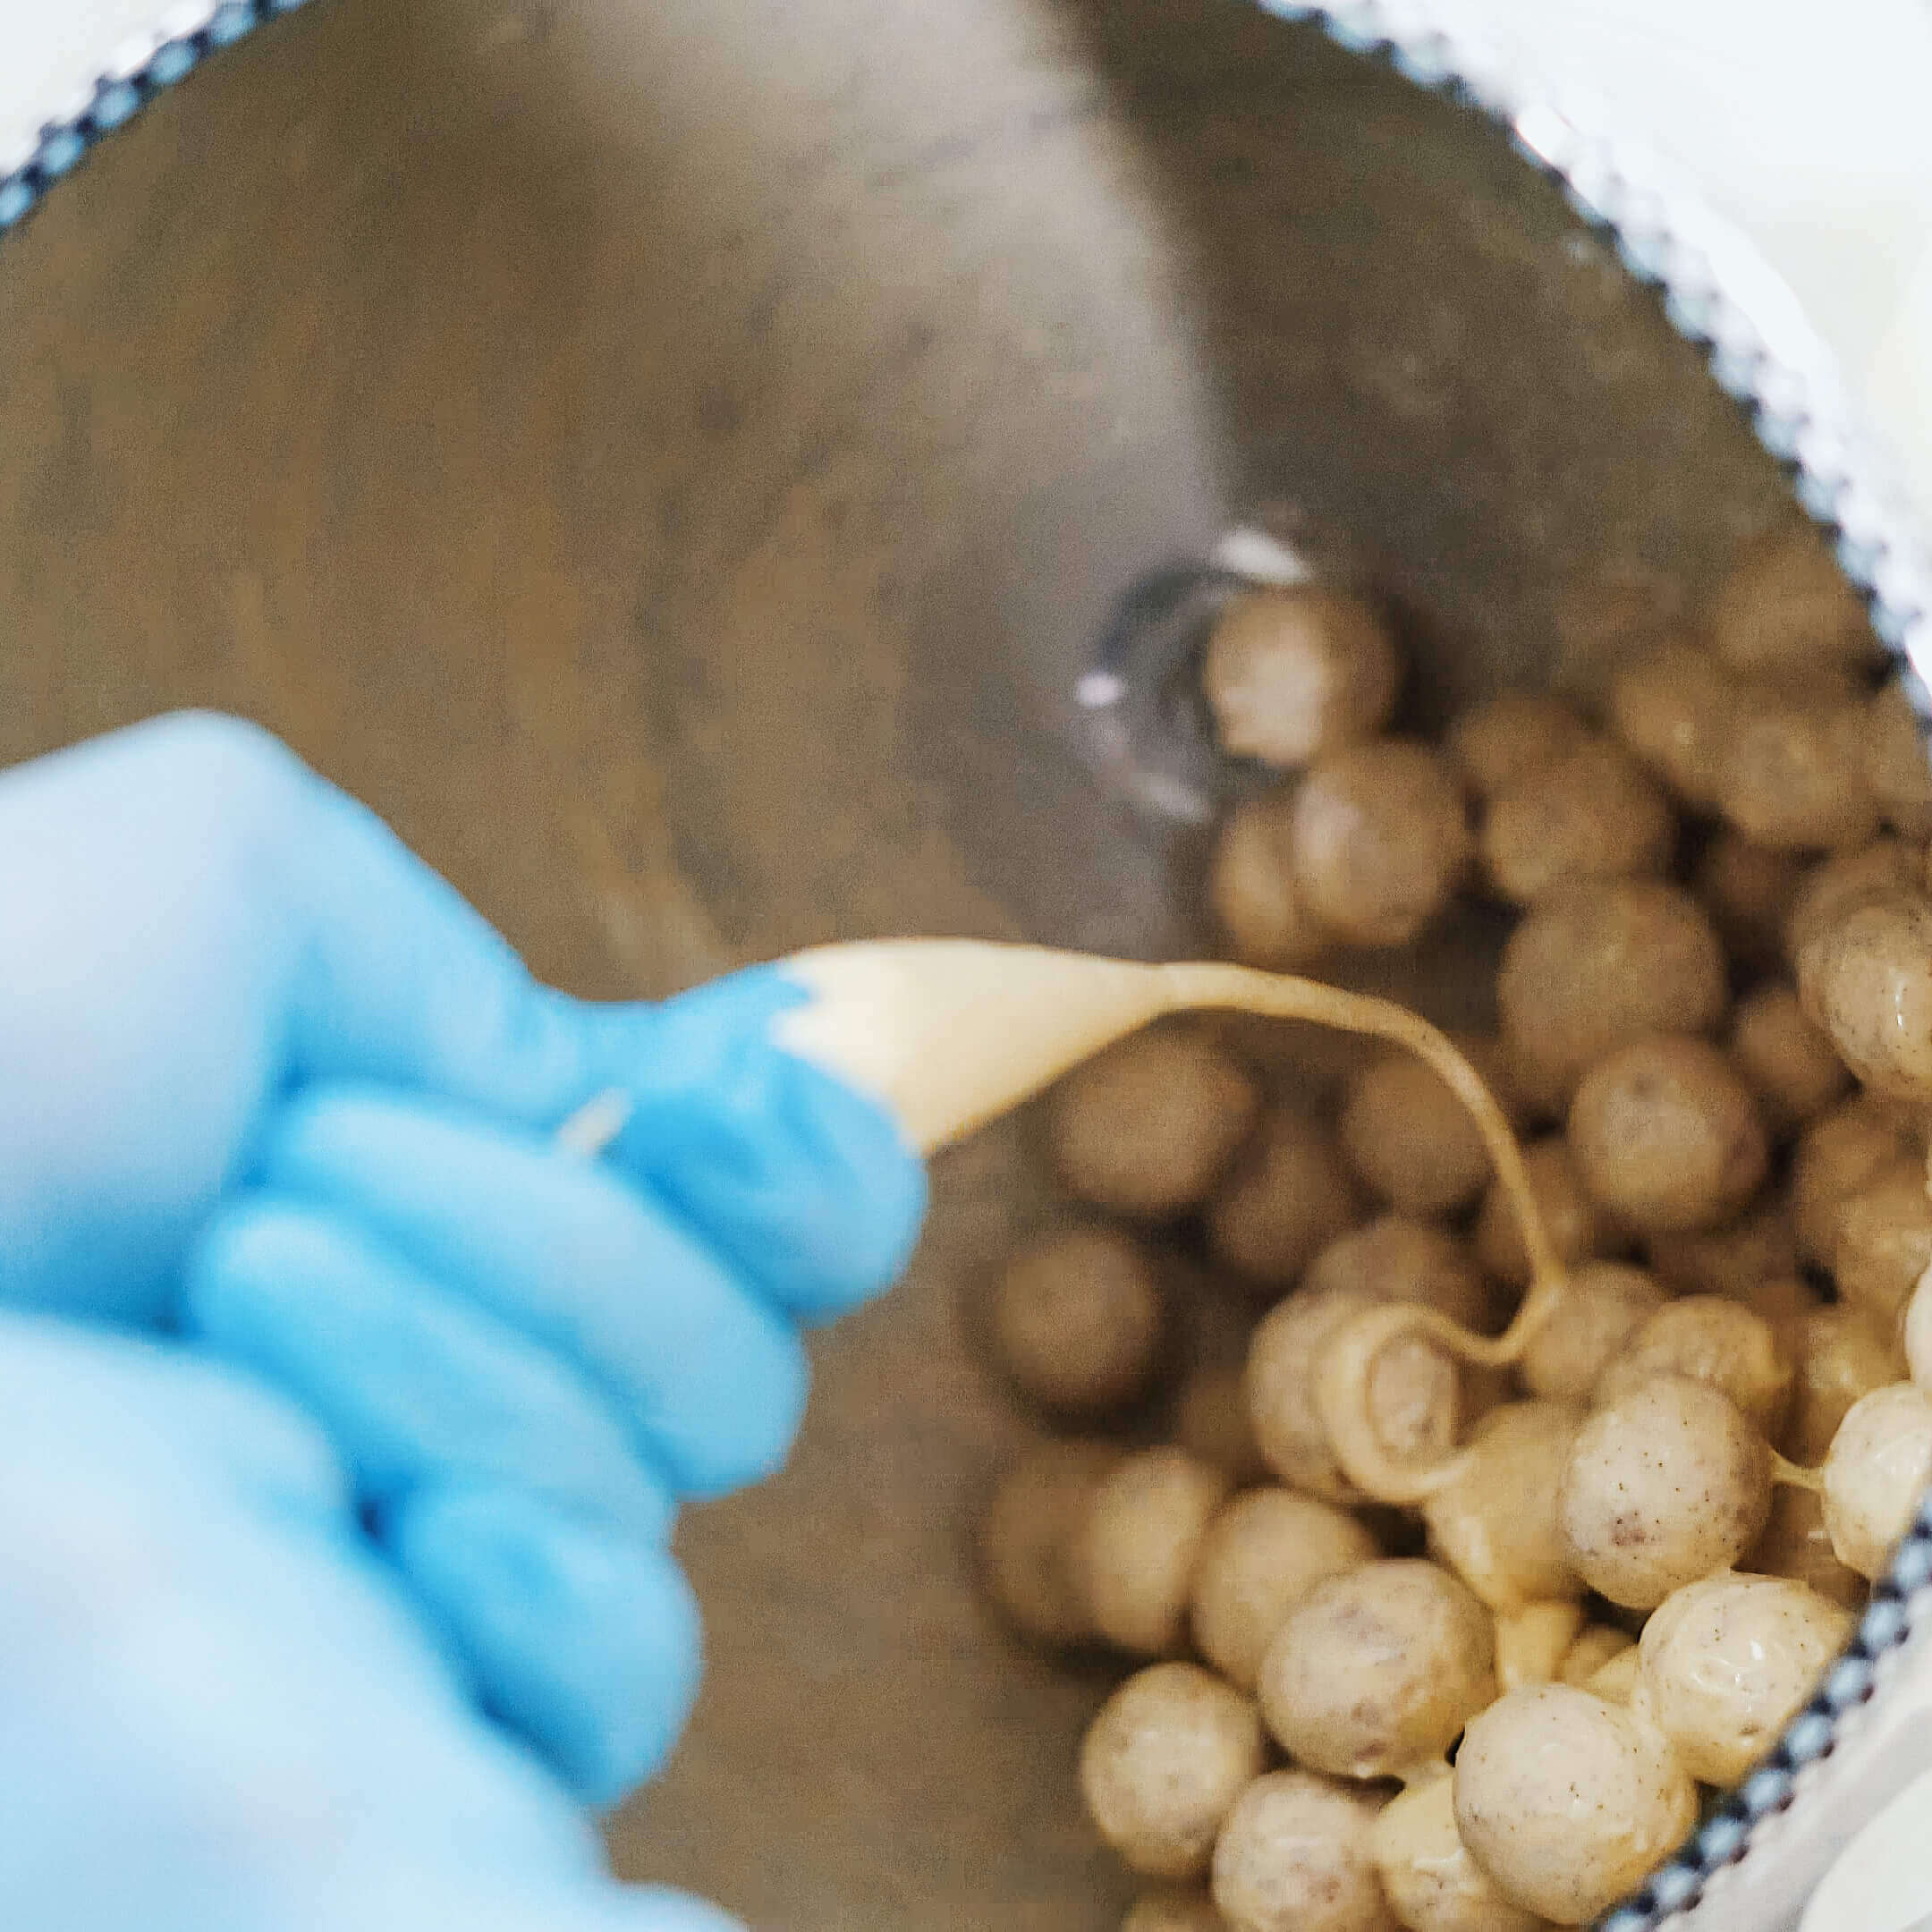
“Optional Week on Dragee”
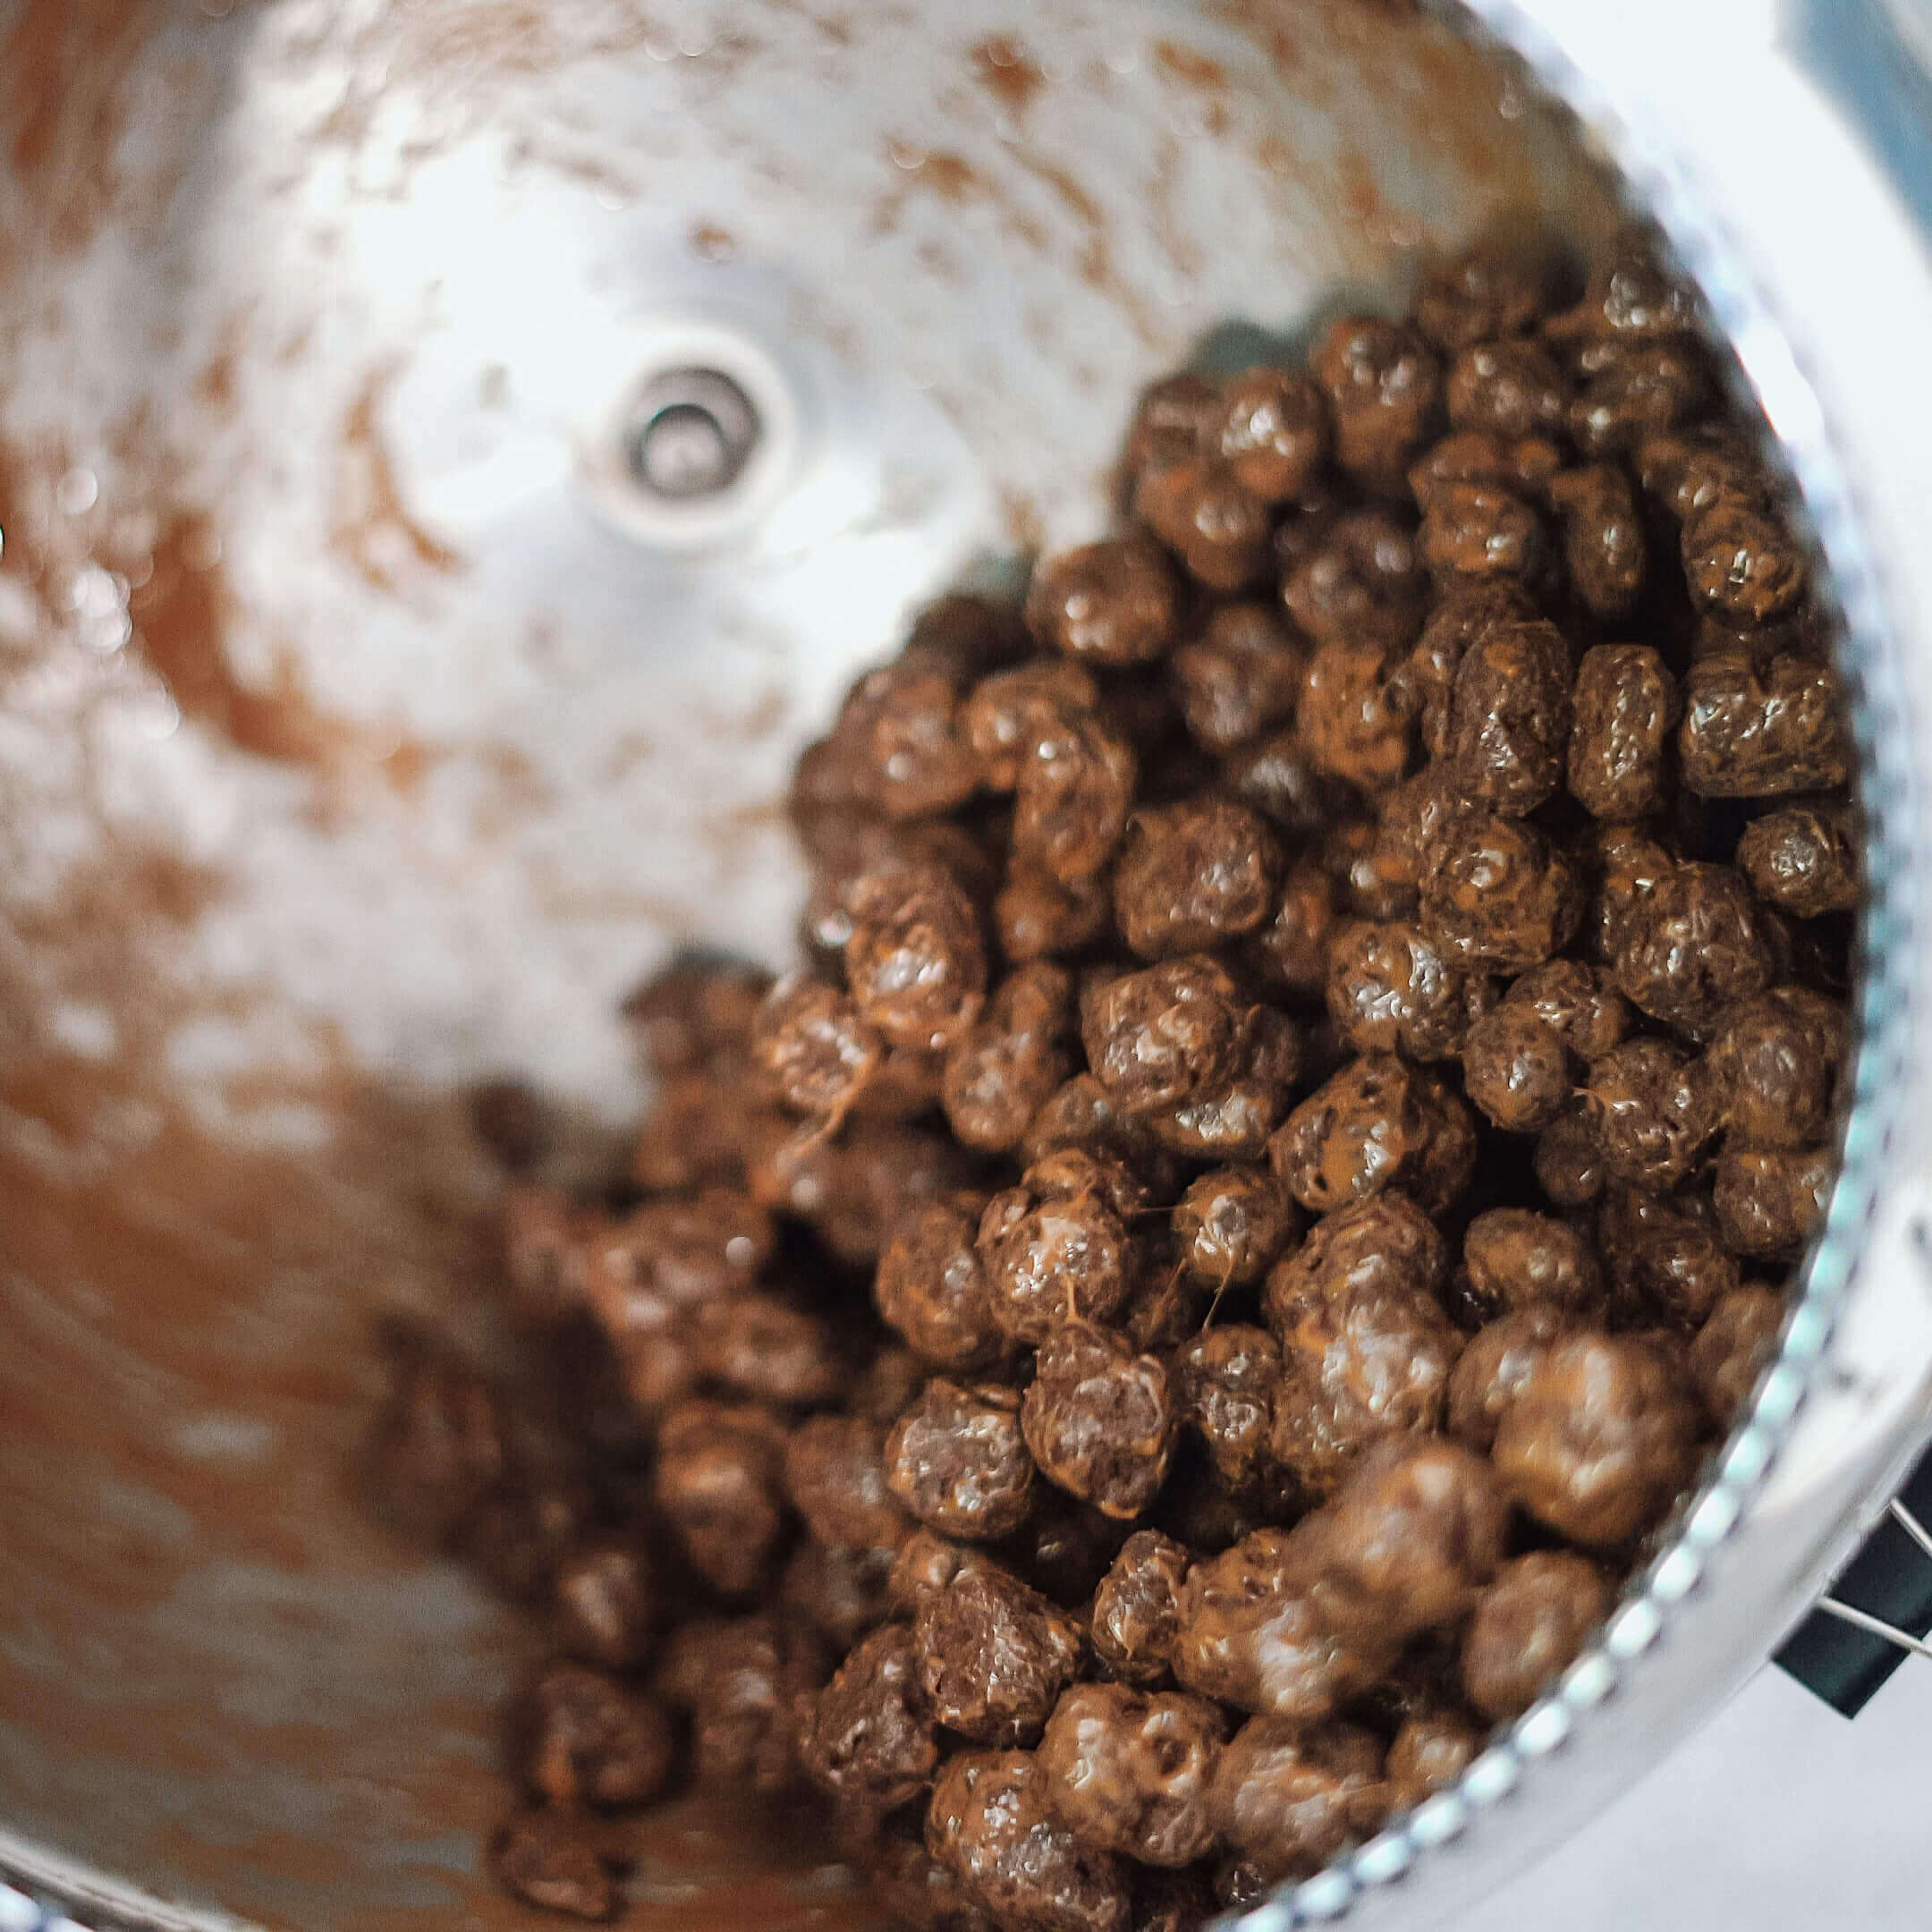
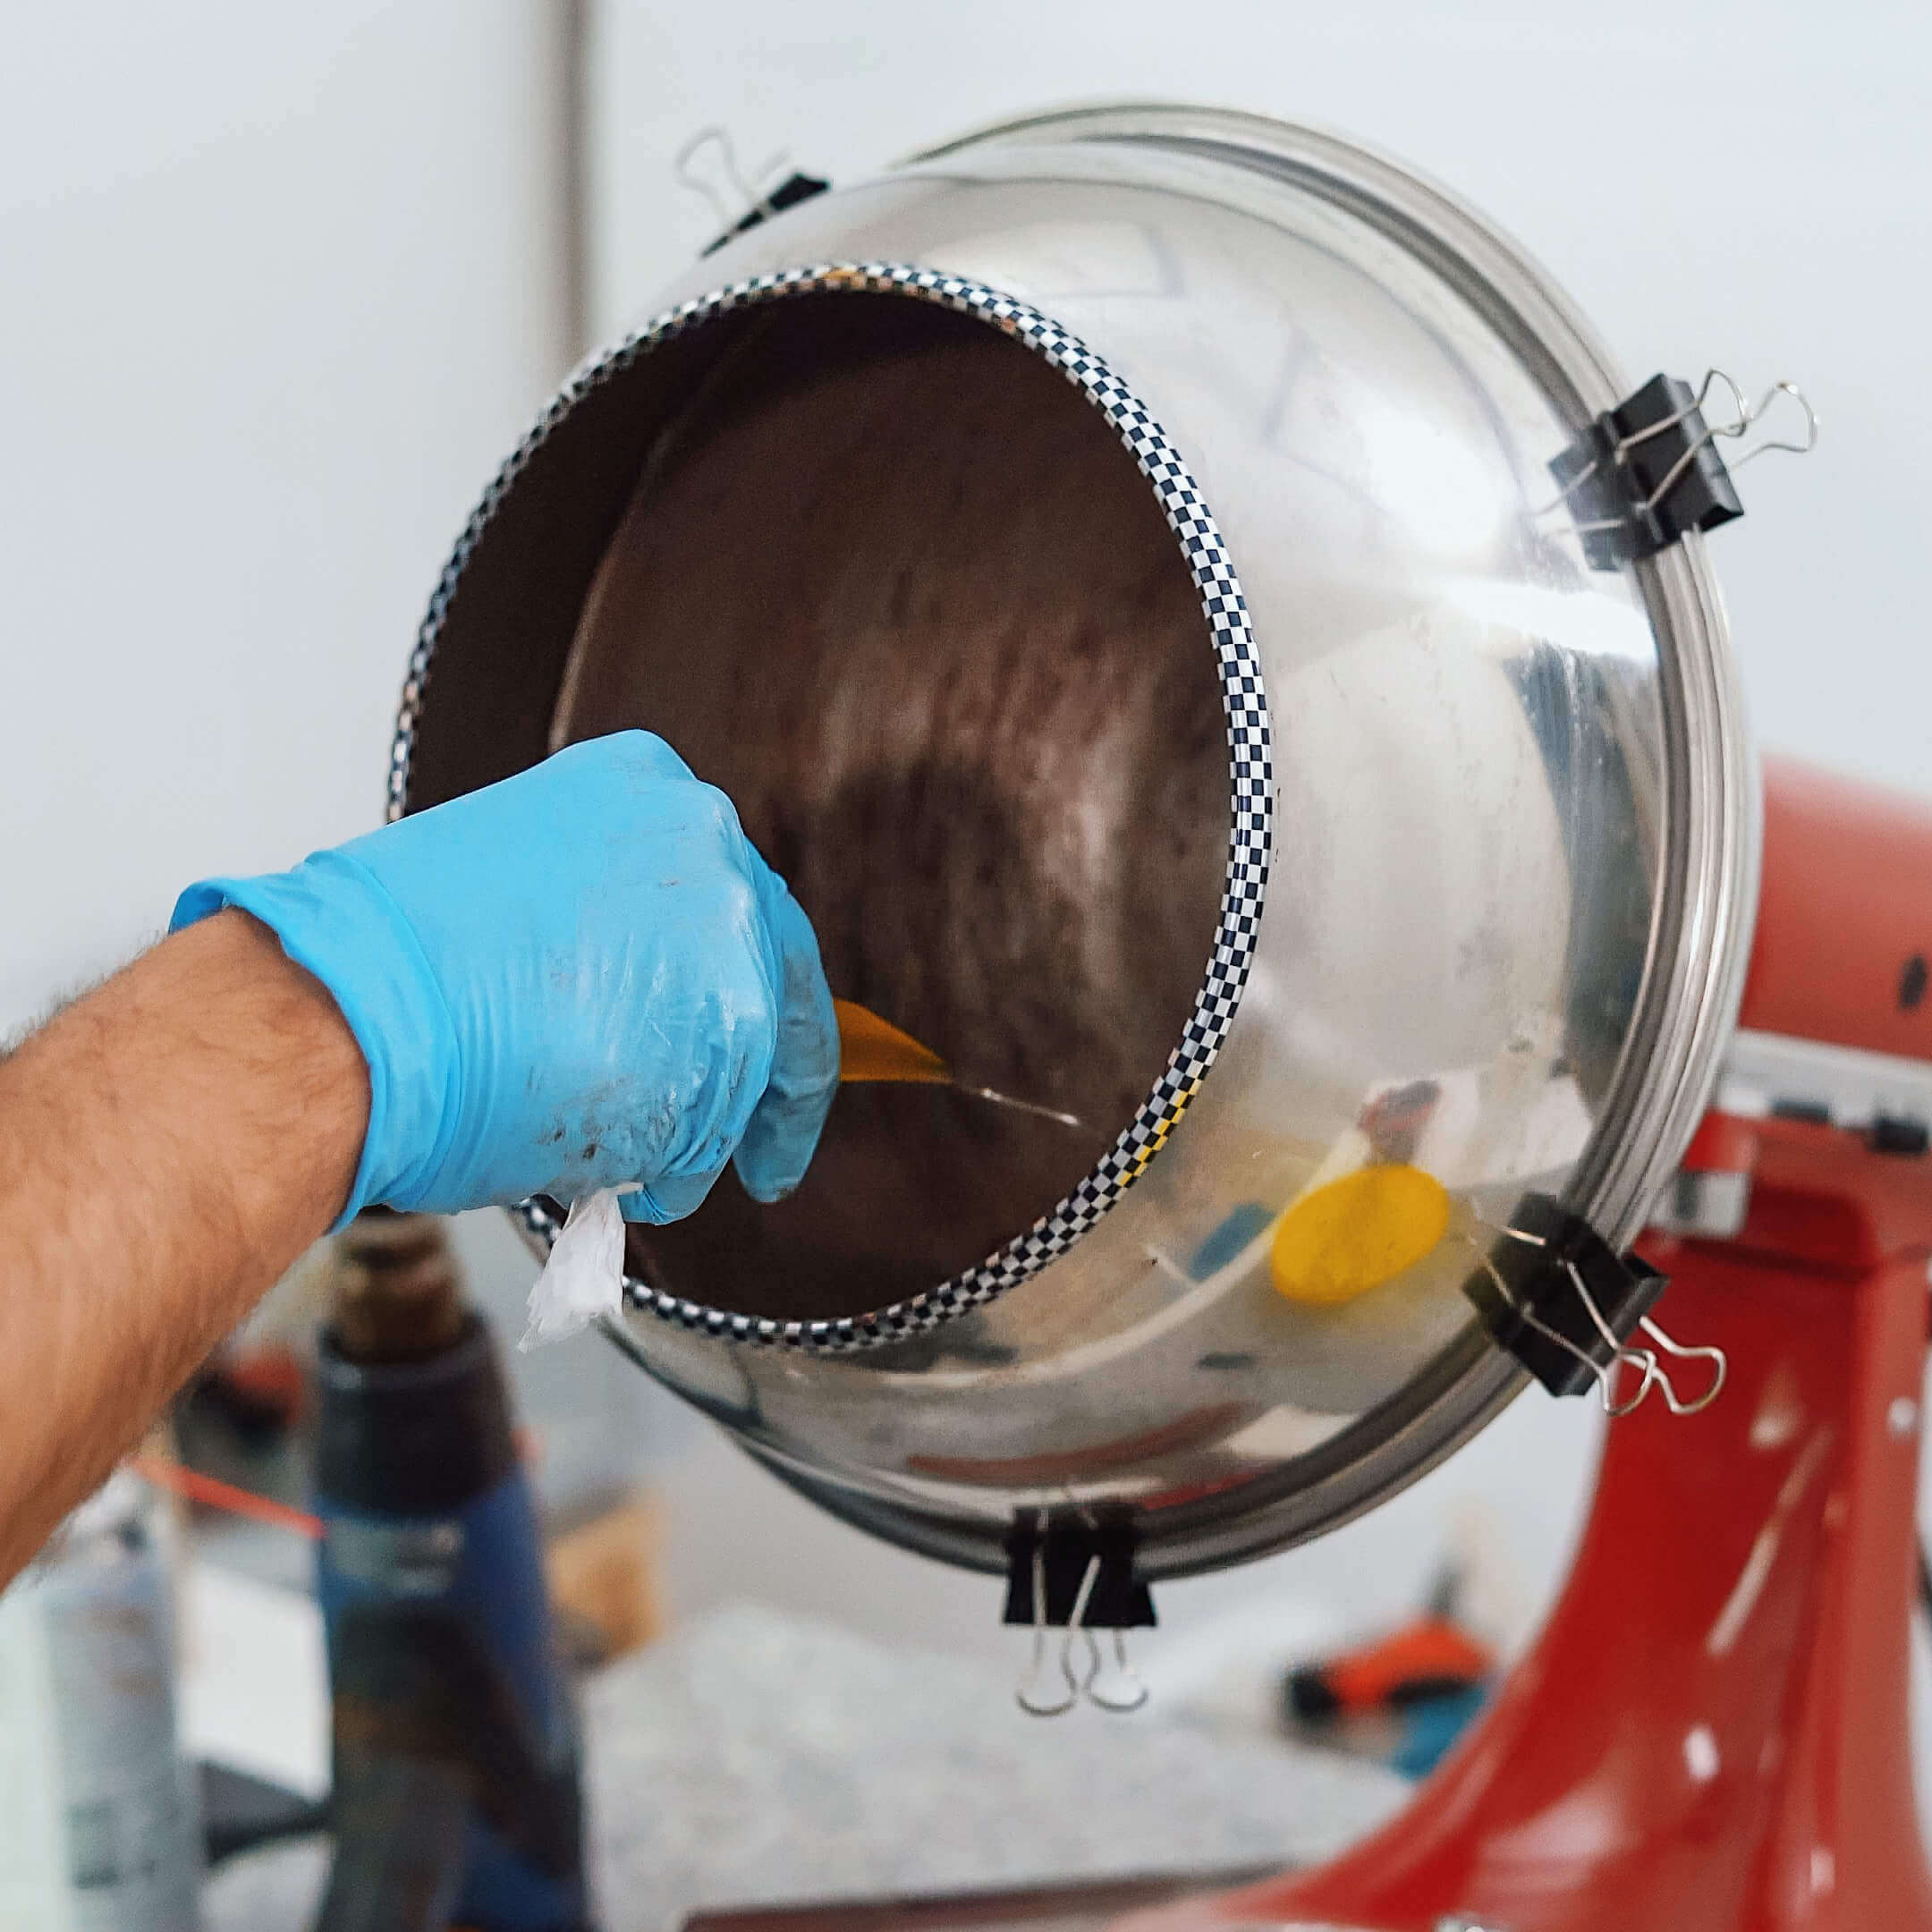
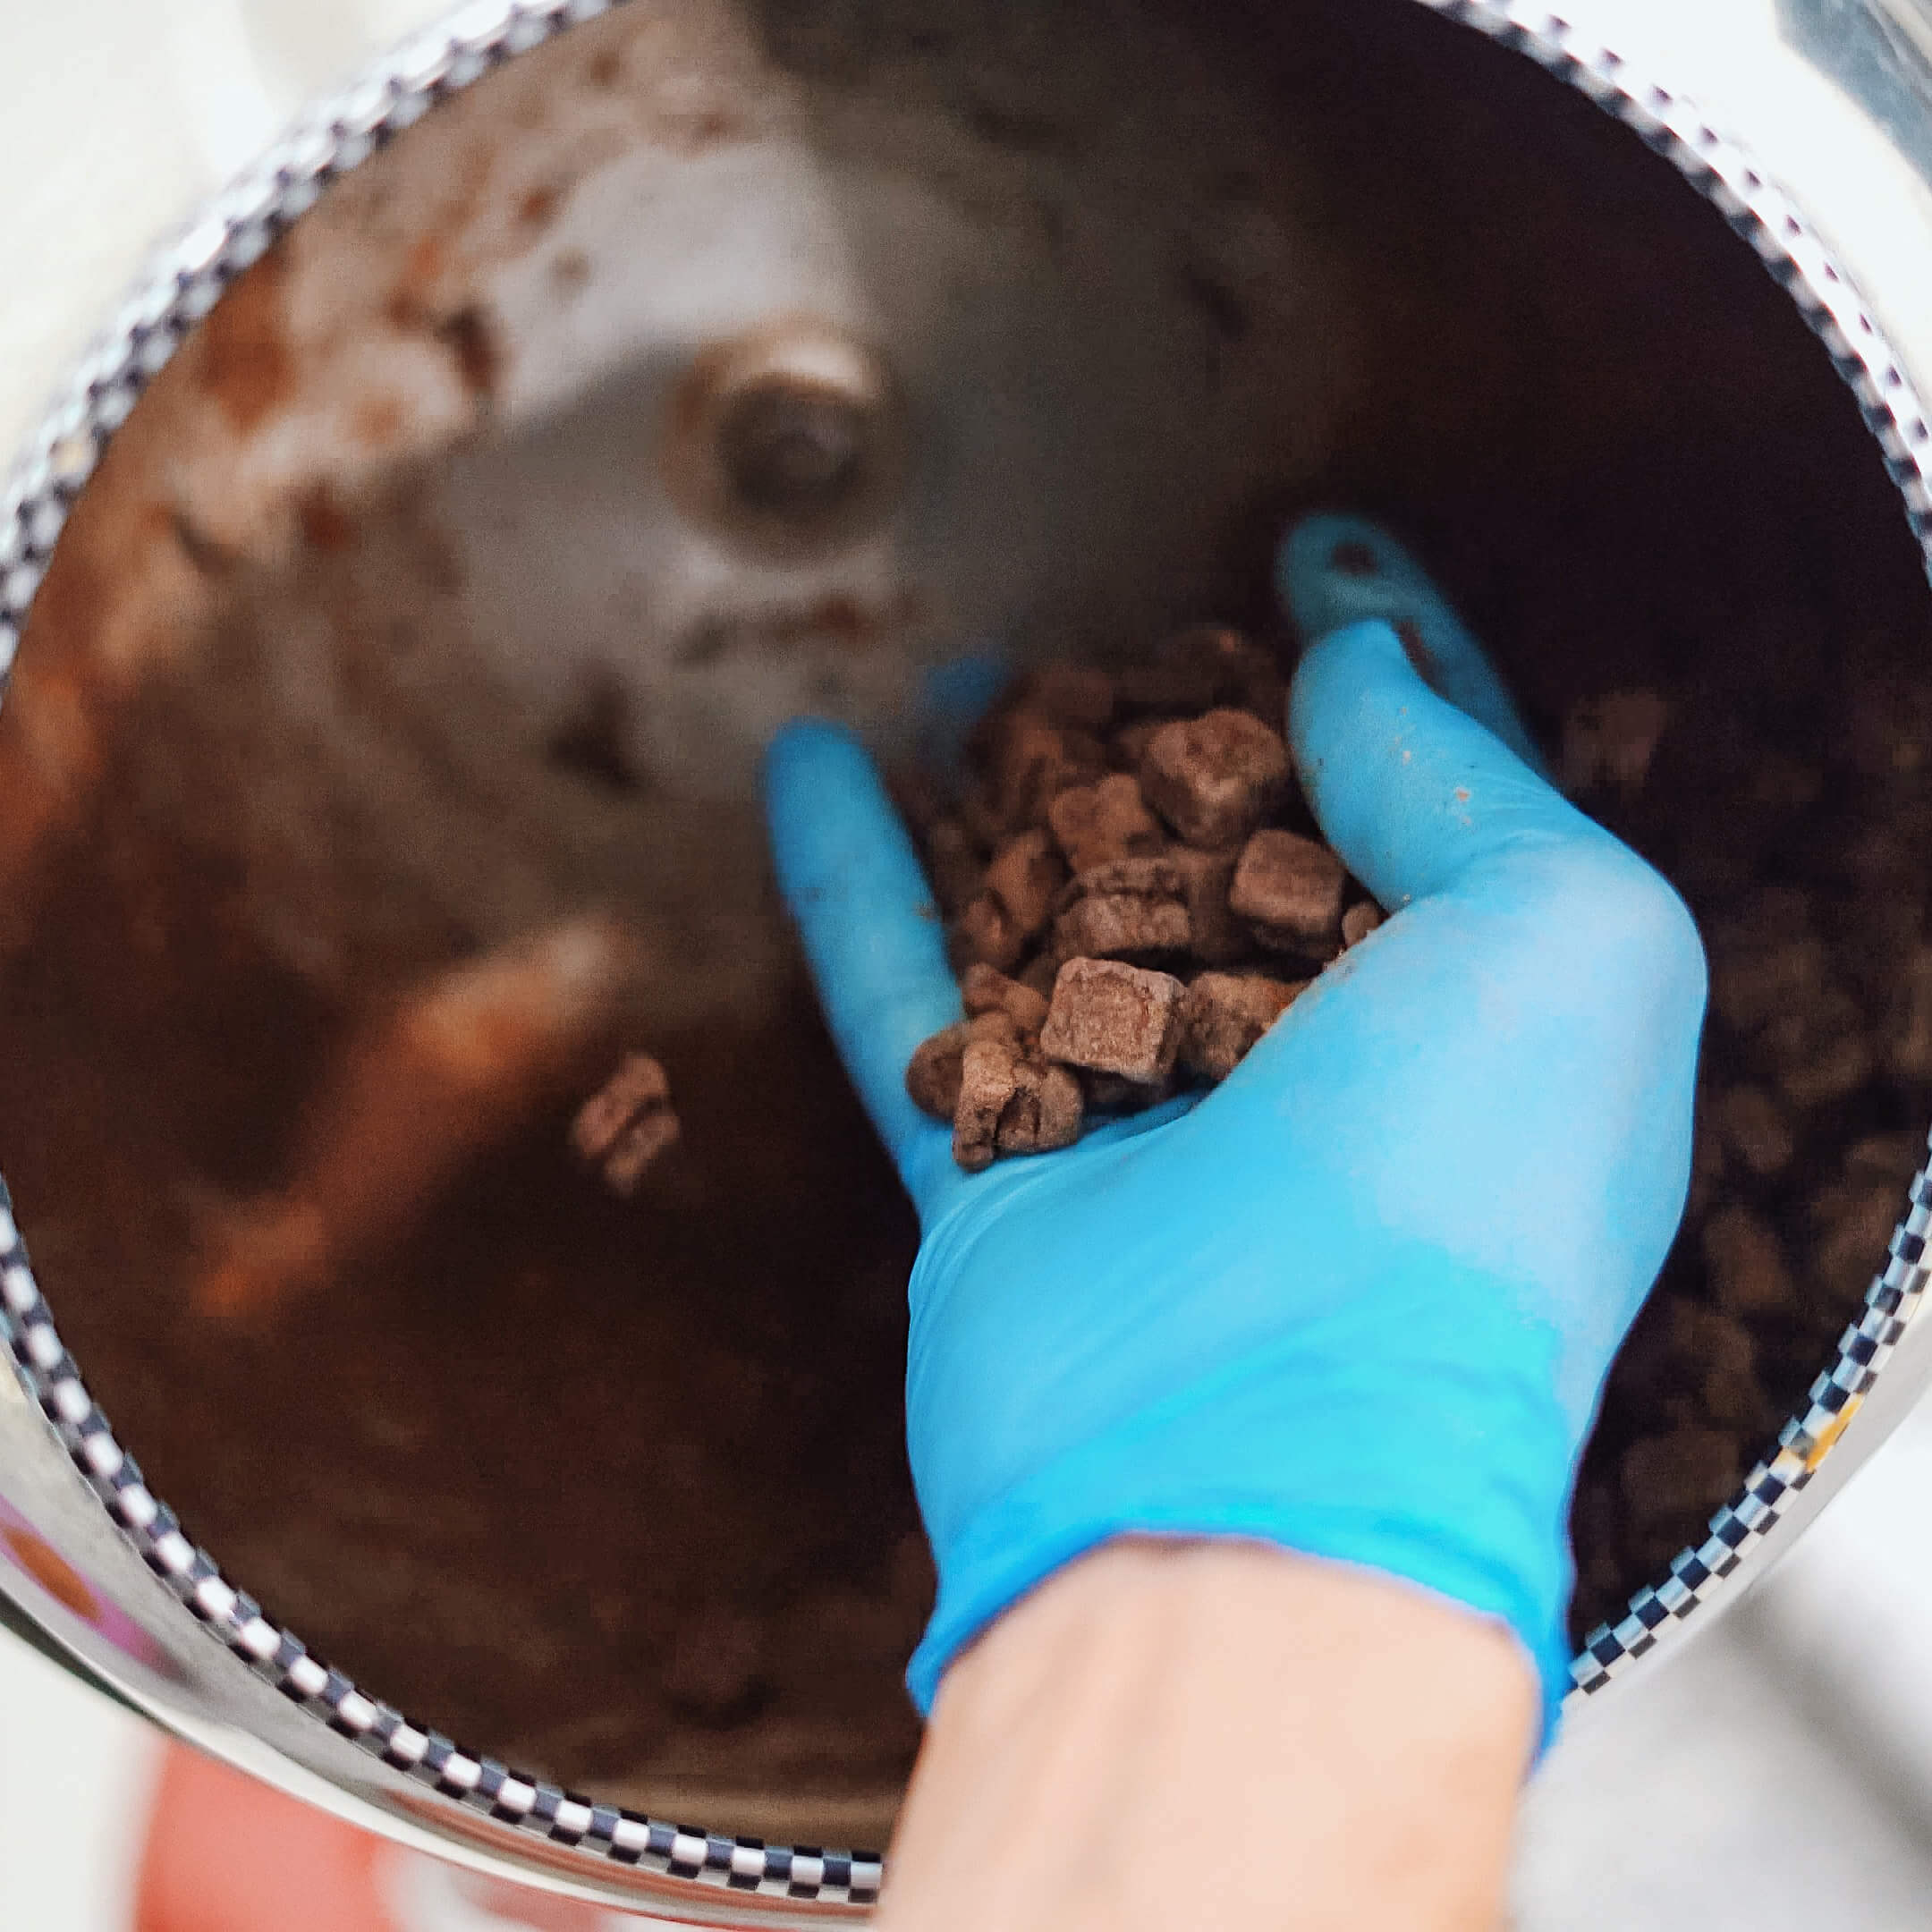
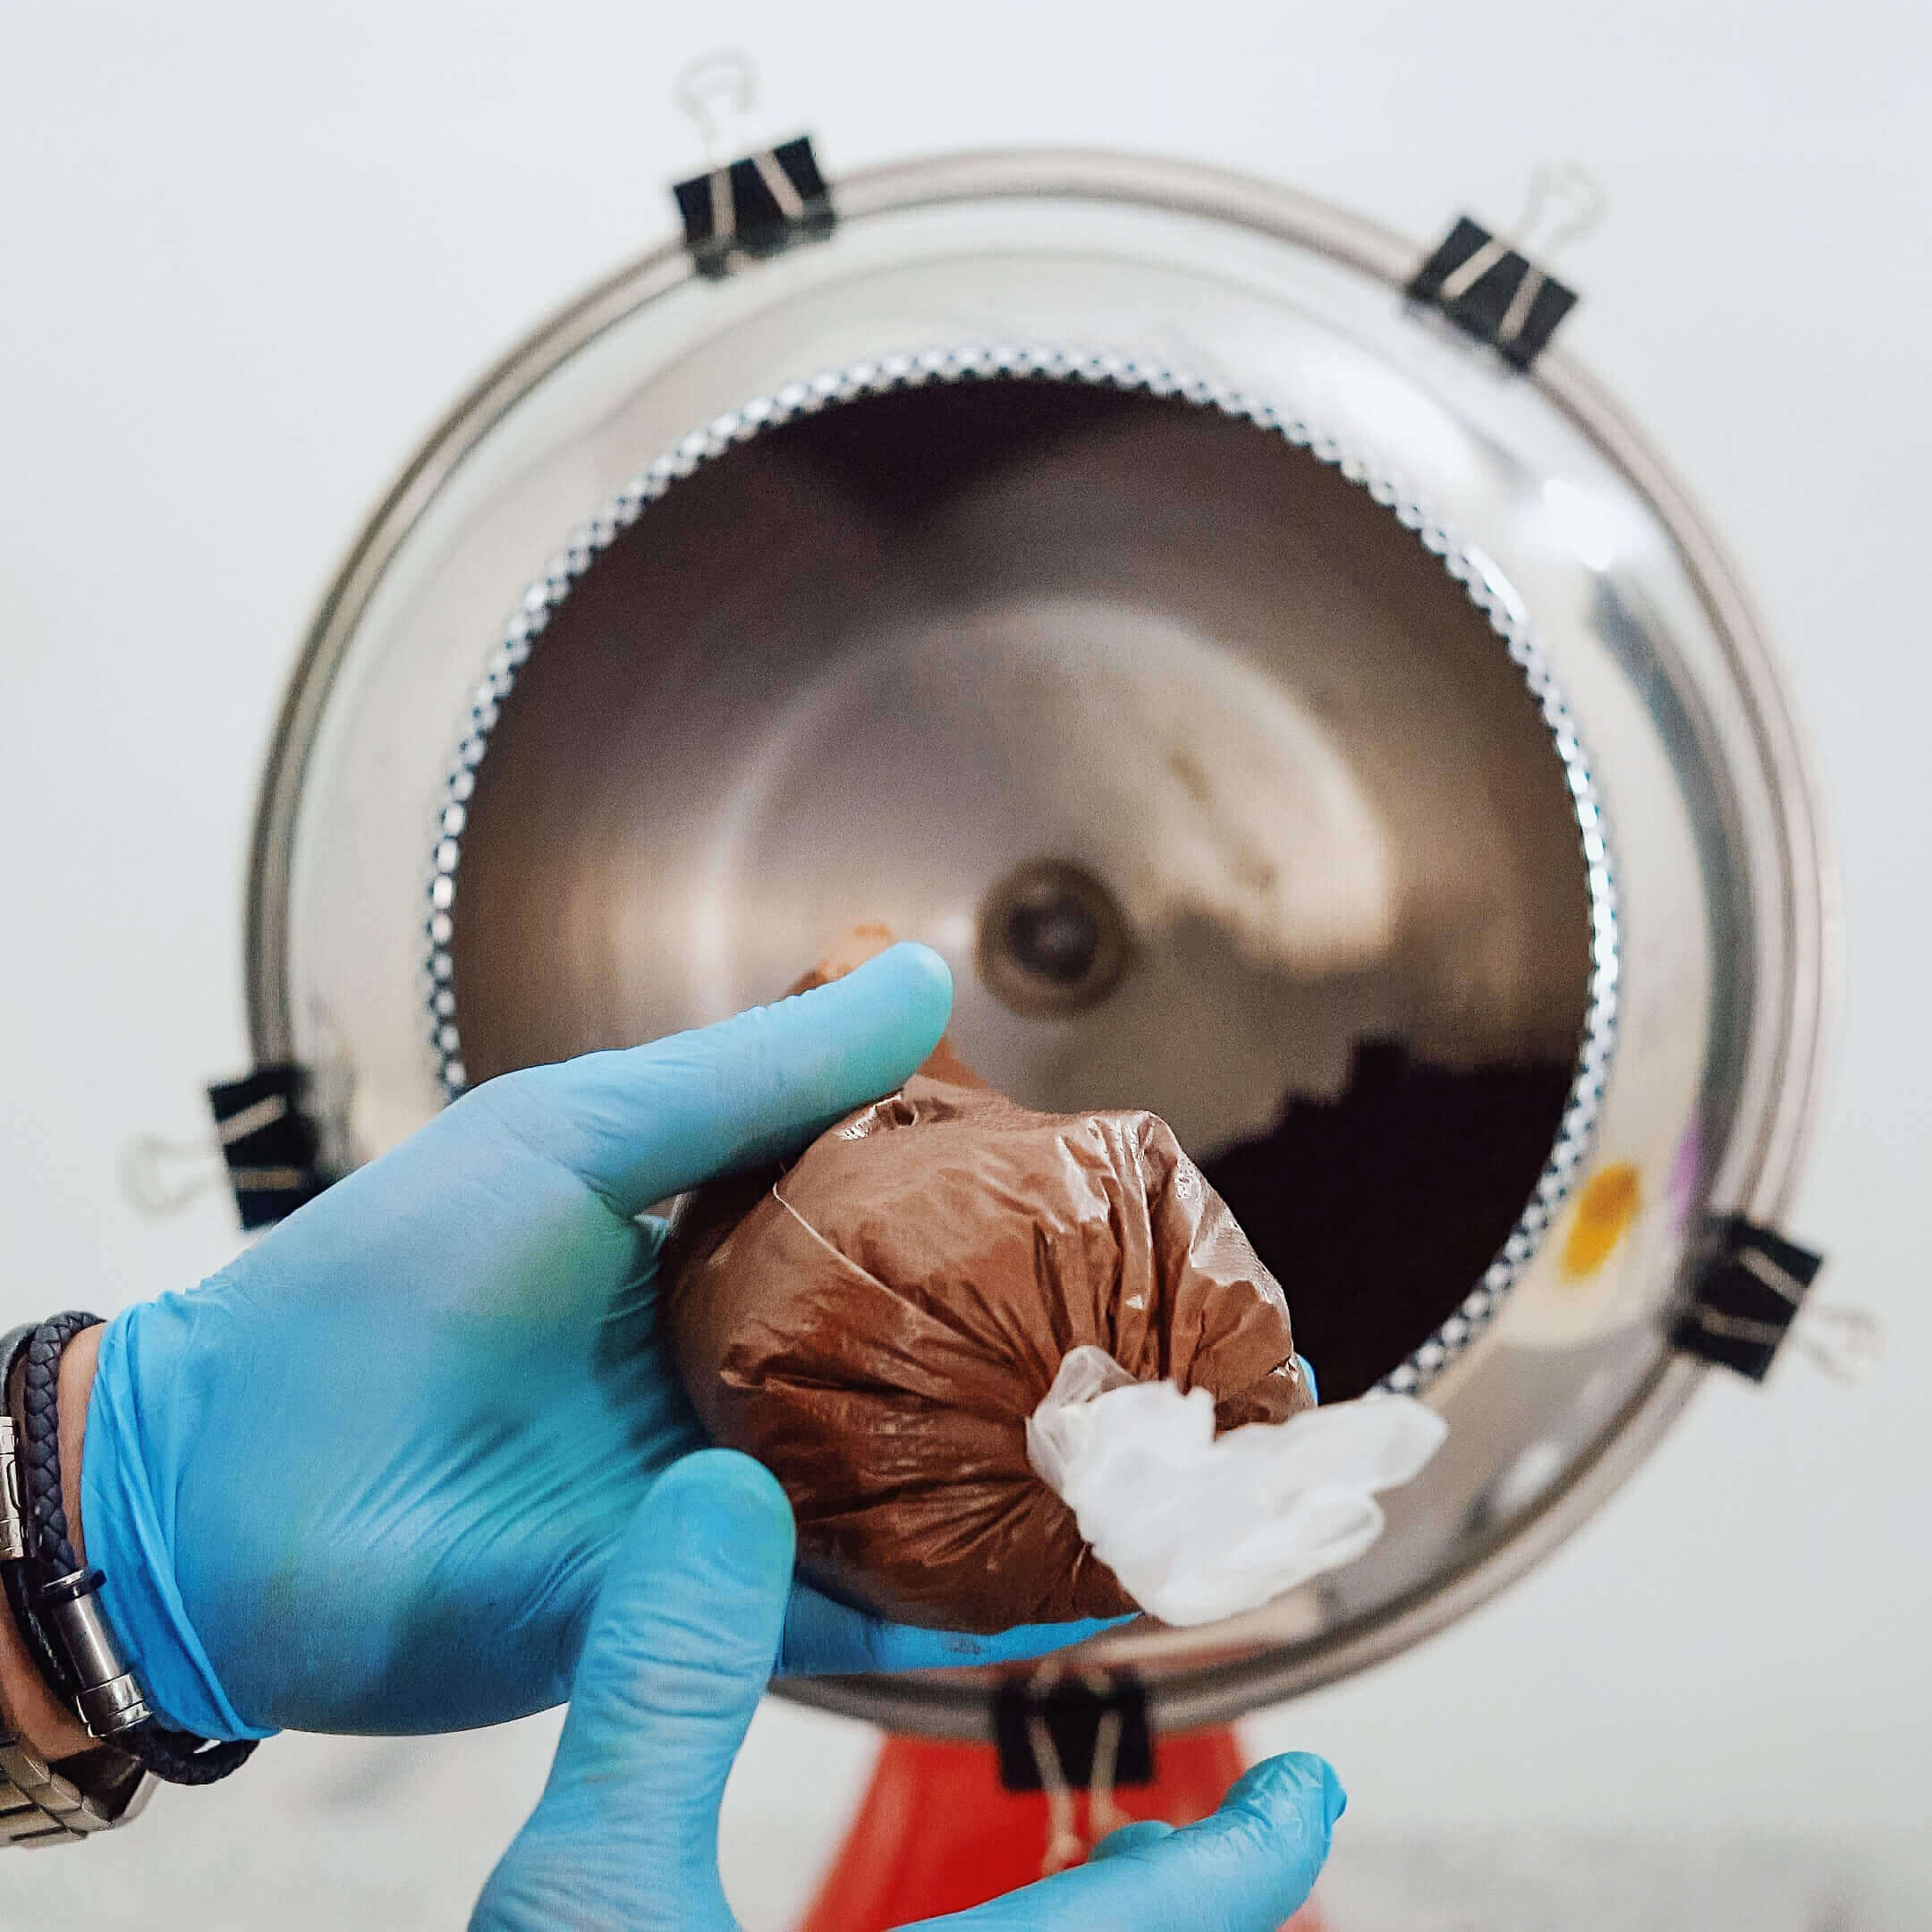
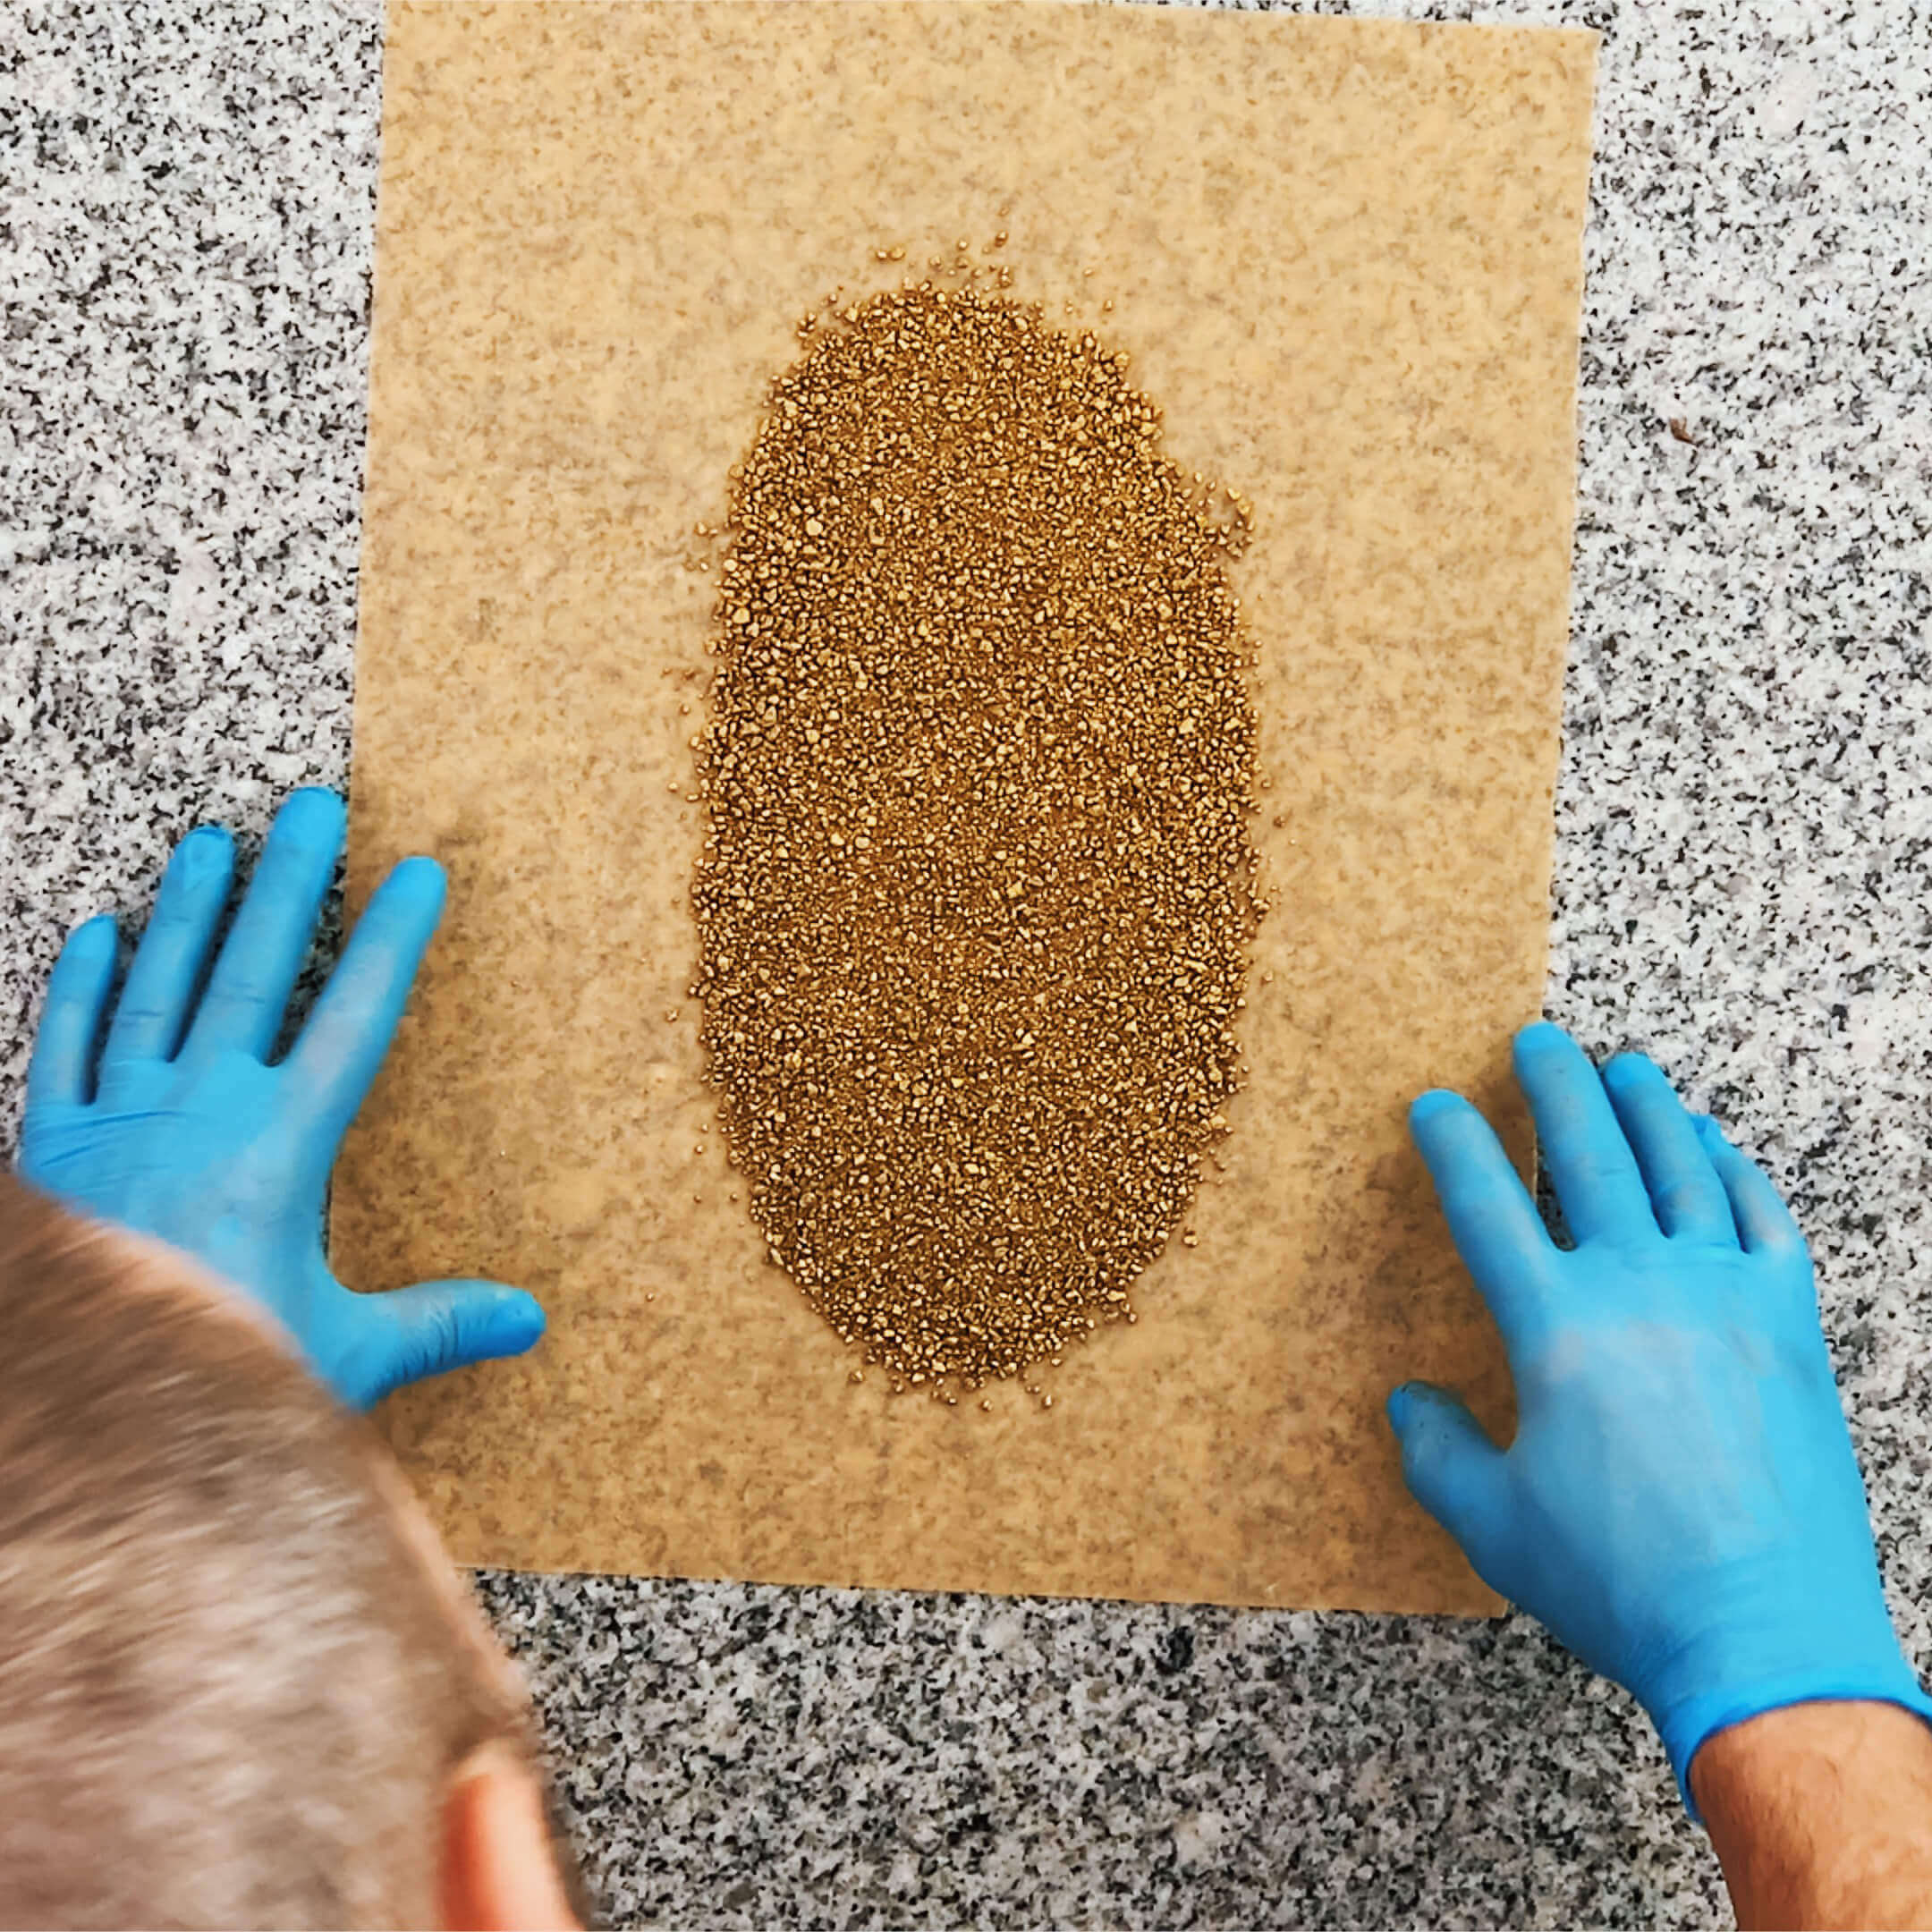
Week 16 is optional and is for those who would like to learn how to make dragee. We won’t use professional dragee machines, but and we will use an attachment for an ordinary kitchen mixer to make these chocolates from scratch and with no heavy expenses. We will also share some interesting concepts about the design of dragees. Week 16 assignment is optional.
This week is the last one. That’s it. Now you know everything.
#Contents
01► 34:42 VIDEO-TUTORIAL 0
02STEP-BY-STEP GUIDE 26
03ASSIGNMENT (OPTIONAL) 16